Daily Archives: March 20, 2014
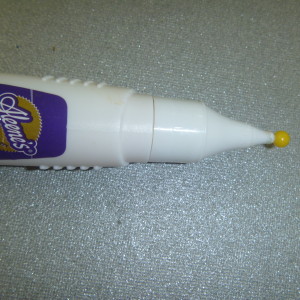
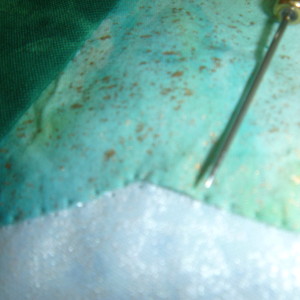
Yesterday I think I failed to suggest that when you are done using the tube of glue, it’s a good idea to put a pin in the top to keep it from clogging with the glue. This makes it so much easier to use the next time. I leave the pin in there whenever I’m not using the glue.
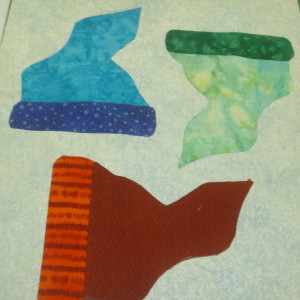
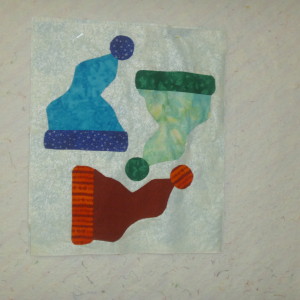
After the final press, I did put dots of glue (and pressed) around the hat to adhere it to the background before taking to the machine. In that way, the hat doesn’t move around while I am trying to sew around it. This morning when I picked up the project, it was all ready to go.

I sewed around each of the hats. I used a 1 width and a 2 length on the little zigzag that takes 3 stitches to the middle and 2 more back. With this setting it takes one bite on the background and the next on the hat. I also used a monofilament thread which is nearly invisible
 .
.
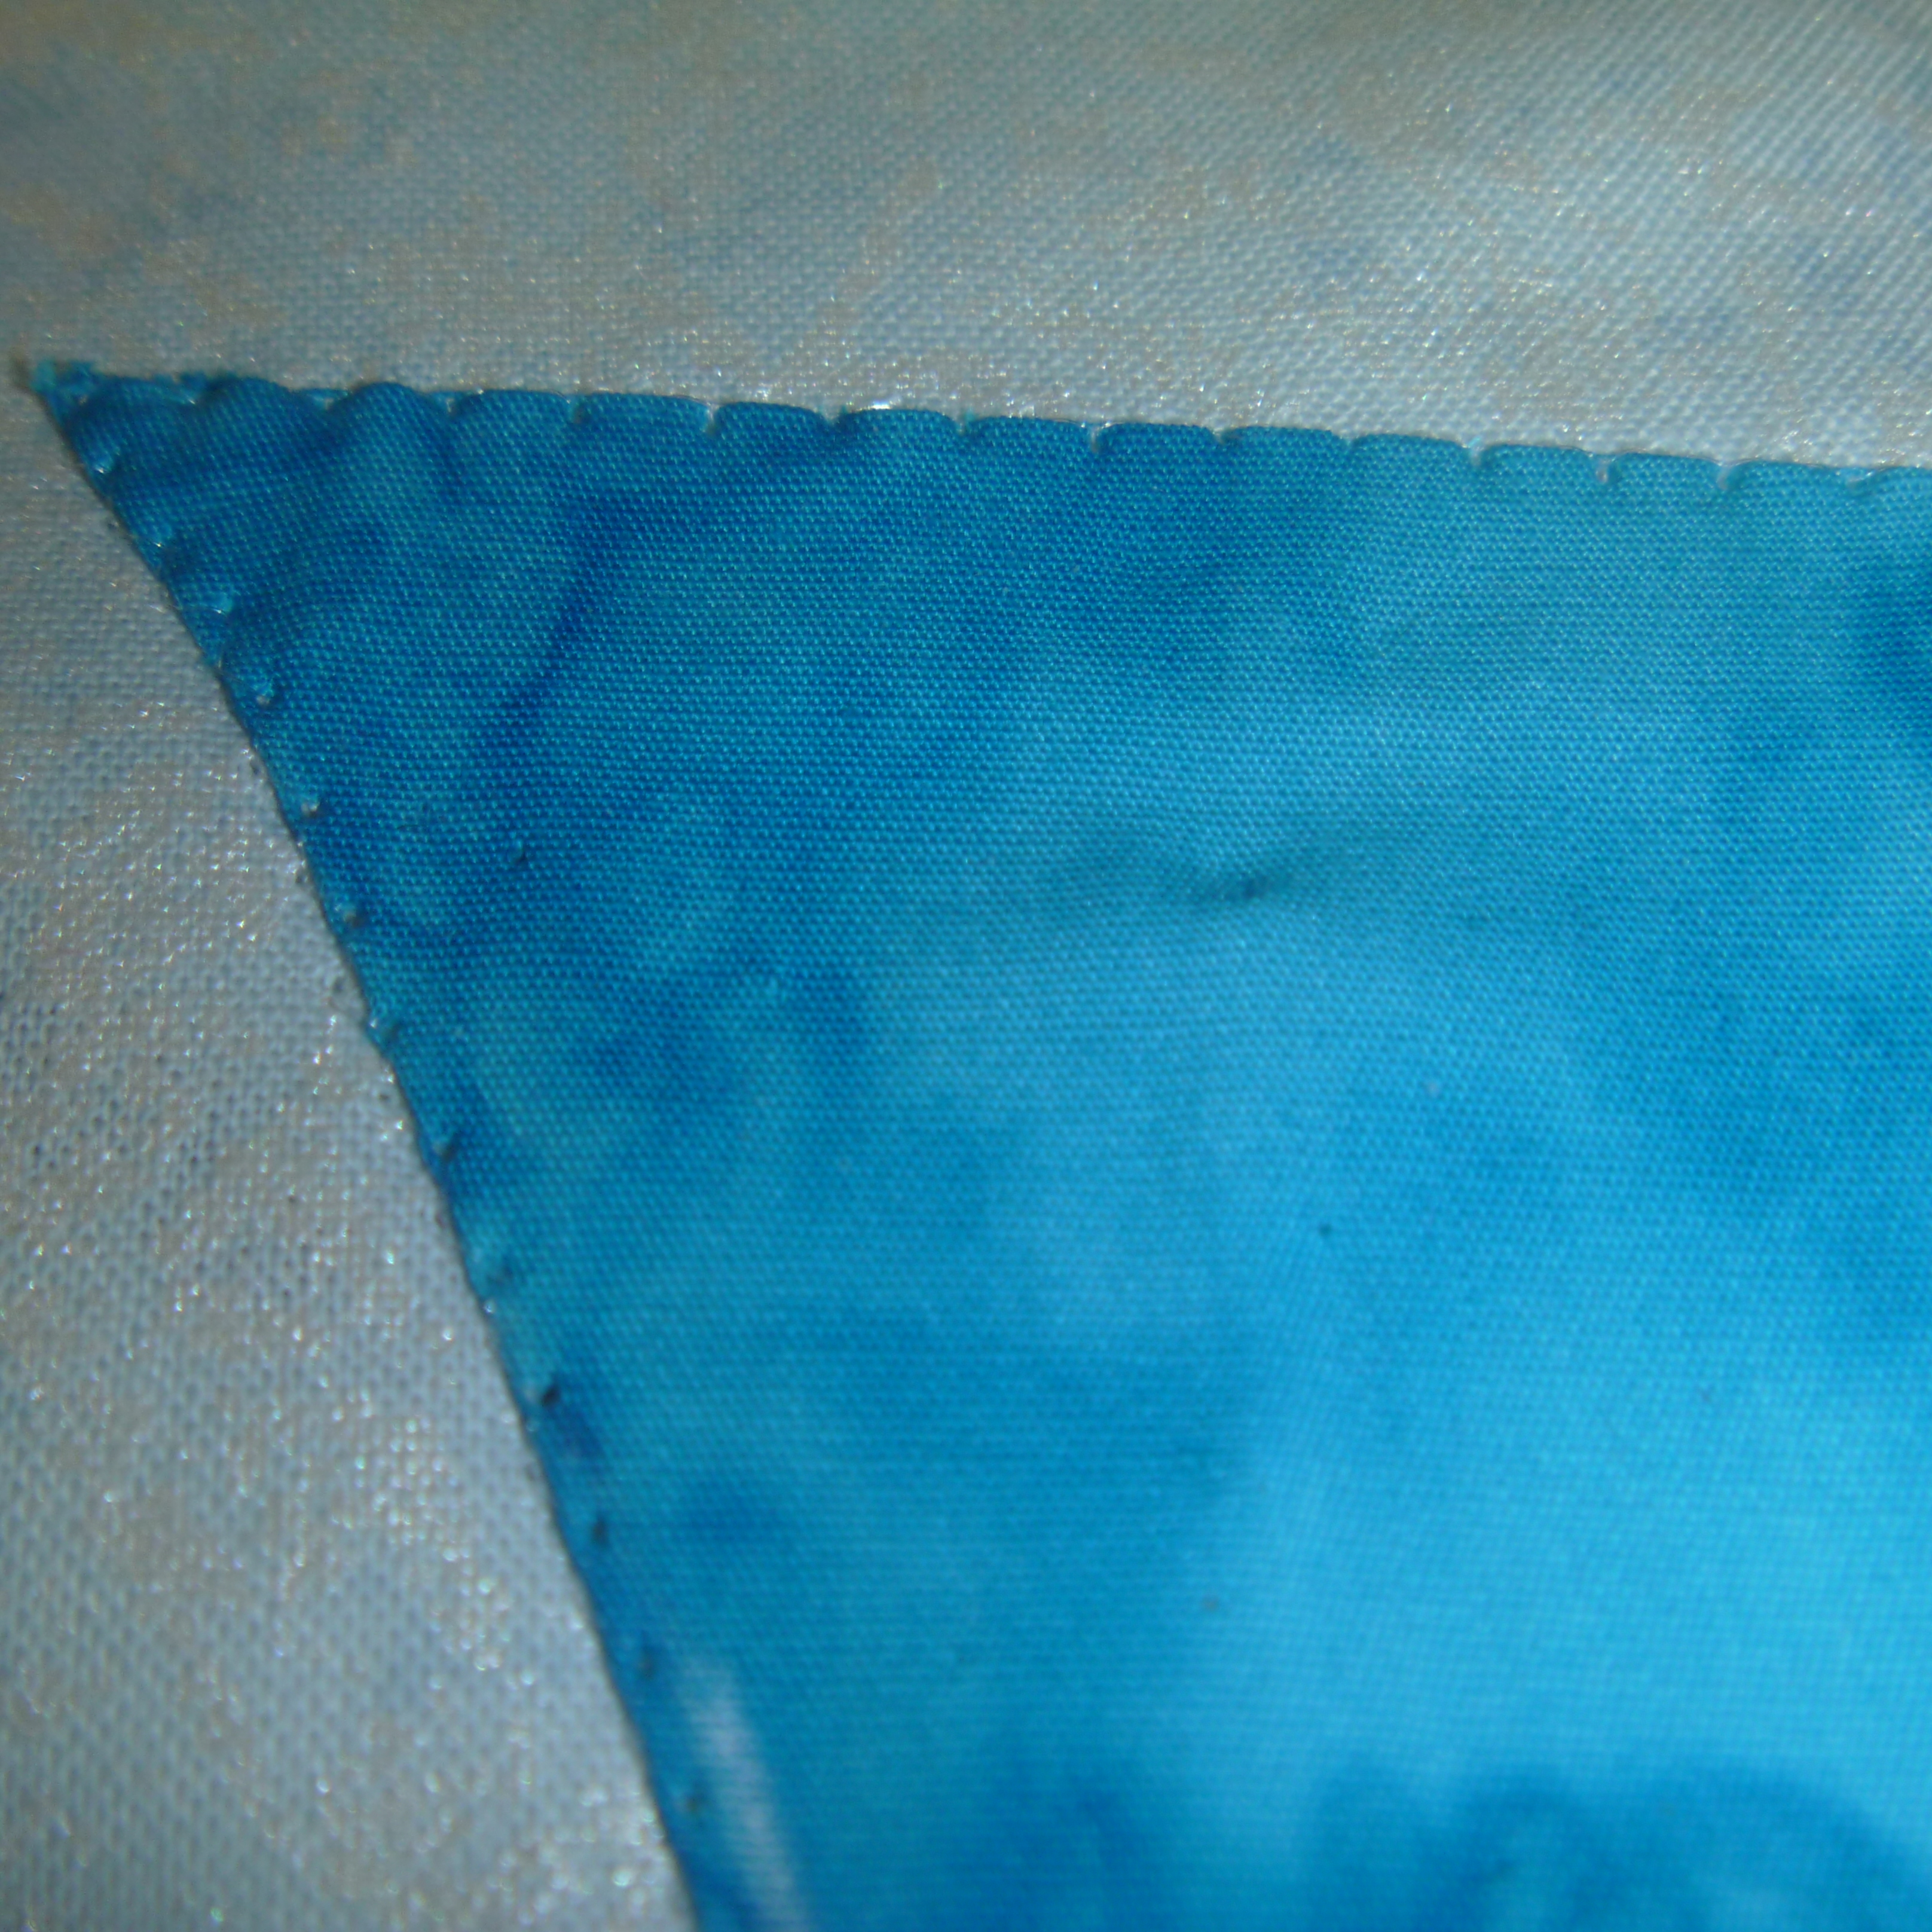
As I went around the hat there were times that two stitches in a row hit the hat – no worries. There were other times that two or three stitches missed the hat. If only two, again – not to worry, but if I missed three stitches, I did go back, but not to remove stitches.
This thread is difficult to see and so is easy to just back up without cutting the thread and start again where you missed.
Now the little hats are secured and need the poms.
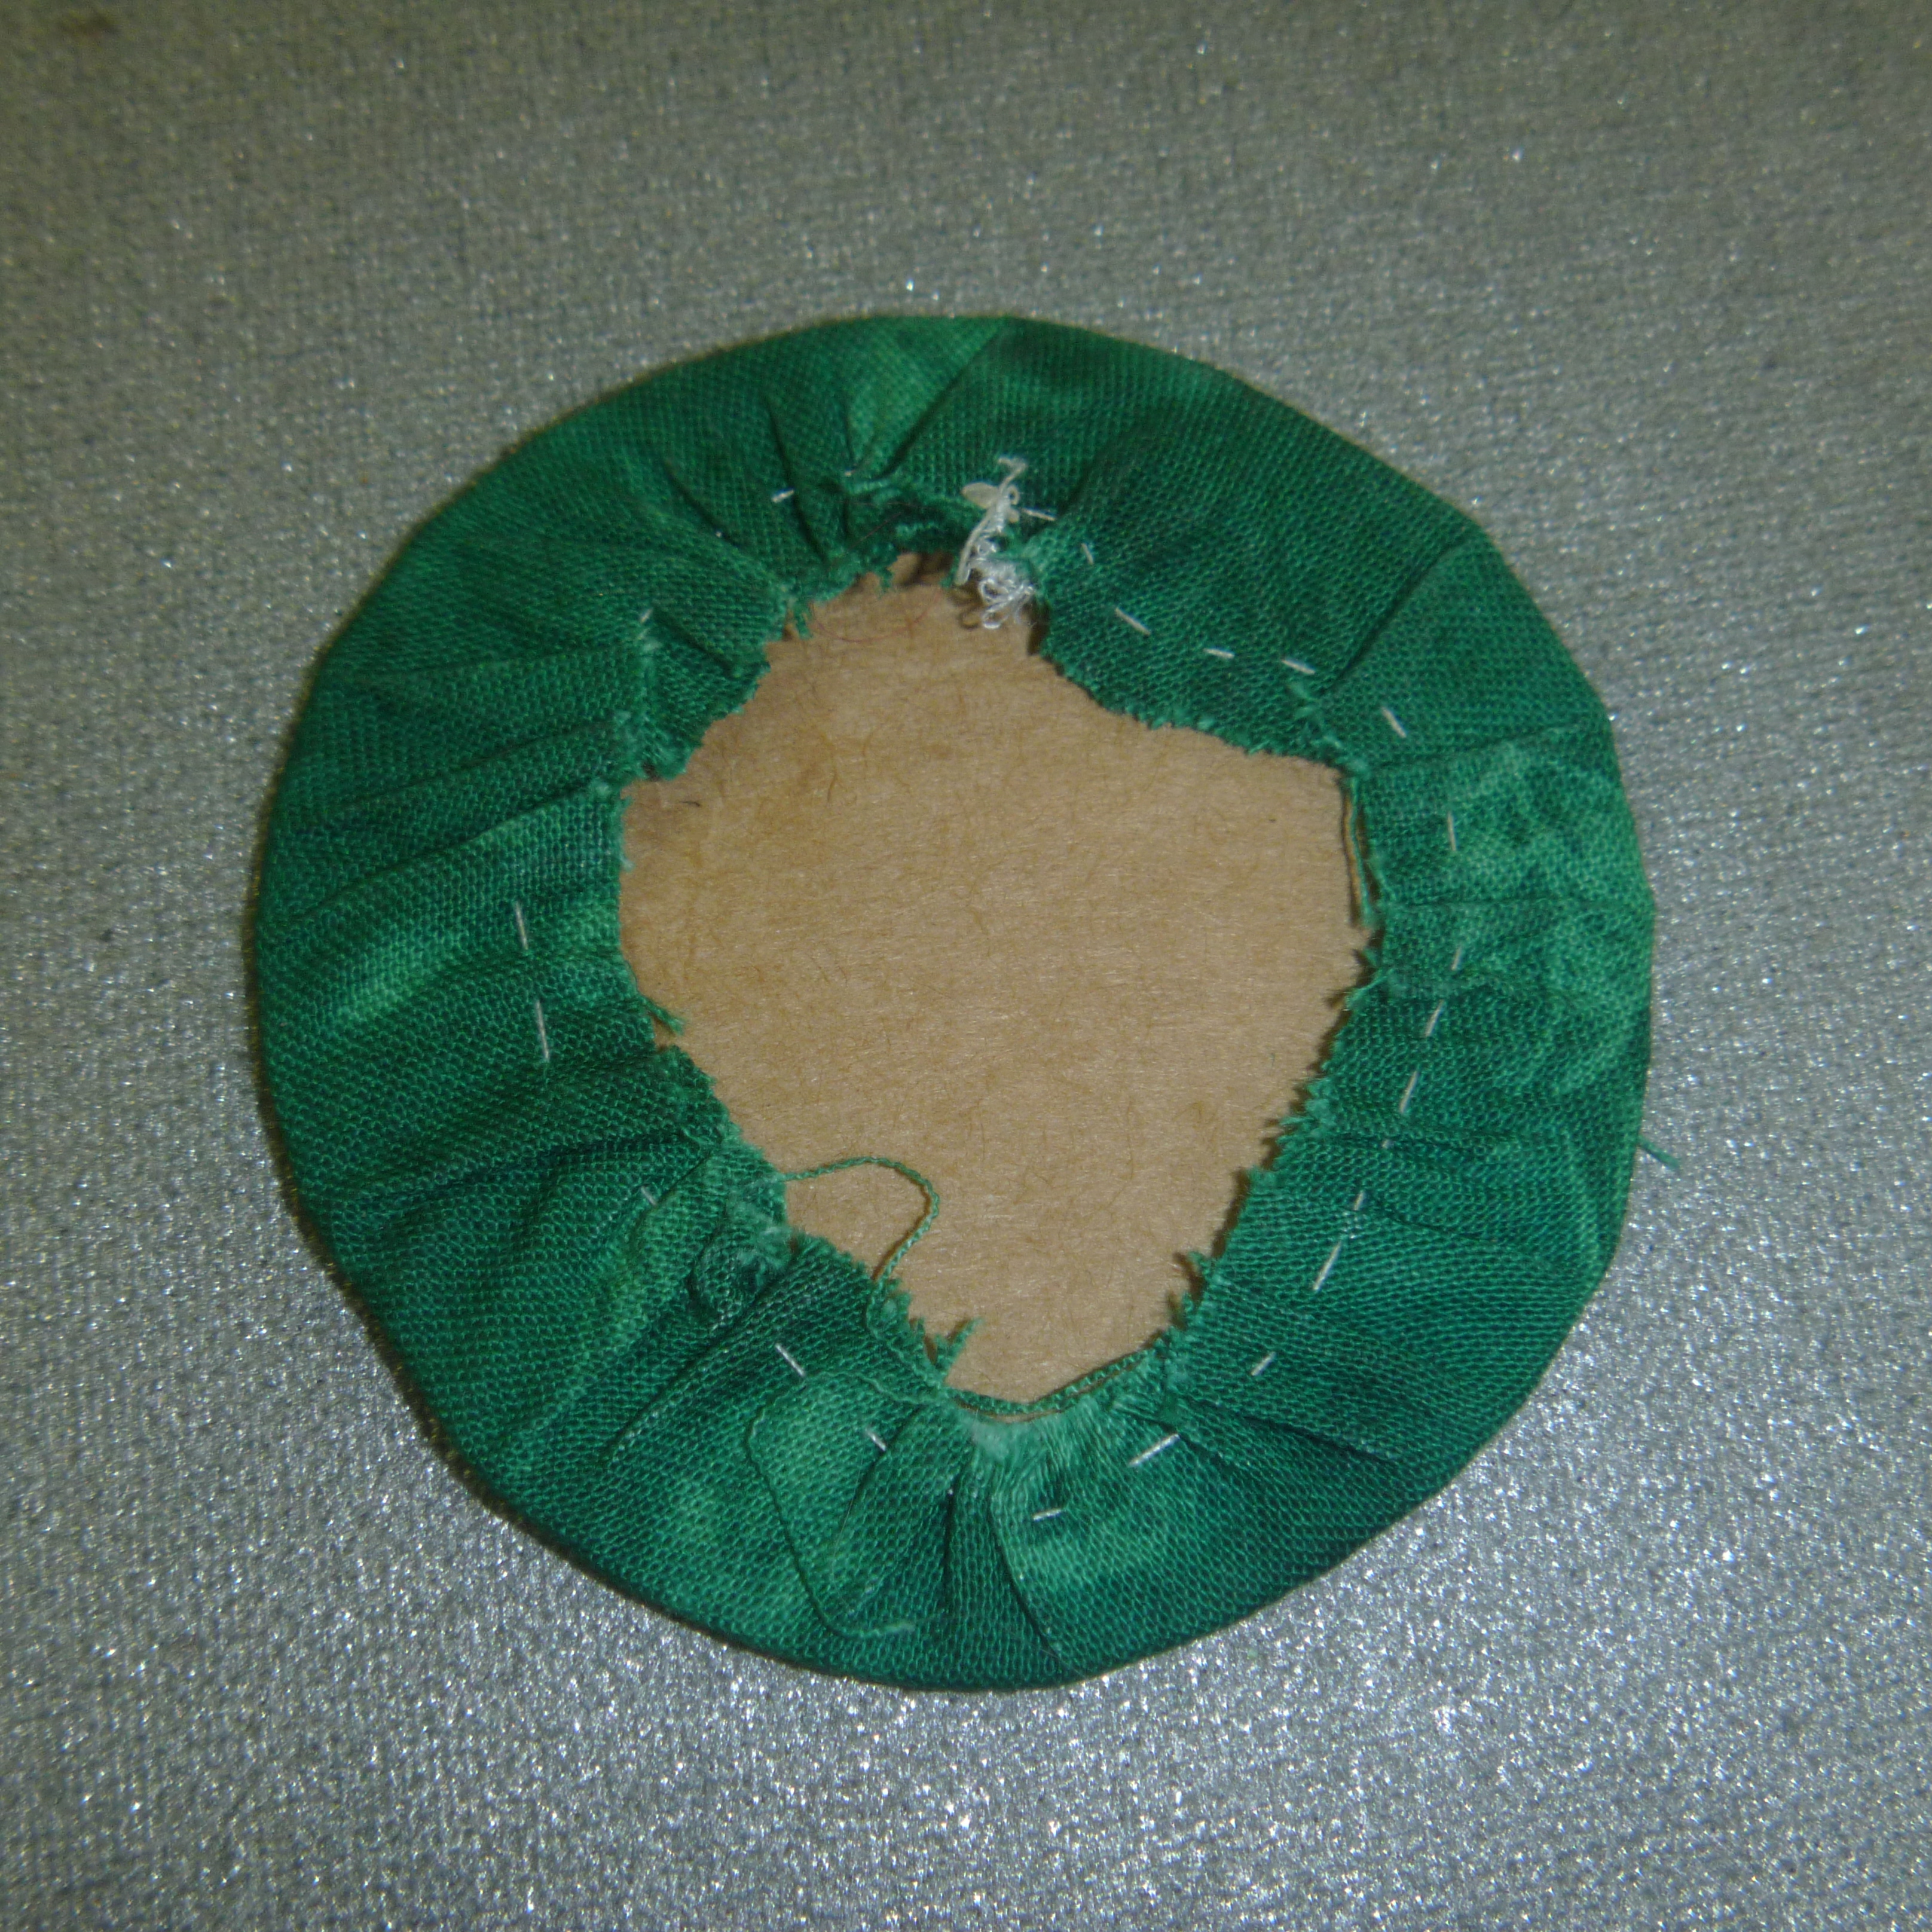
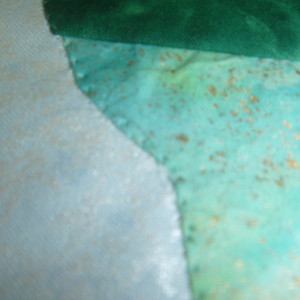
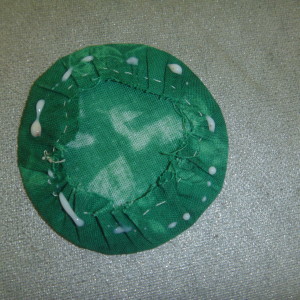
The circles need to be cut enough larger to be able to go around the cardboard template and be pulled together on the other side. I ran a thread around near the edge
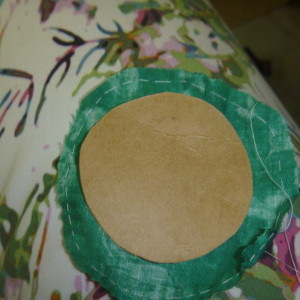
Then laid the cardboard on the center
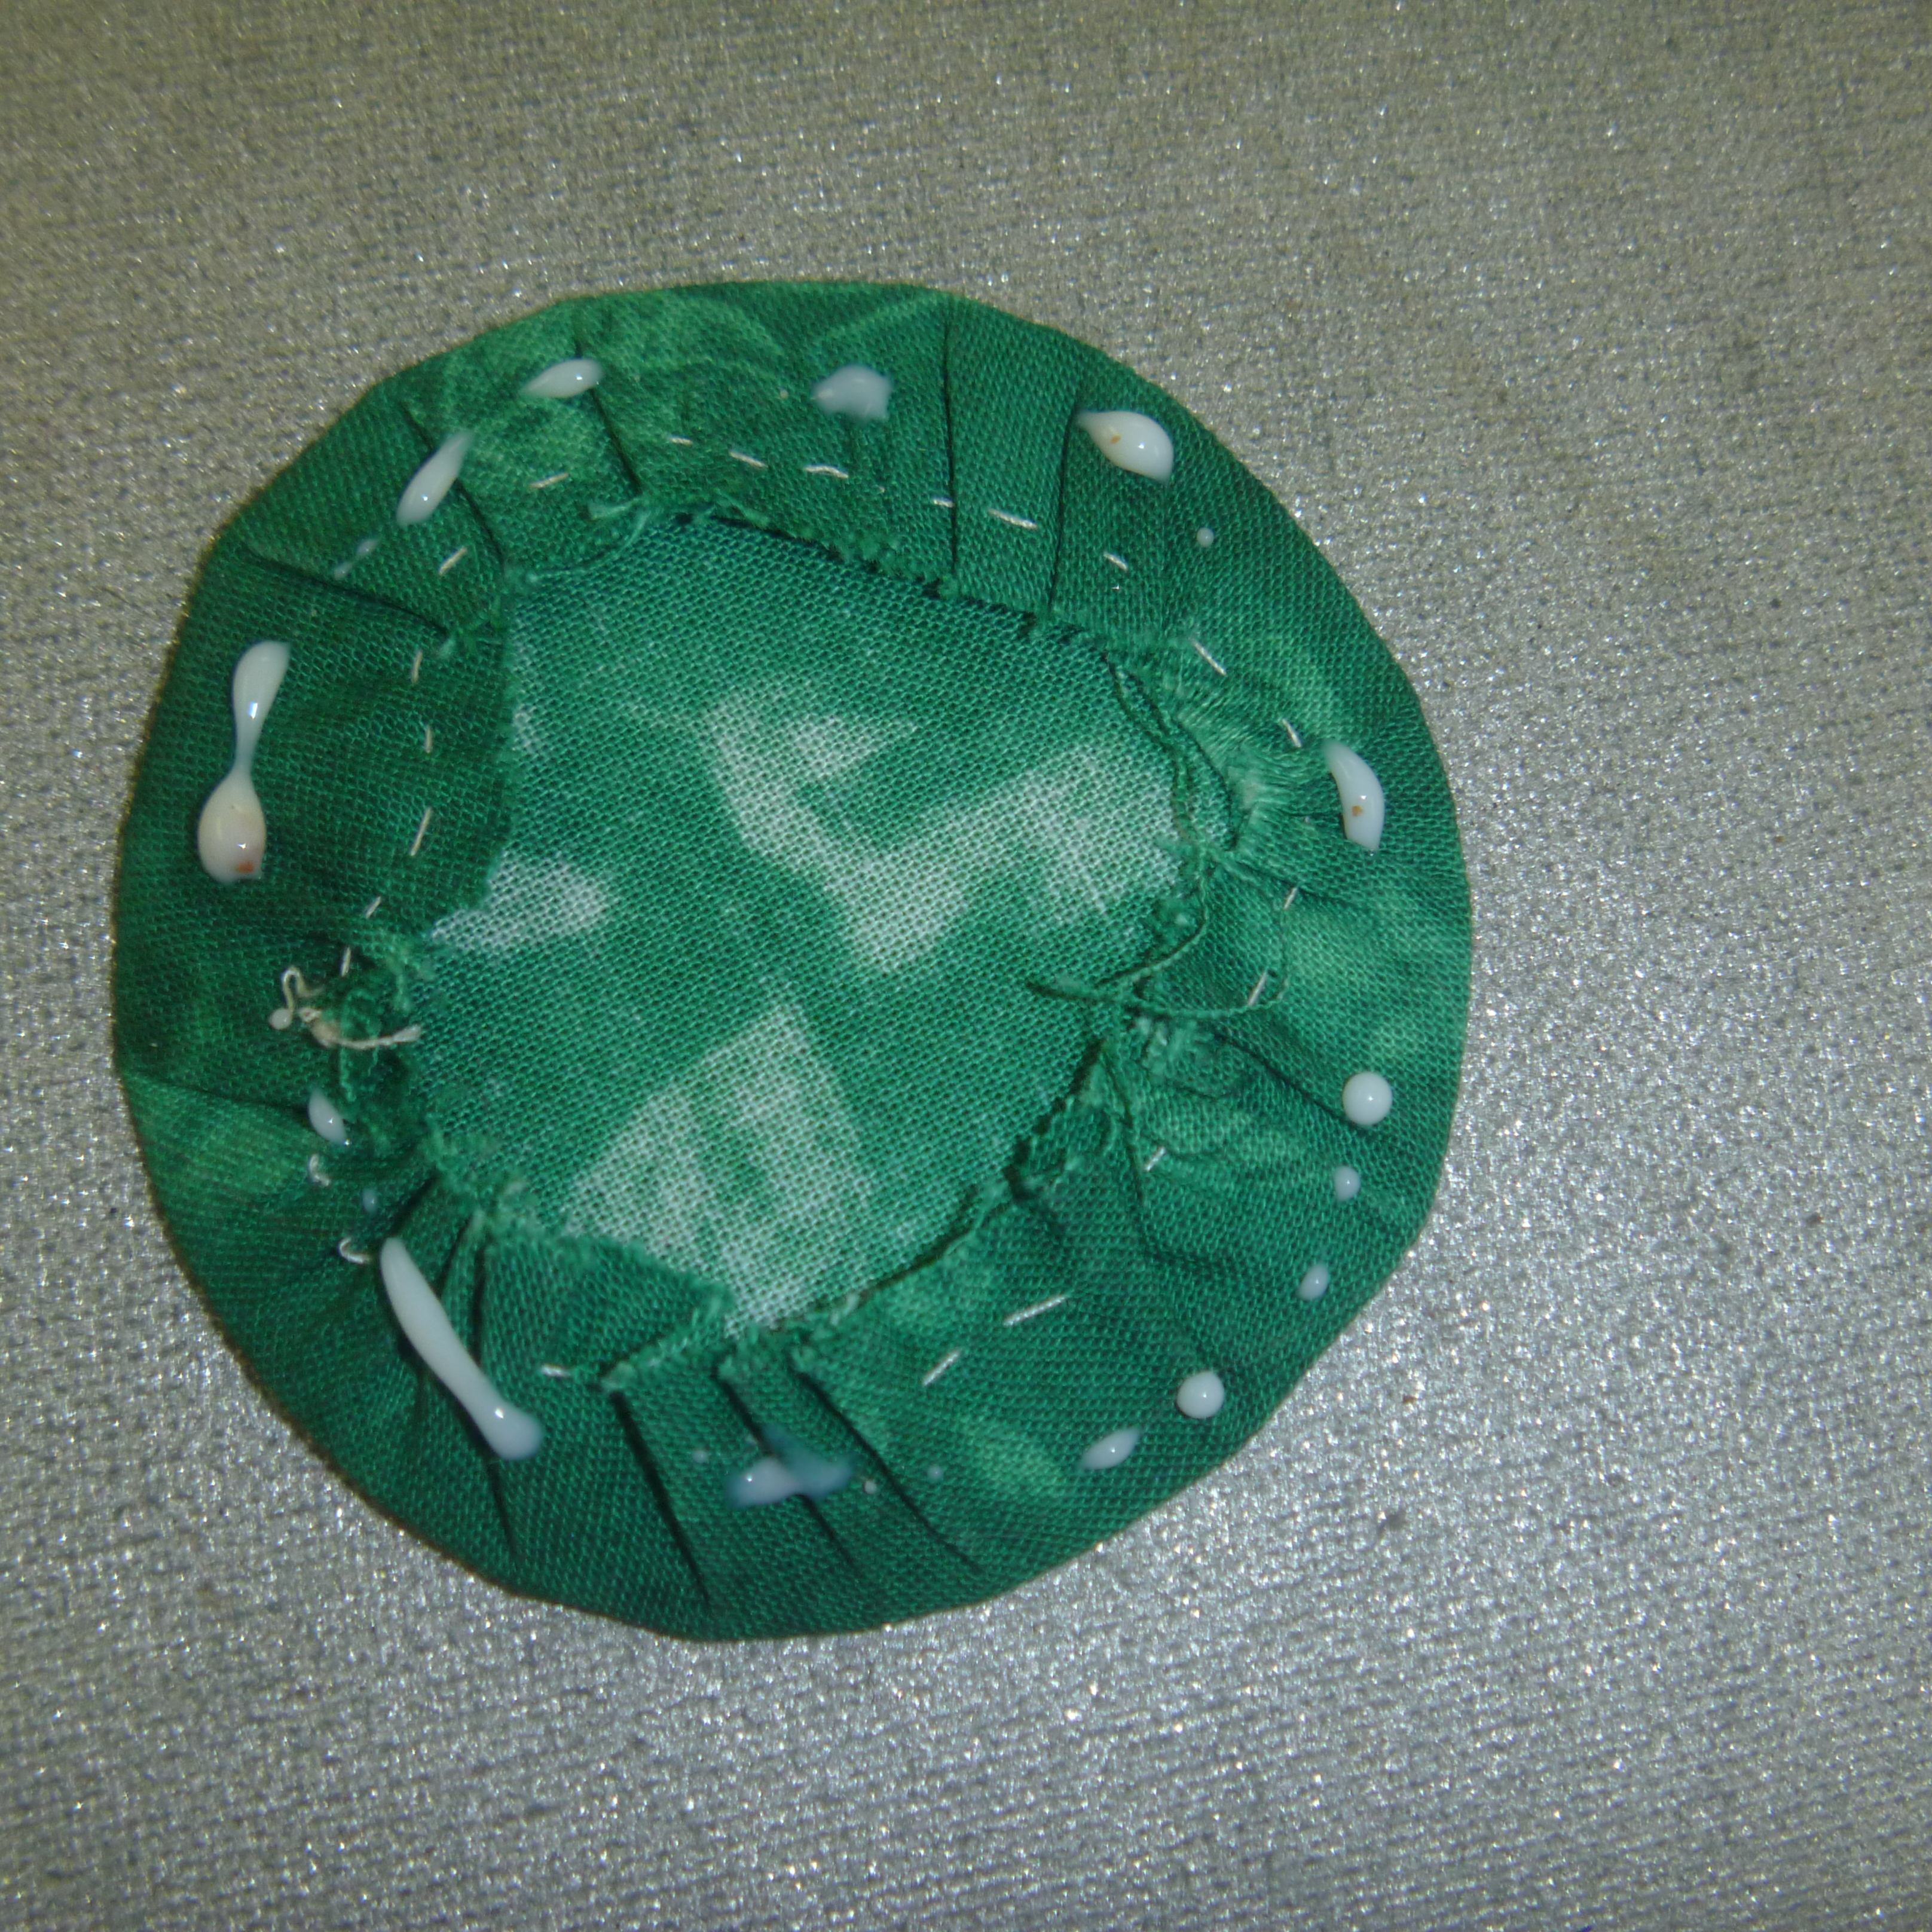
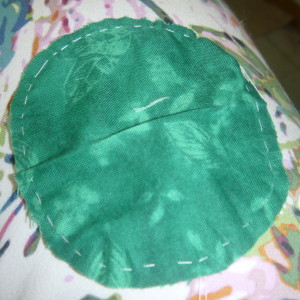
As I pulled the two ends of the thread, the fabric wrapped around the cardboard

I then pressed it good and used a bit of the Best Press to hold it.
Now it was time to remove the cardboard and give it another press and some glue to hold it in place so I could sew. A note here. I have found trying to sew on appliques like this that aren’t secure tend to move while I am sewing.
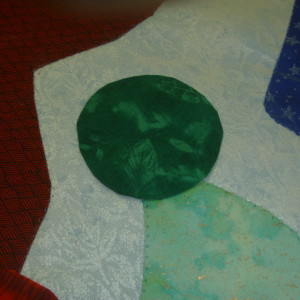
I sewed around each pom and this block is also finished.
One thing I’d like to caution, especially beginners on, is that life isn’t perfect and there are imperfections in this work as well. But the block looks good from a few inches away and the stitching is secure and the quilt will take a fair amount of use without being hurt. And the block is DONE!

 .
.