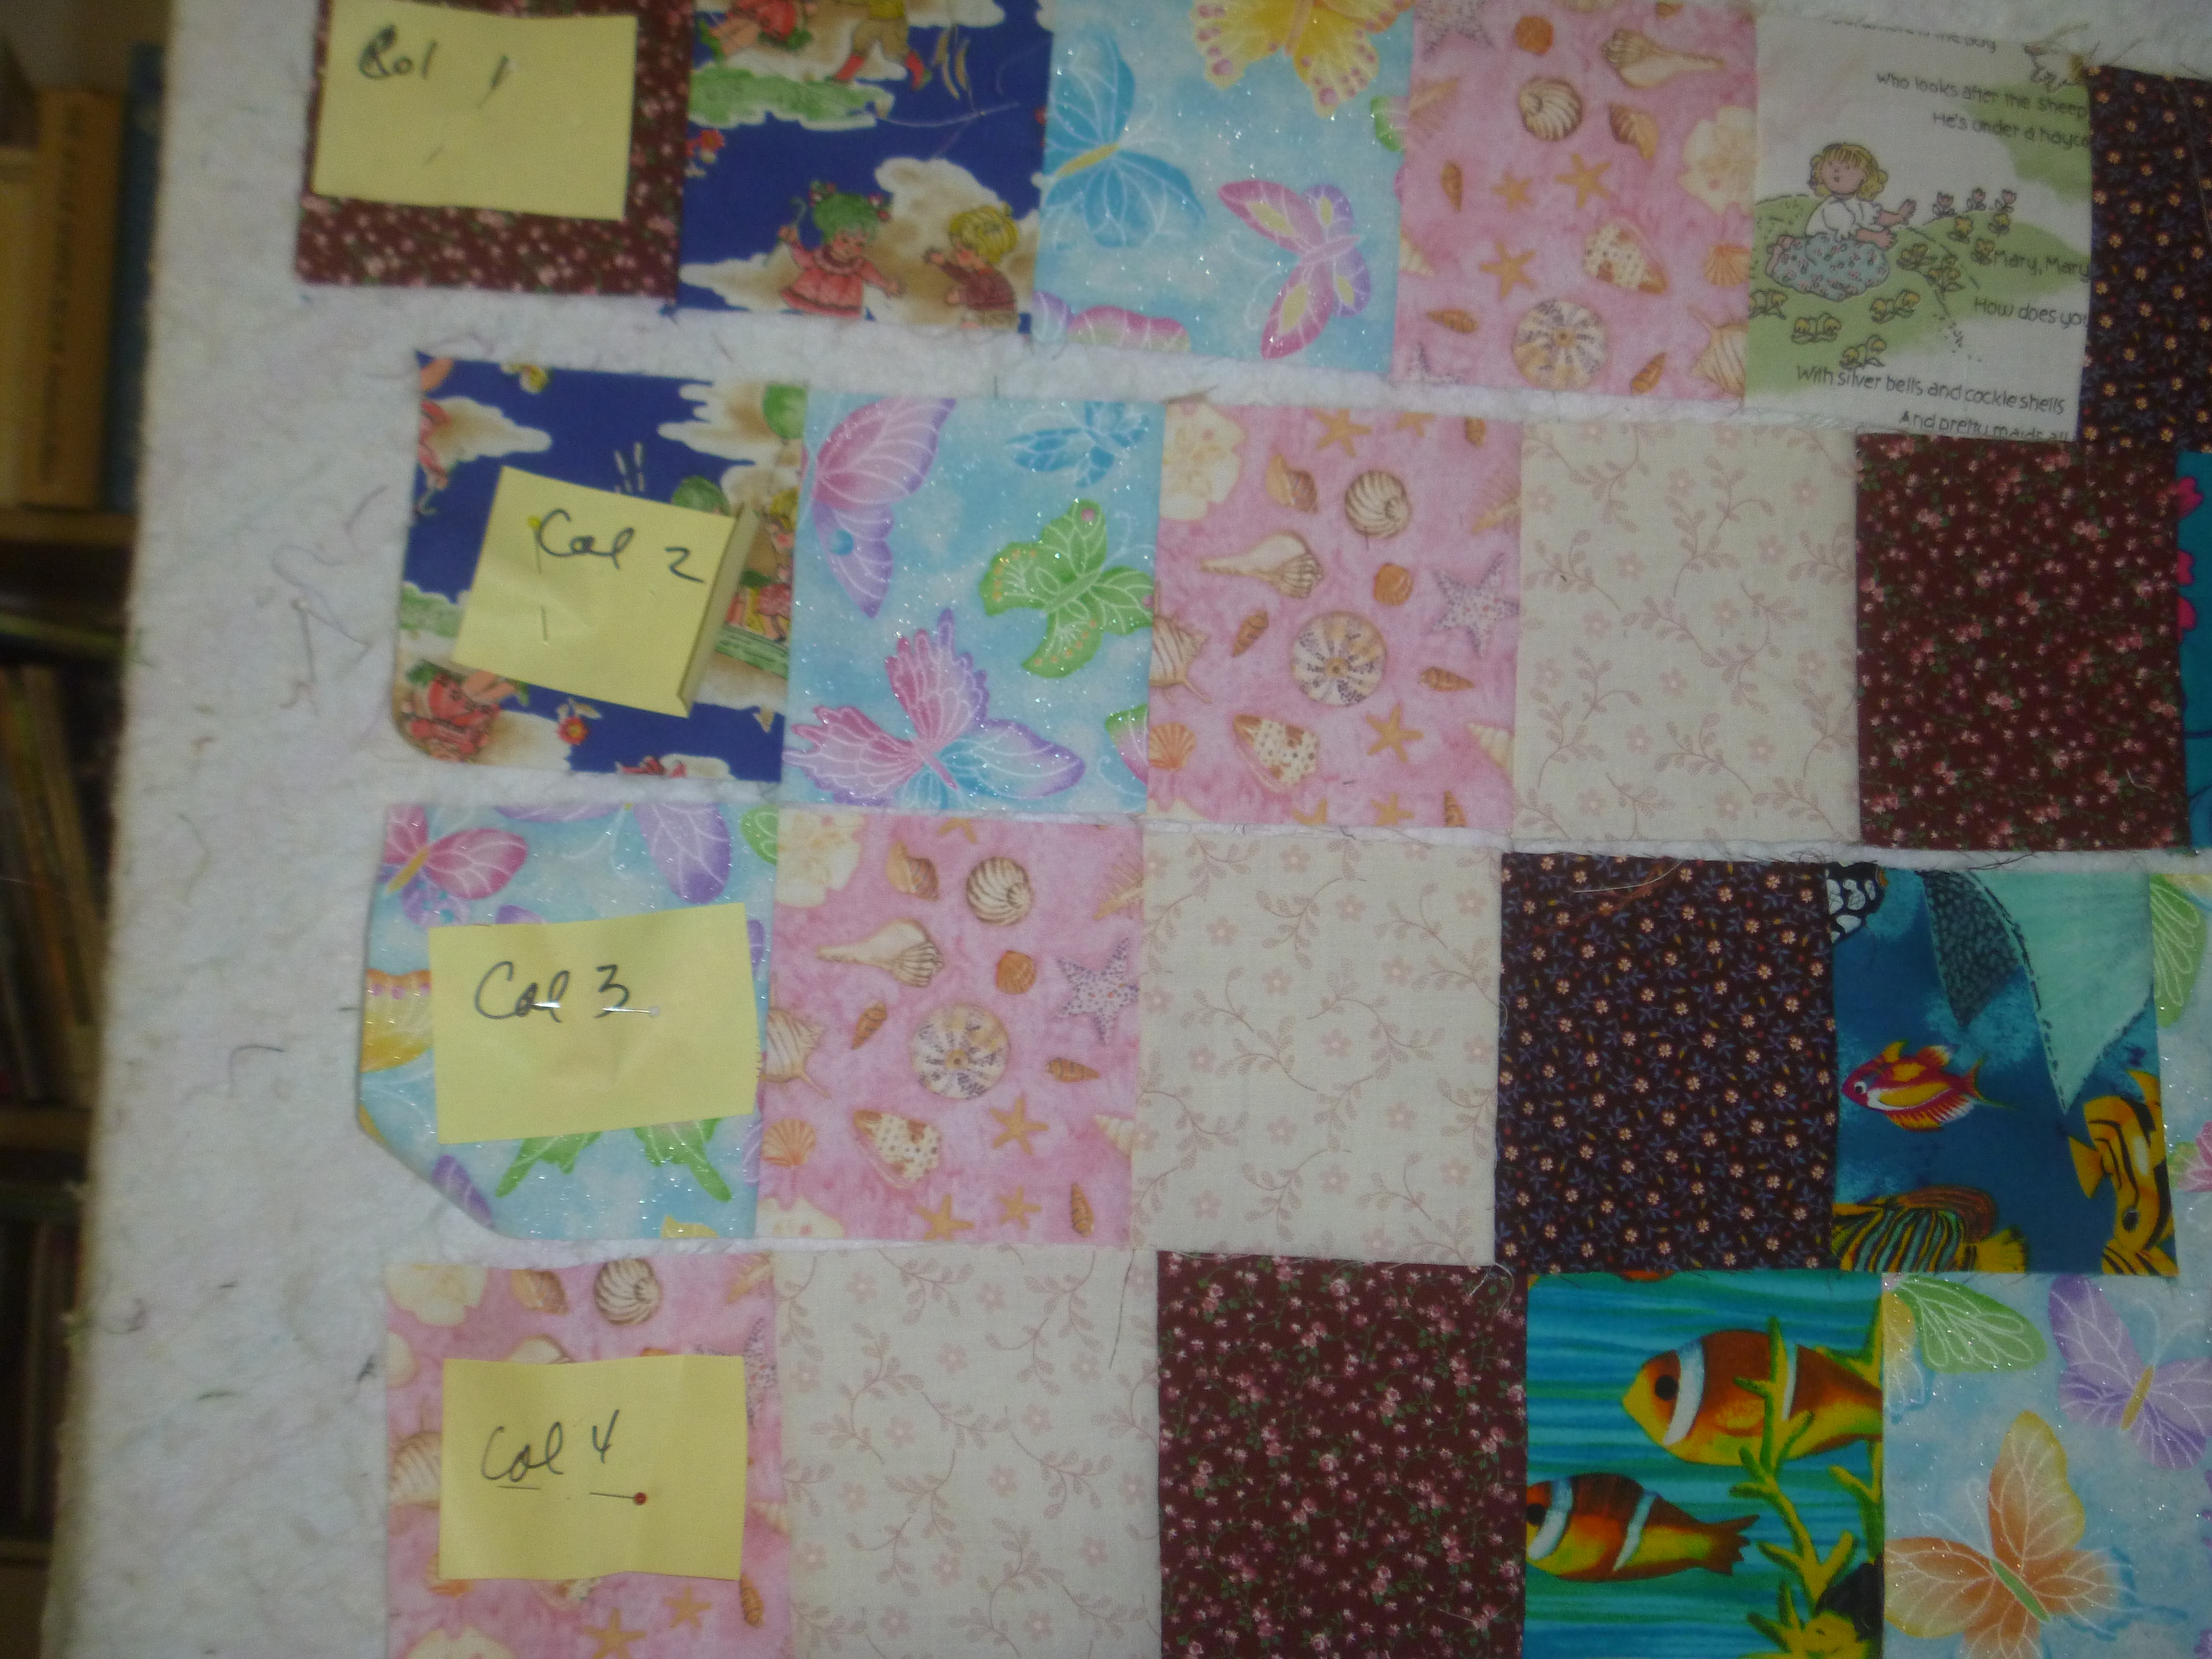
Now that each row is complete, we are ready to press. (Did I mention that I sew quilts with a #2 length on modern machines or on older machines, it would be a few more stitches to the inch) OK, ready to put the quilt together – Move the numbered papers you have at the top to down the left side.
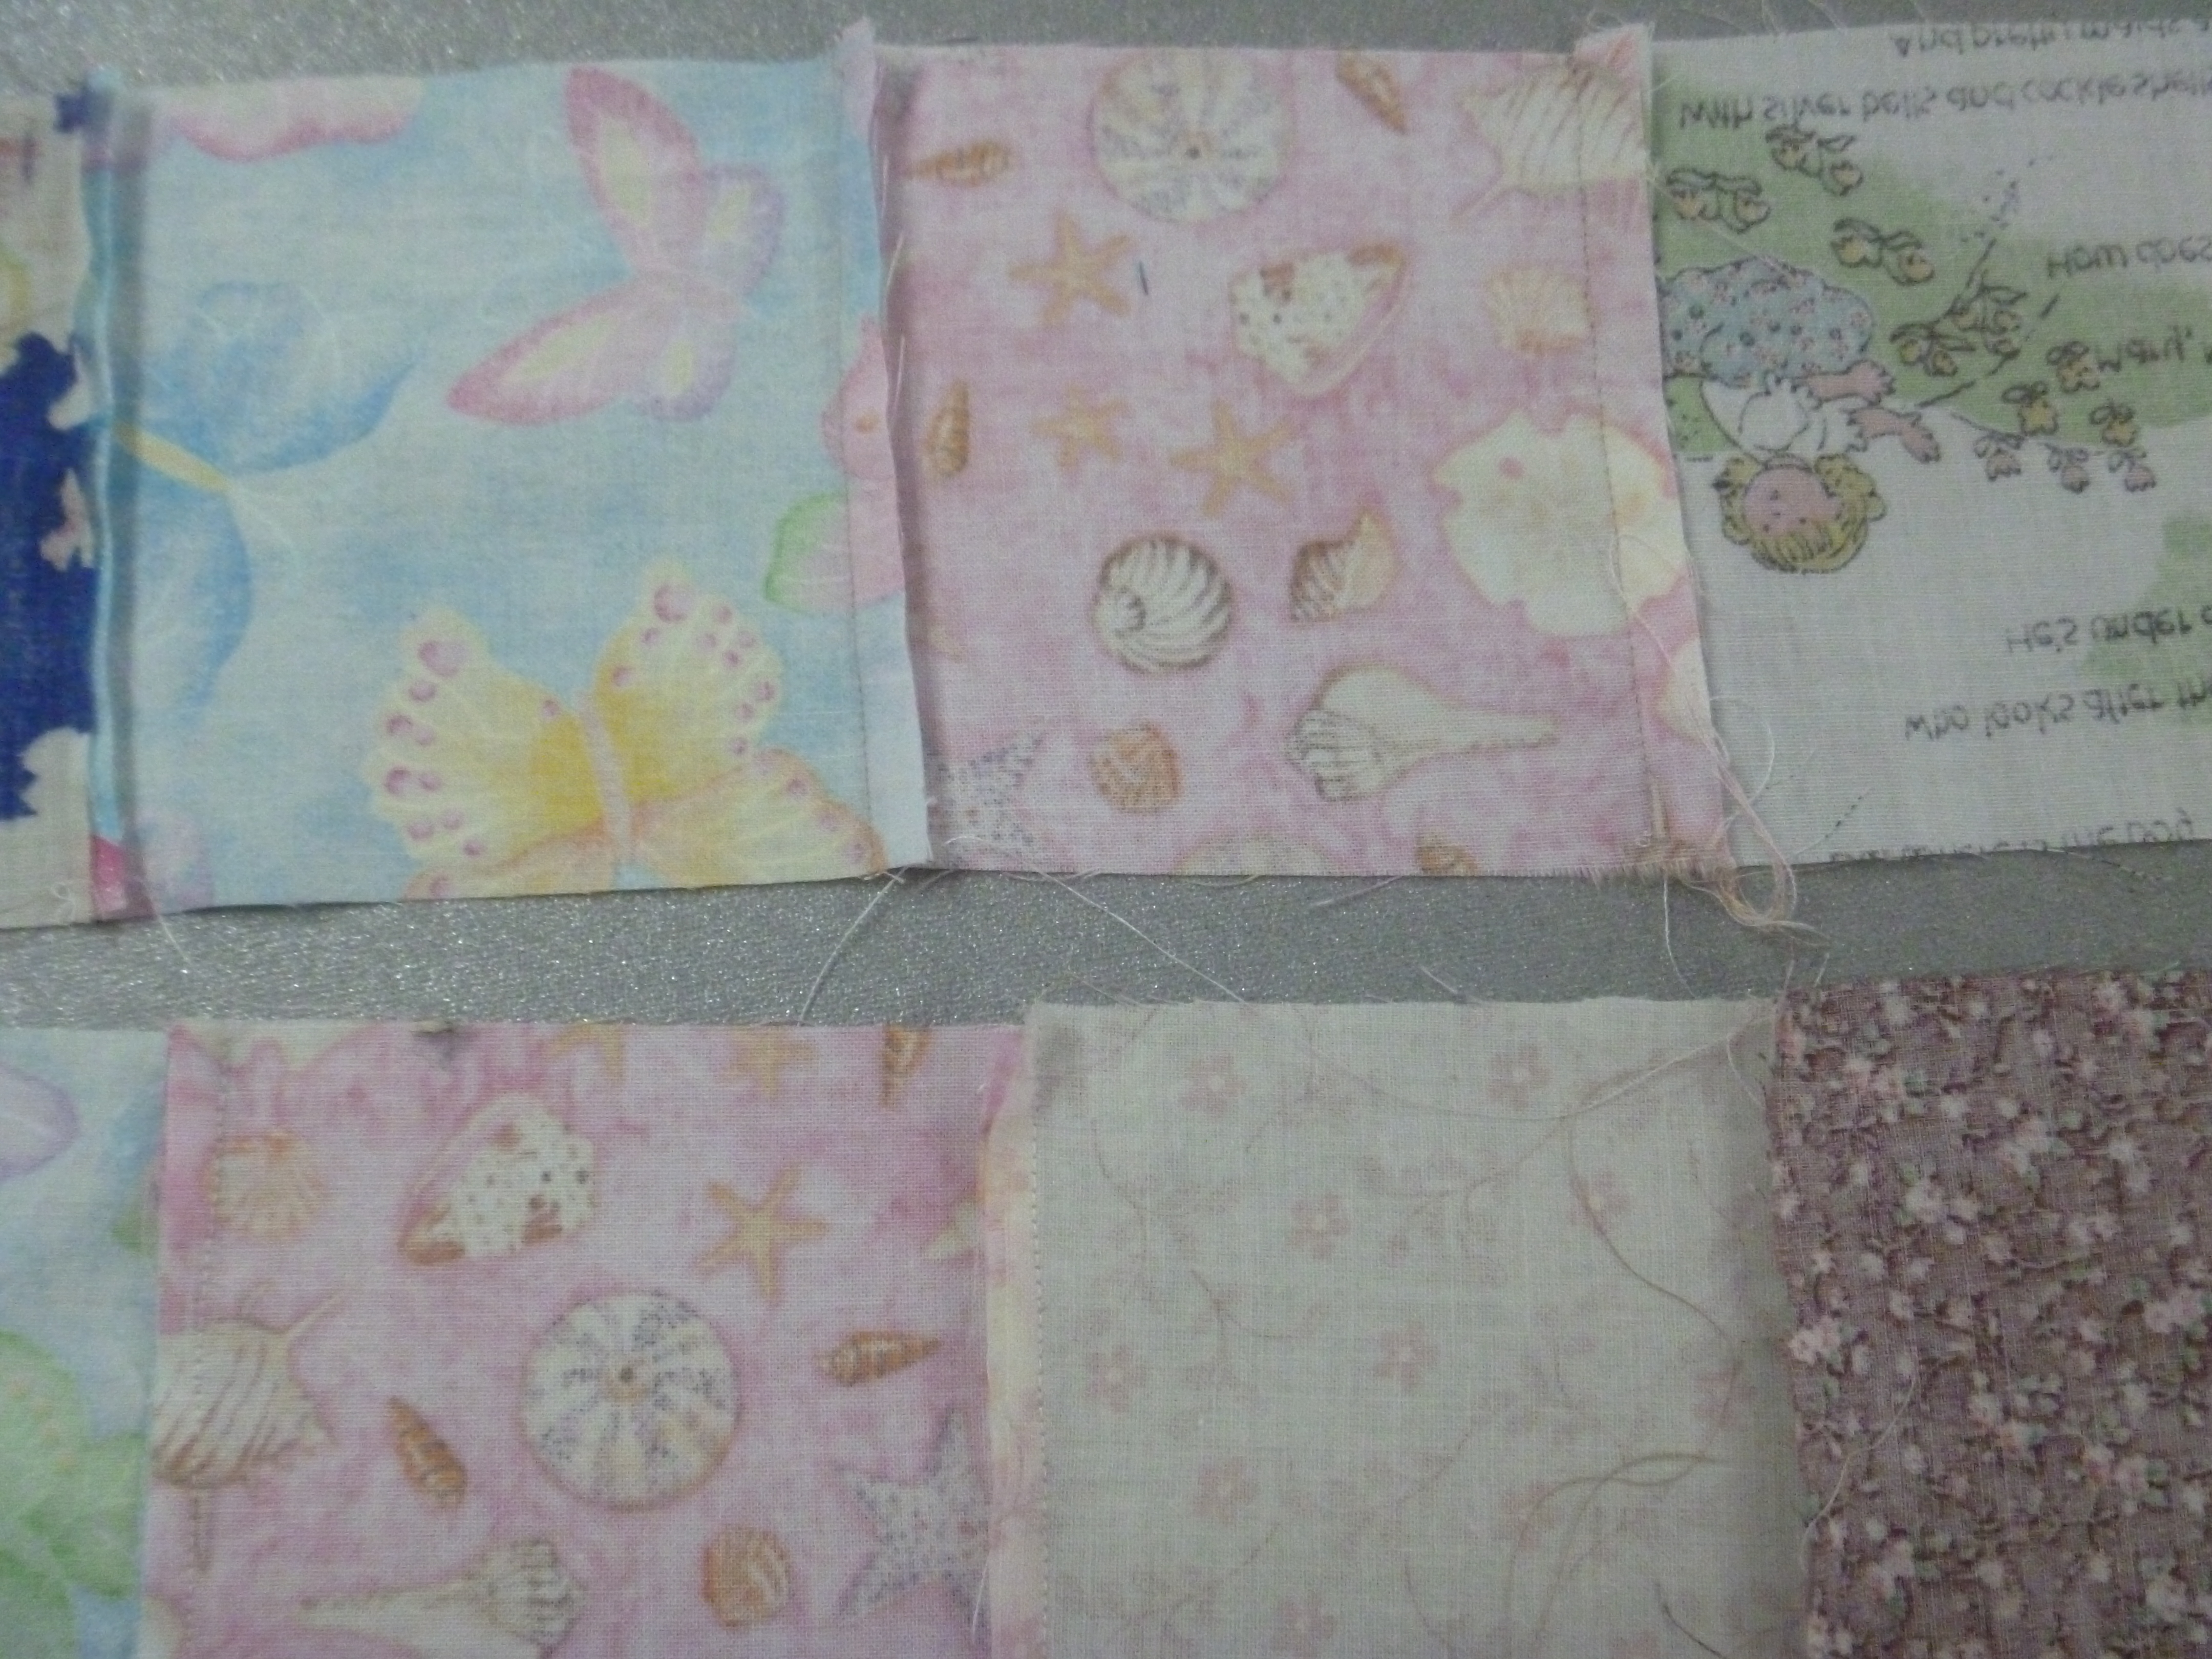
At the ironing board press all even numbered rows to the left and all odd numbered rows to the right (this can be reversed, just be sure that they are pressed opposite)

We want to “nest” the seams. Nesting is something you can feel. Put one seam left and the seam to the right as you gently pull them together, you can feel it lock. This is exactly what you want. Unless you are a seasoned seamstress, you may want to pin at each intersection. Sew the bottom of row 1 to the top of row 2. Sew the bottom of row 3 to the top of row 4 etc. Again row 11 will be left over. This is a great time to press those seams down. Now sew the bottom of row 2 to the top of row 3 and so on until all rows are together. When all the rows are stitched together, press all seams down. In my experience, if a seam intersection is less than 1/8″ of inch off, no one will notice. We are making these to be used and abused by an infant or small child. When you quilt through the layers that often obscures any tiny errors. It is more important that your seams are all flat on the back side.
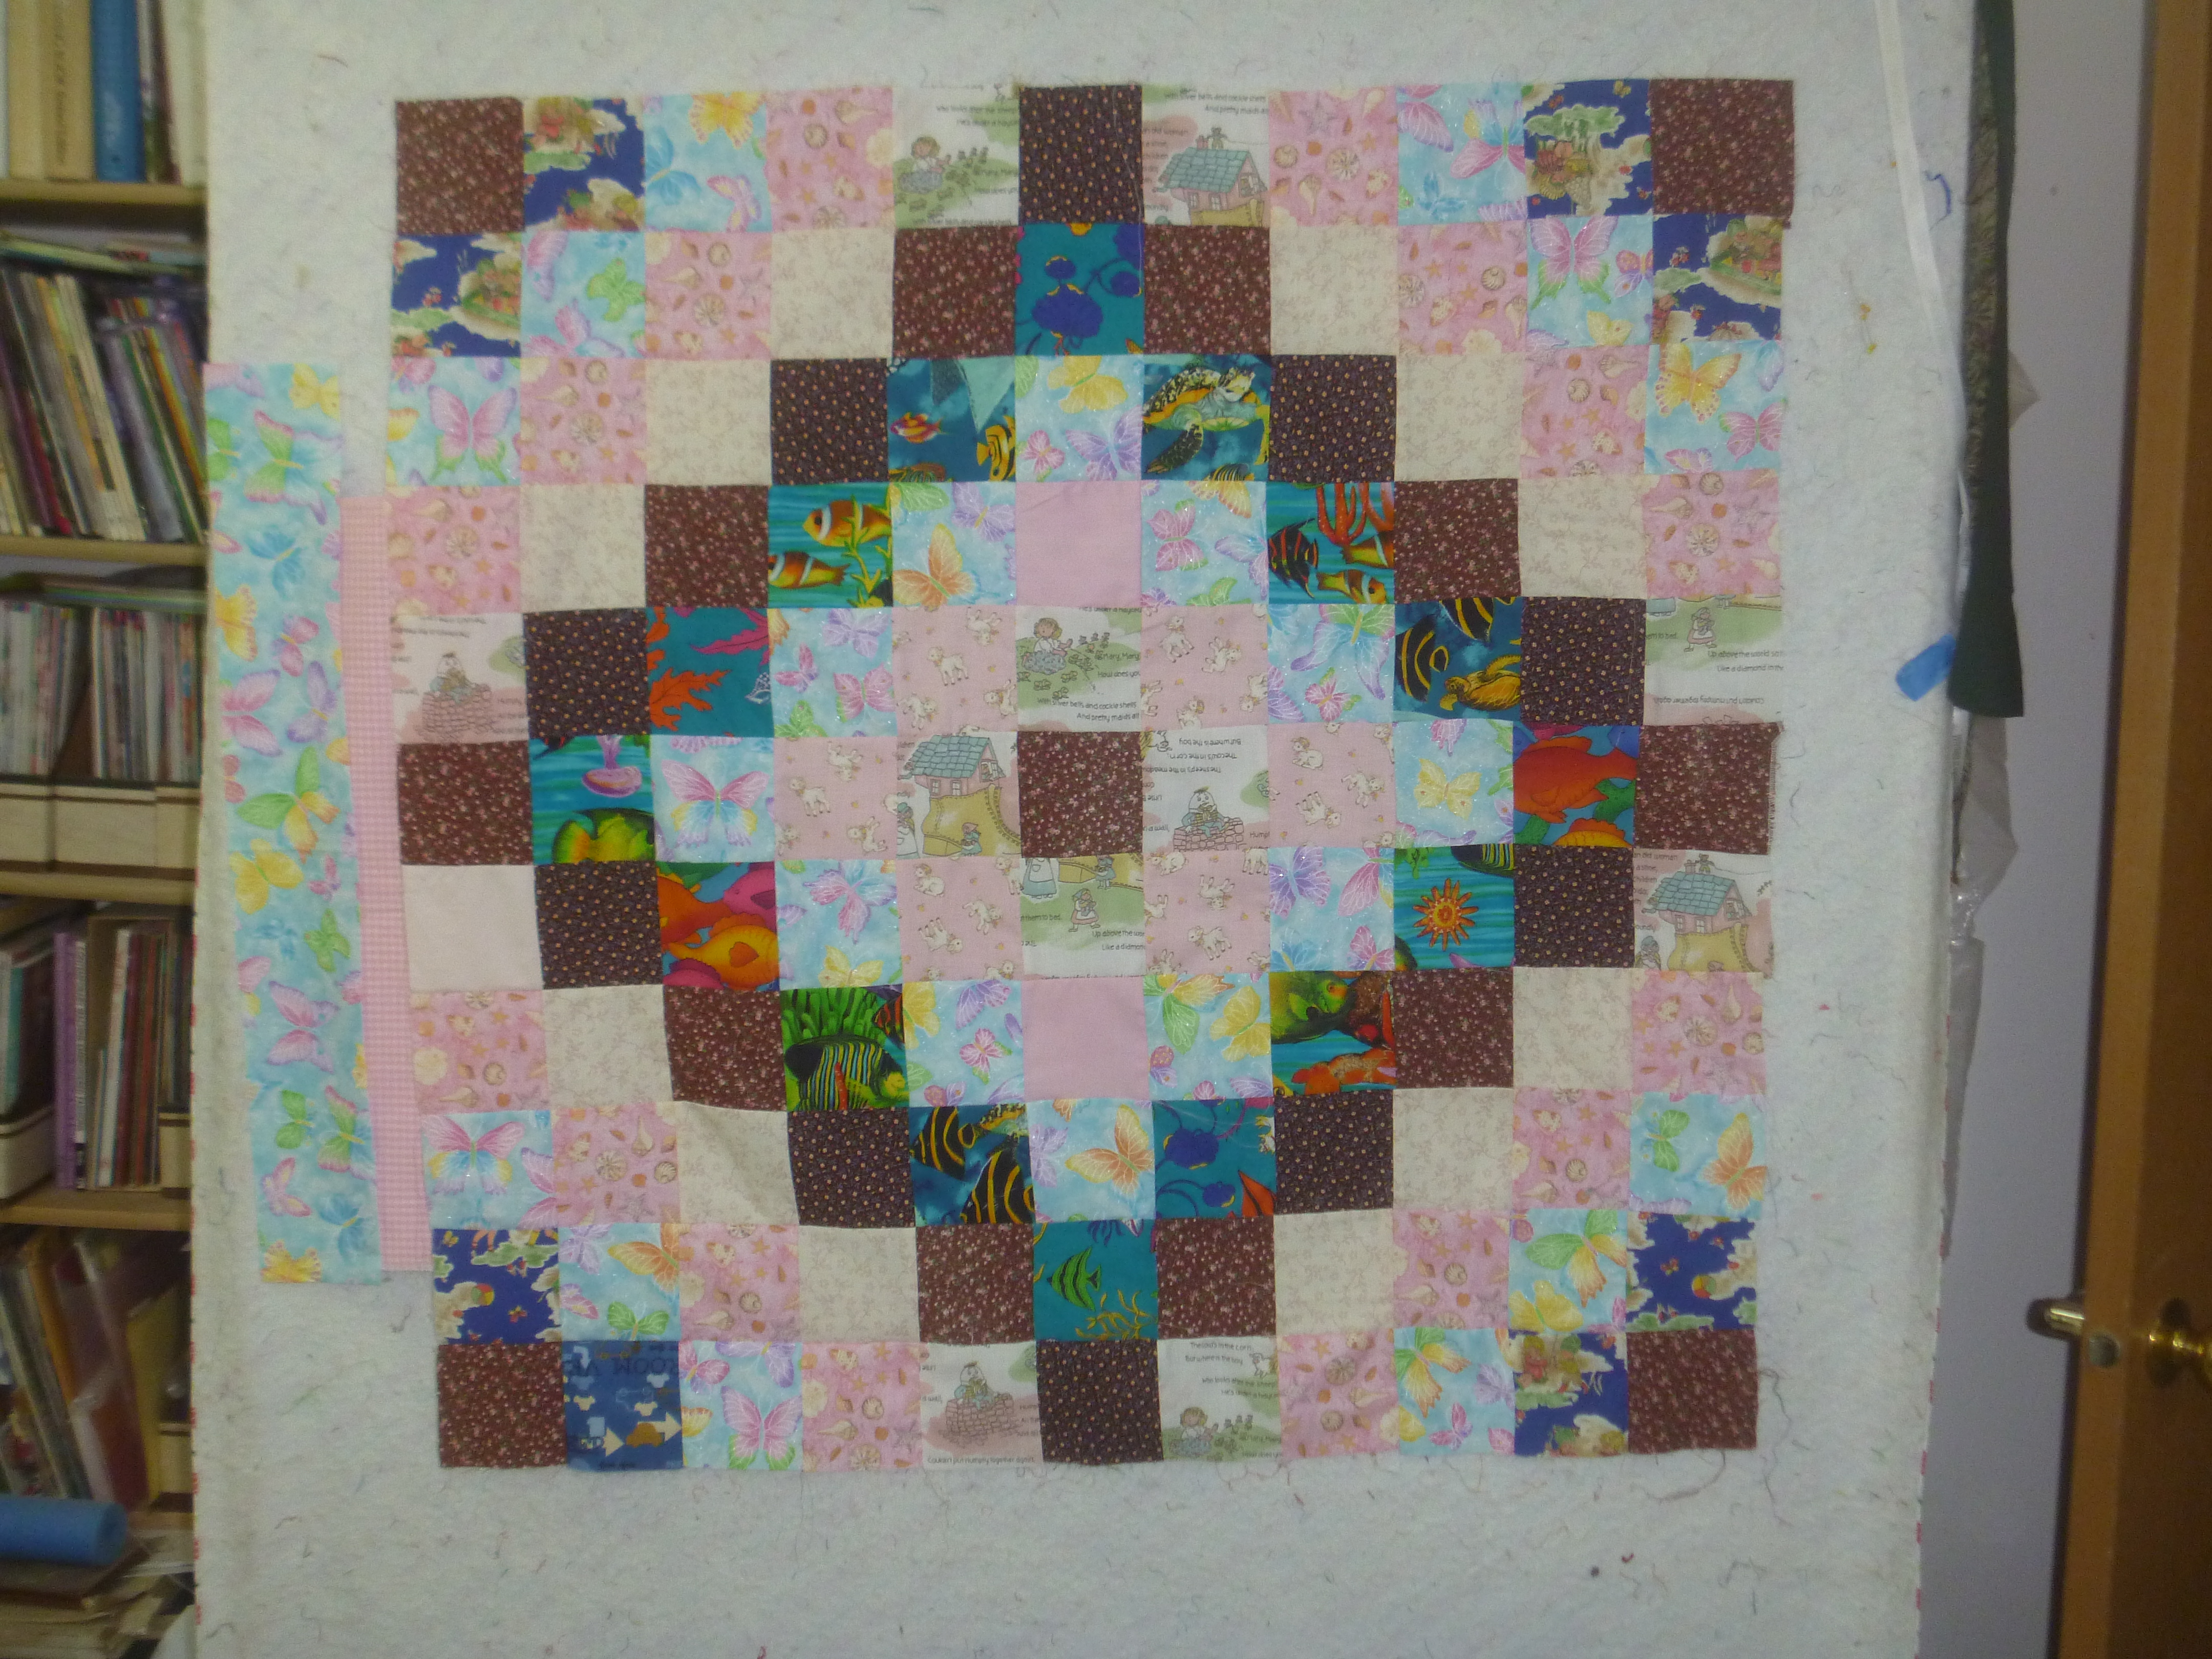
Here I have finished the center and am ready to put the borders on. So far I have tried several borders, but am not happy with any of them. I may just use a plain color for the outer border. I will let it hang there for a few days until I decide what to do.