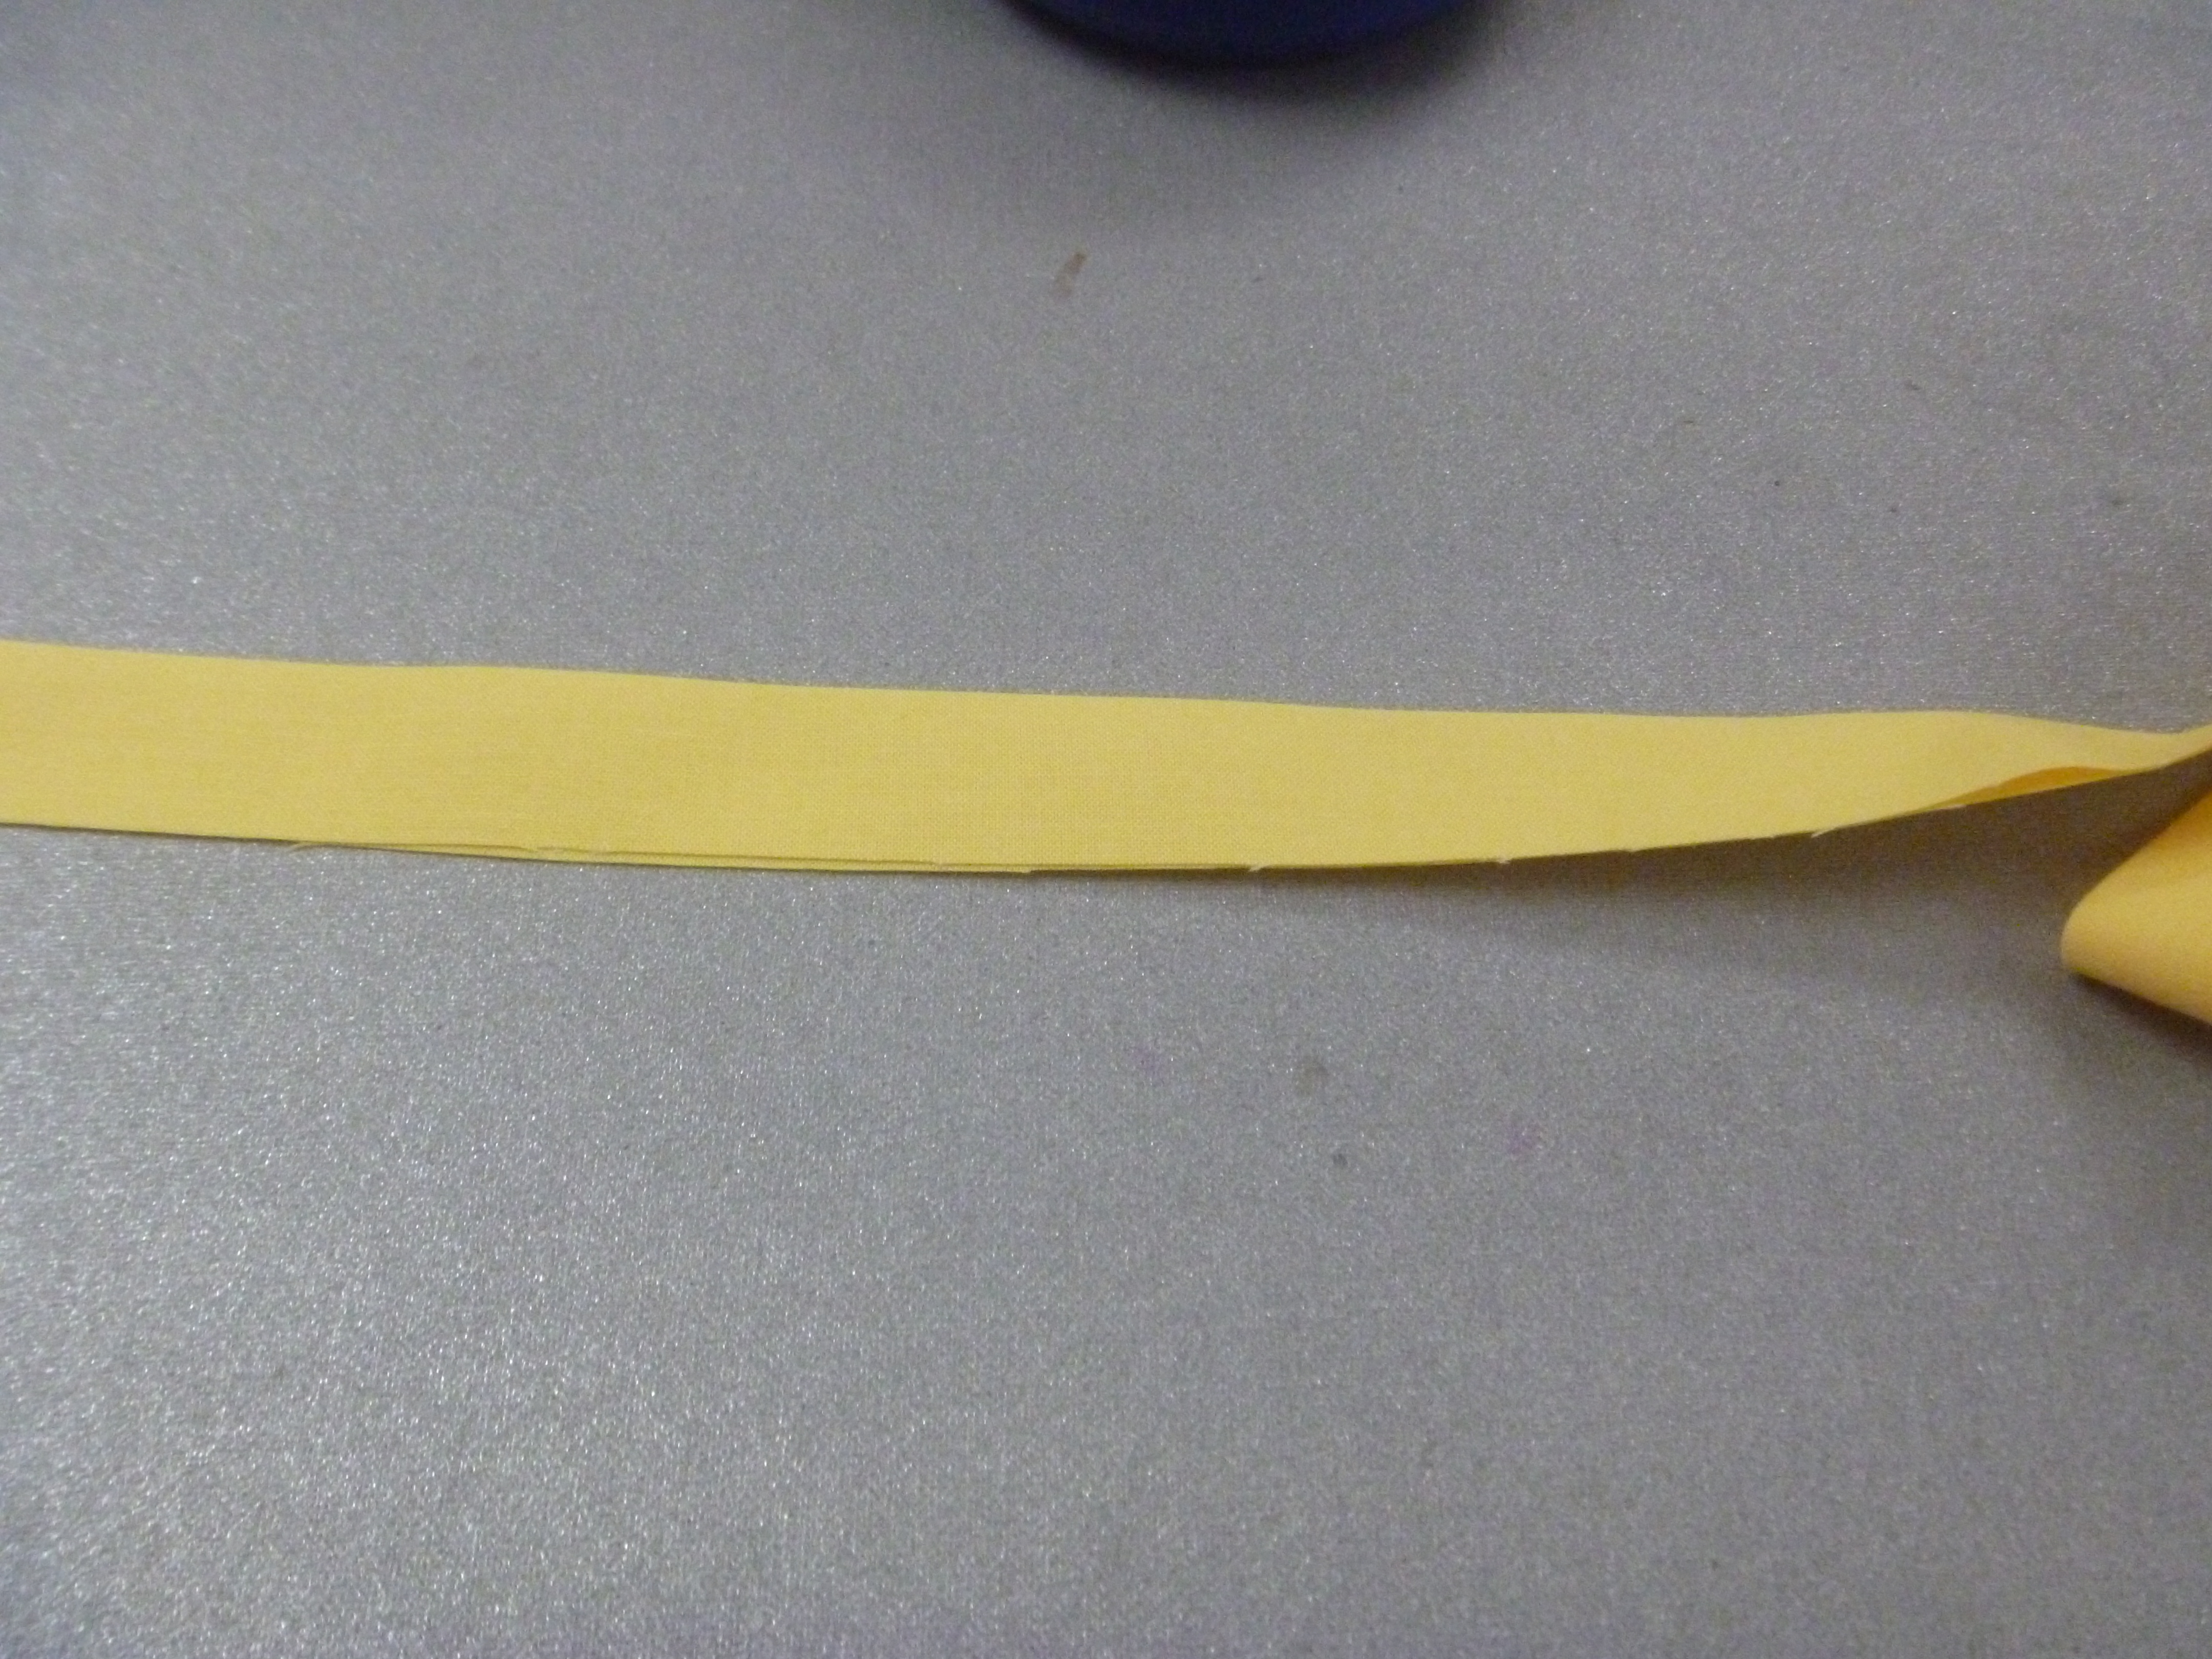
Remember the three pieces we cut for the pillowcases. We’ll take the 2″ piece and press that right sides together and set aside
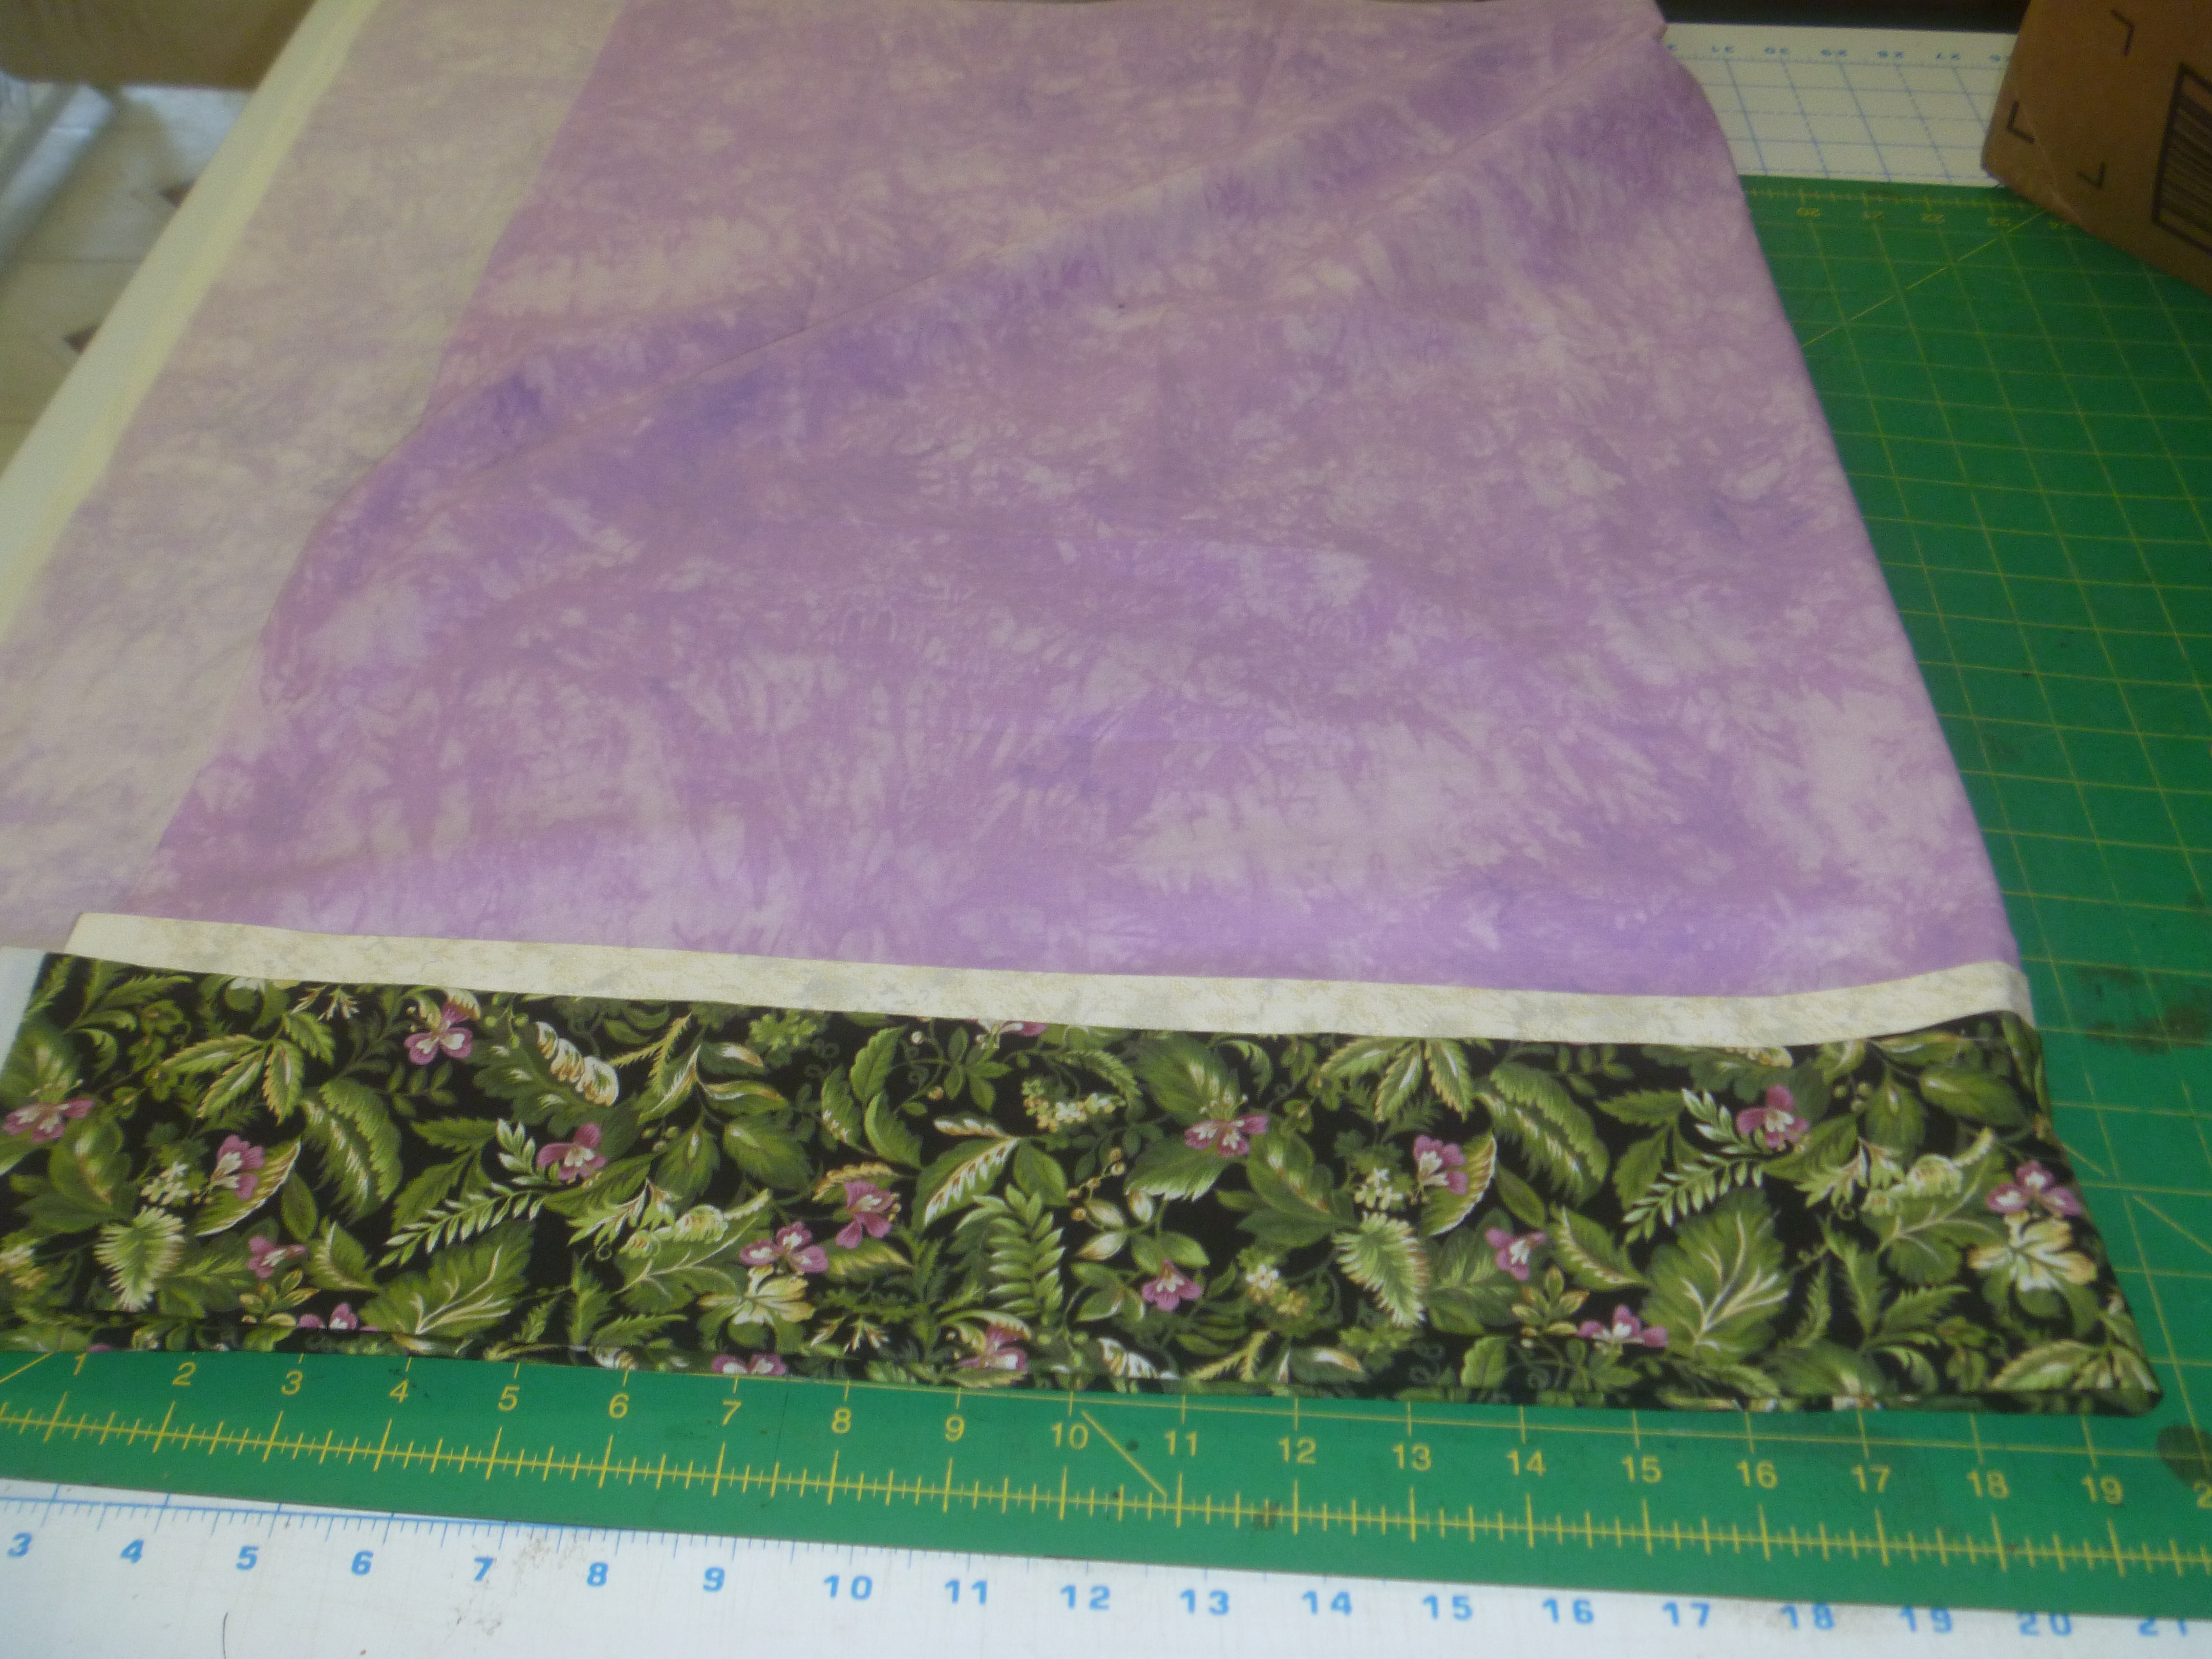
Then we’ll take the band and lay it right side up on the ironing board or a table

Now lay the body fabric of the case right side up on top of the band with edges meeting
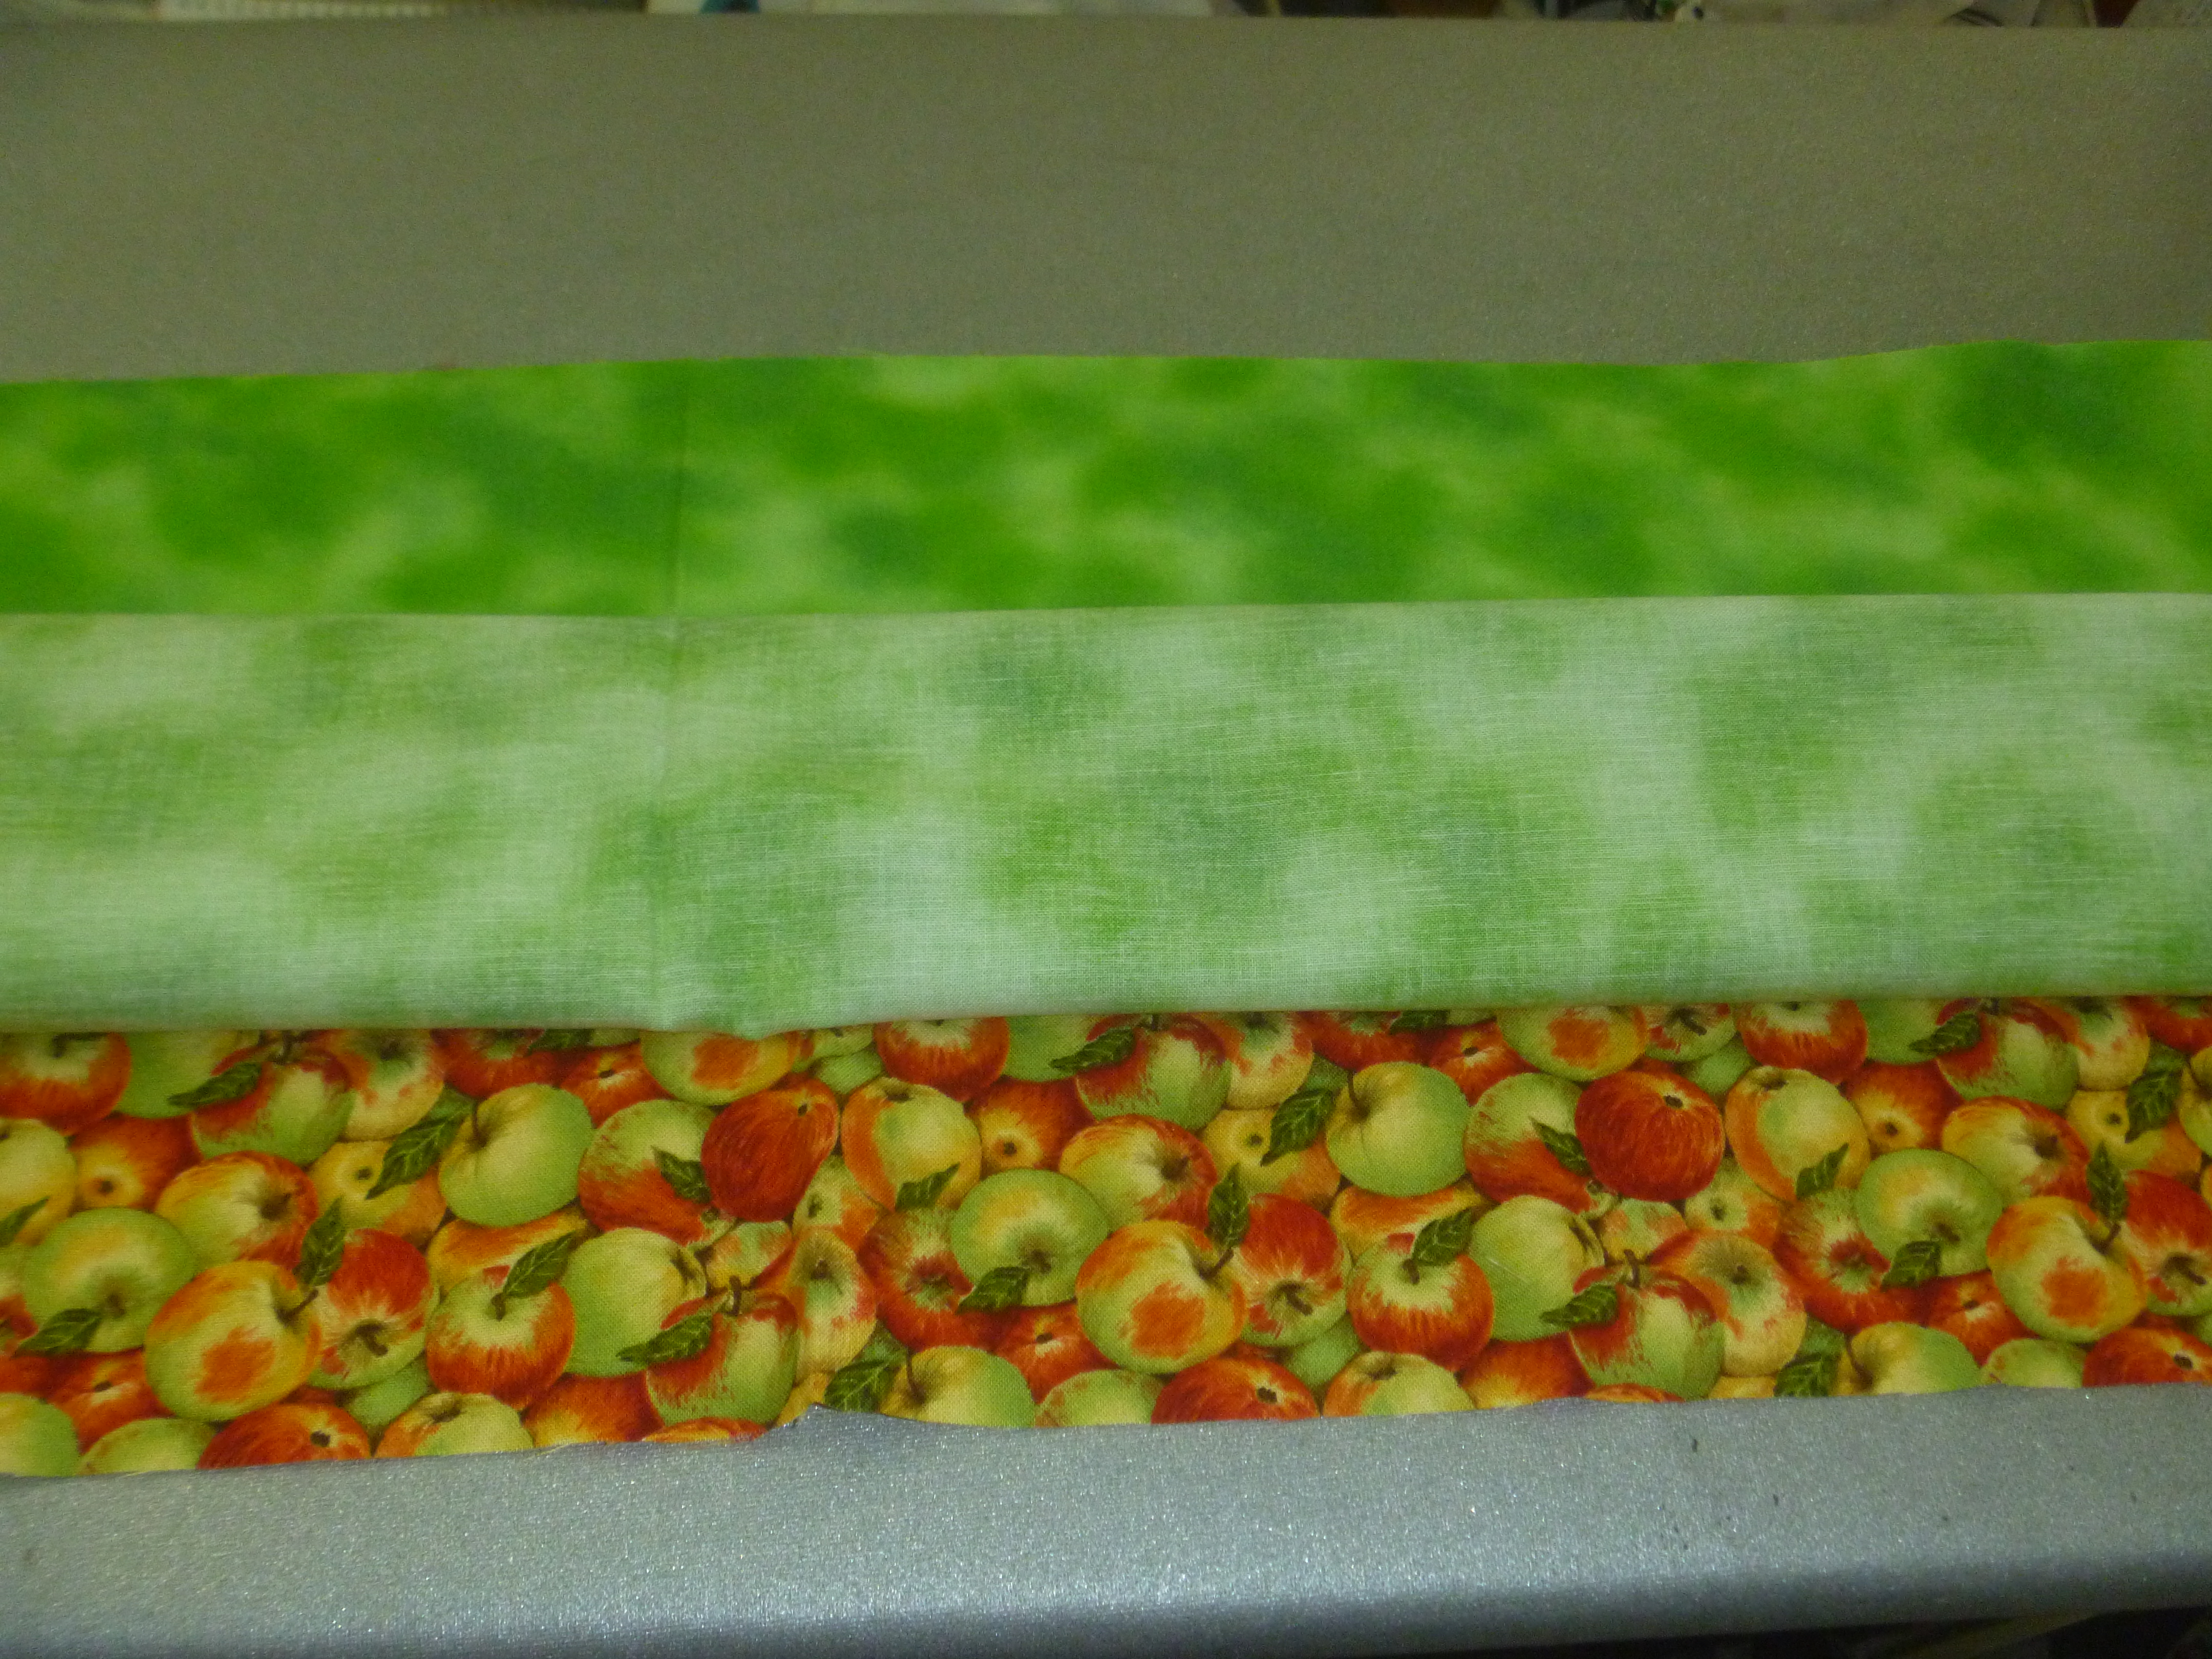
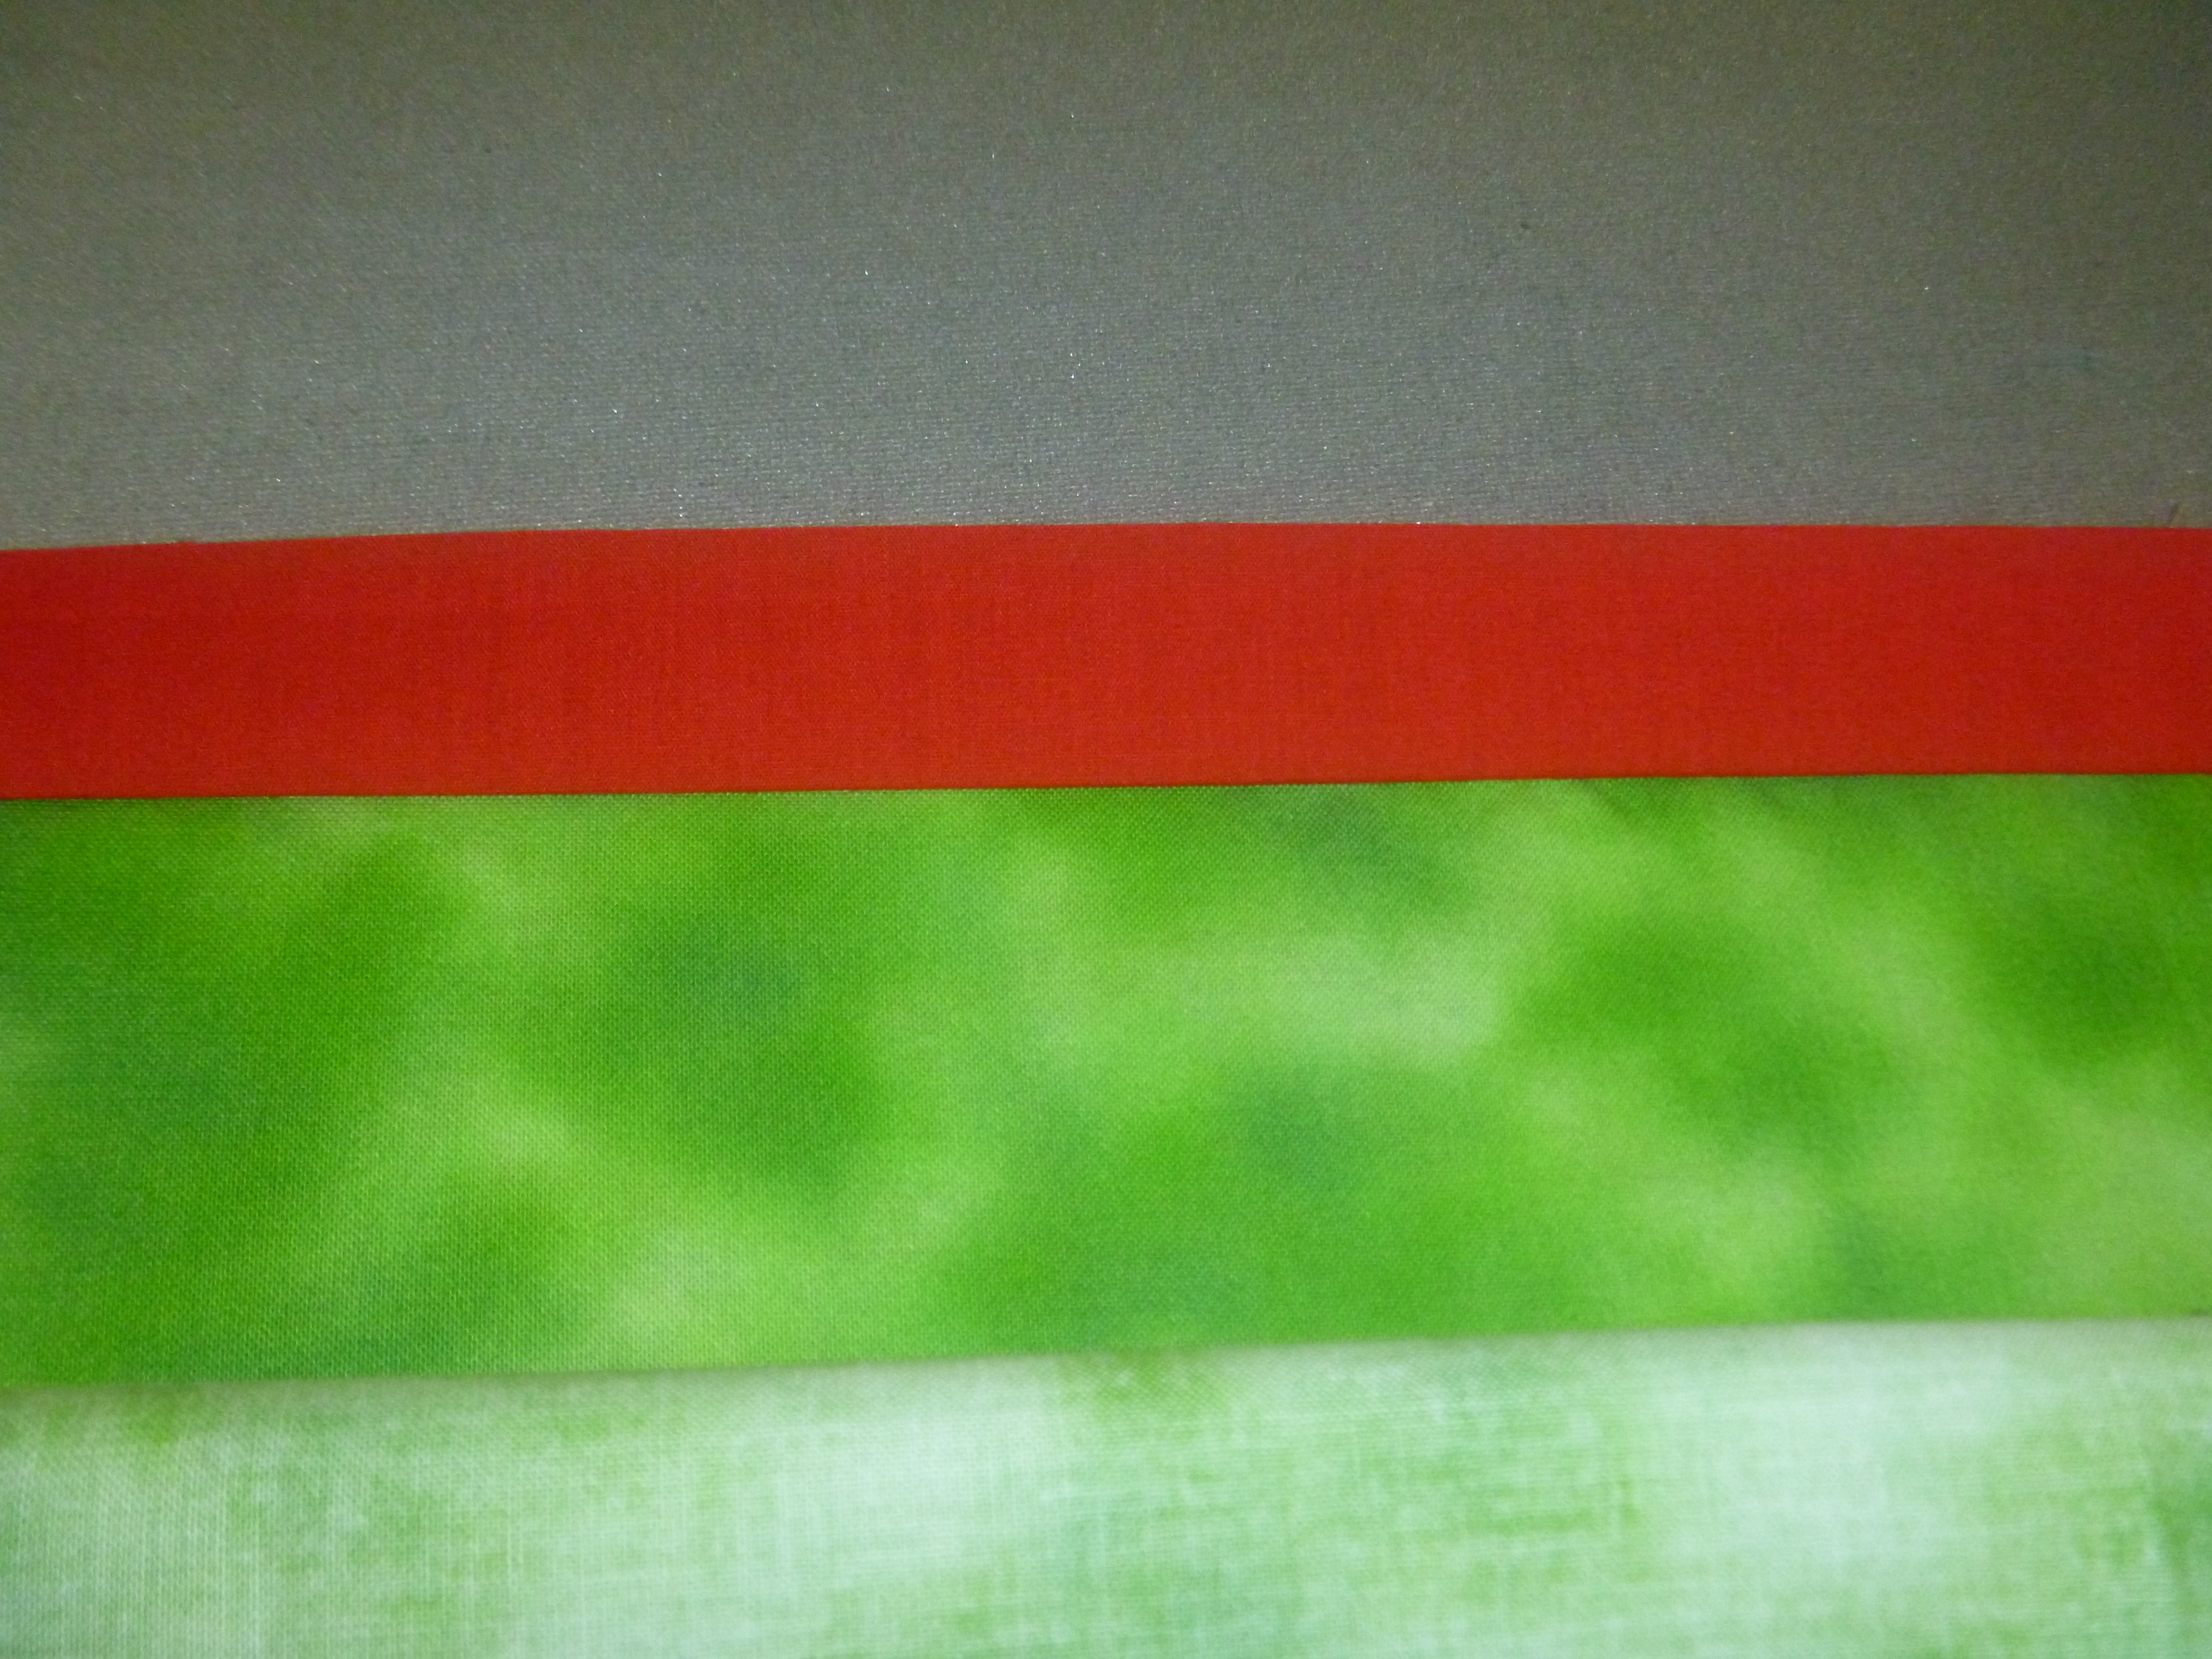
And the small 1″ piece of trim goes on top of that with all edges meeting.
Now fold the largest piece of fabric so that we can bring the band up and over to meet the edge where we have lined everything up – hot dog style..
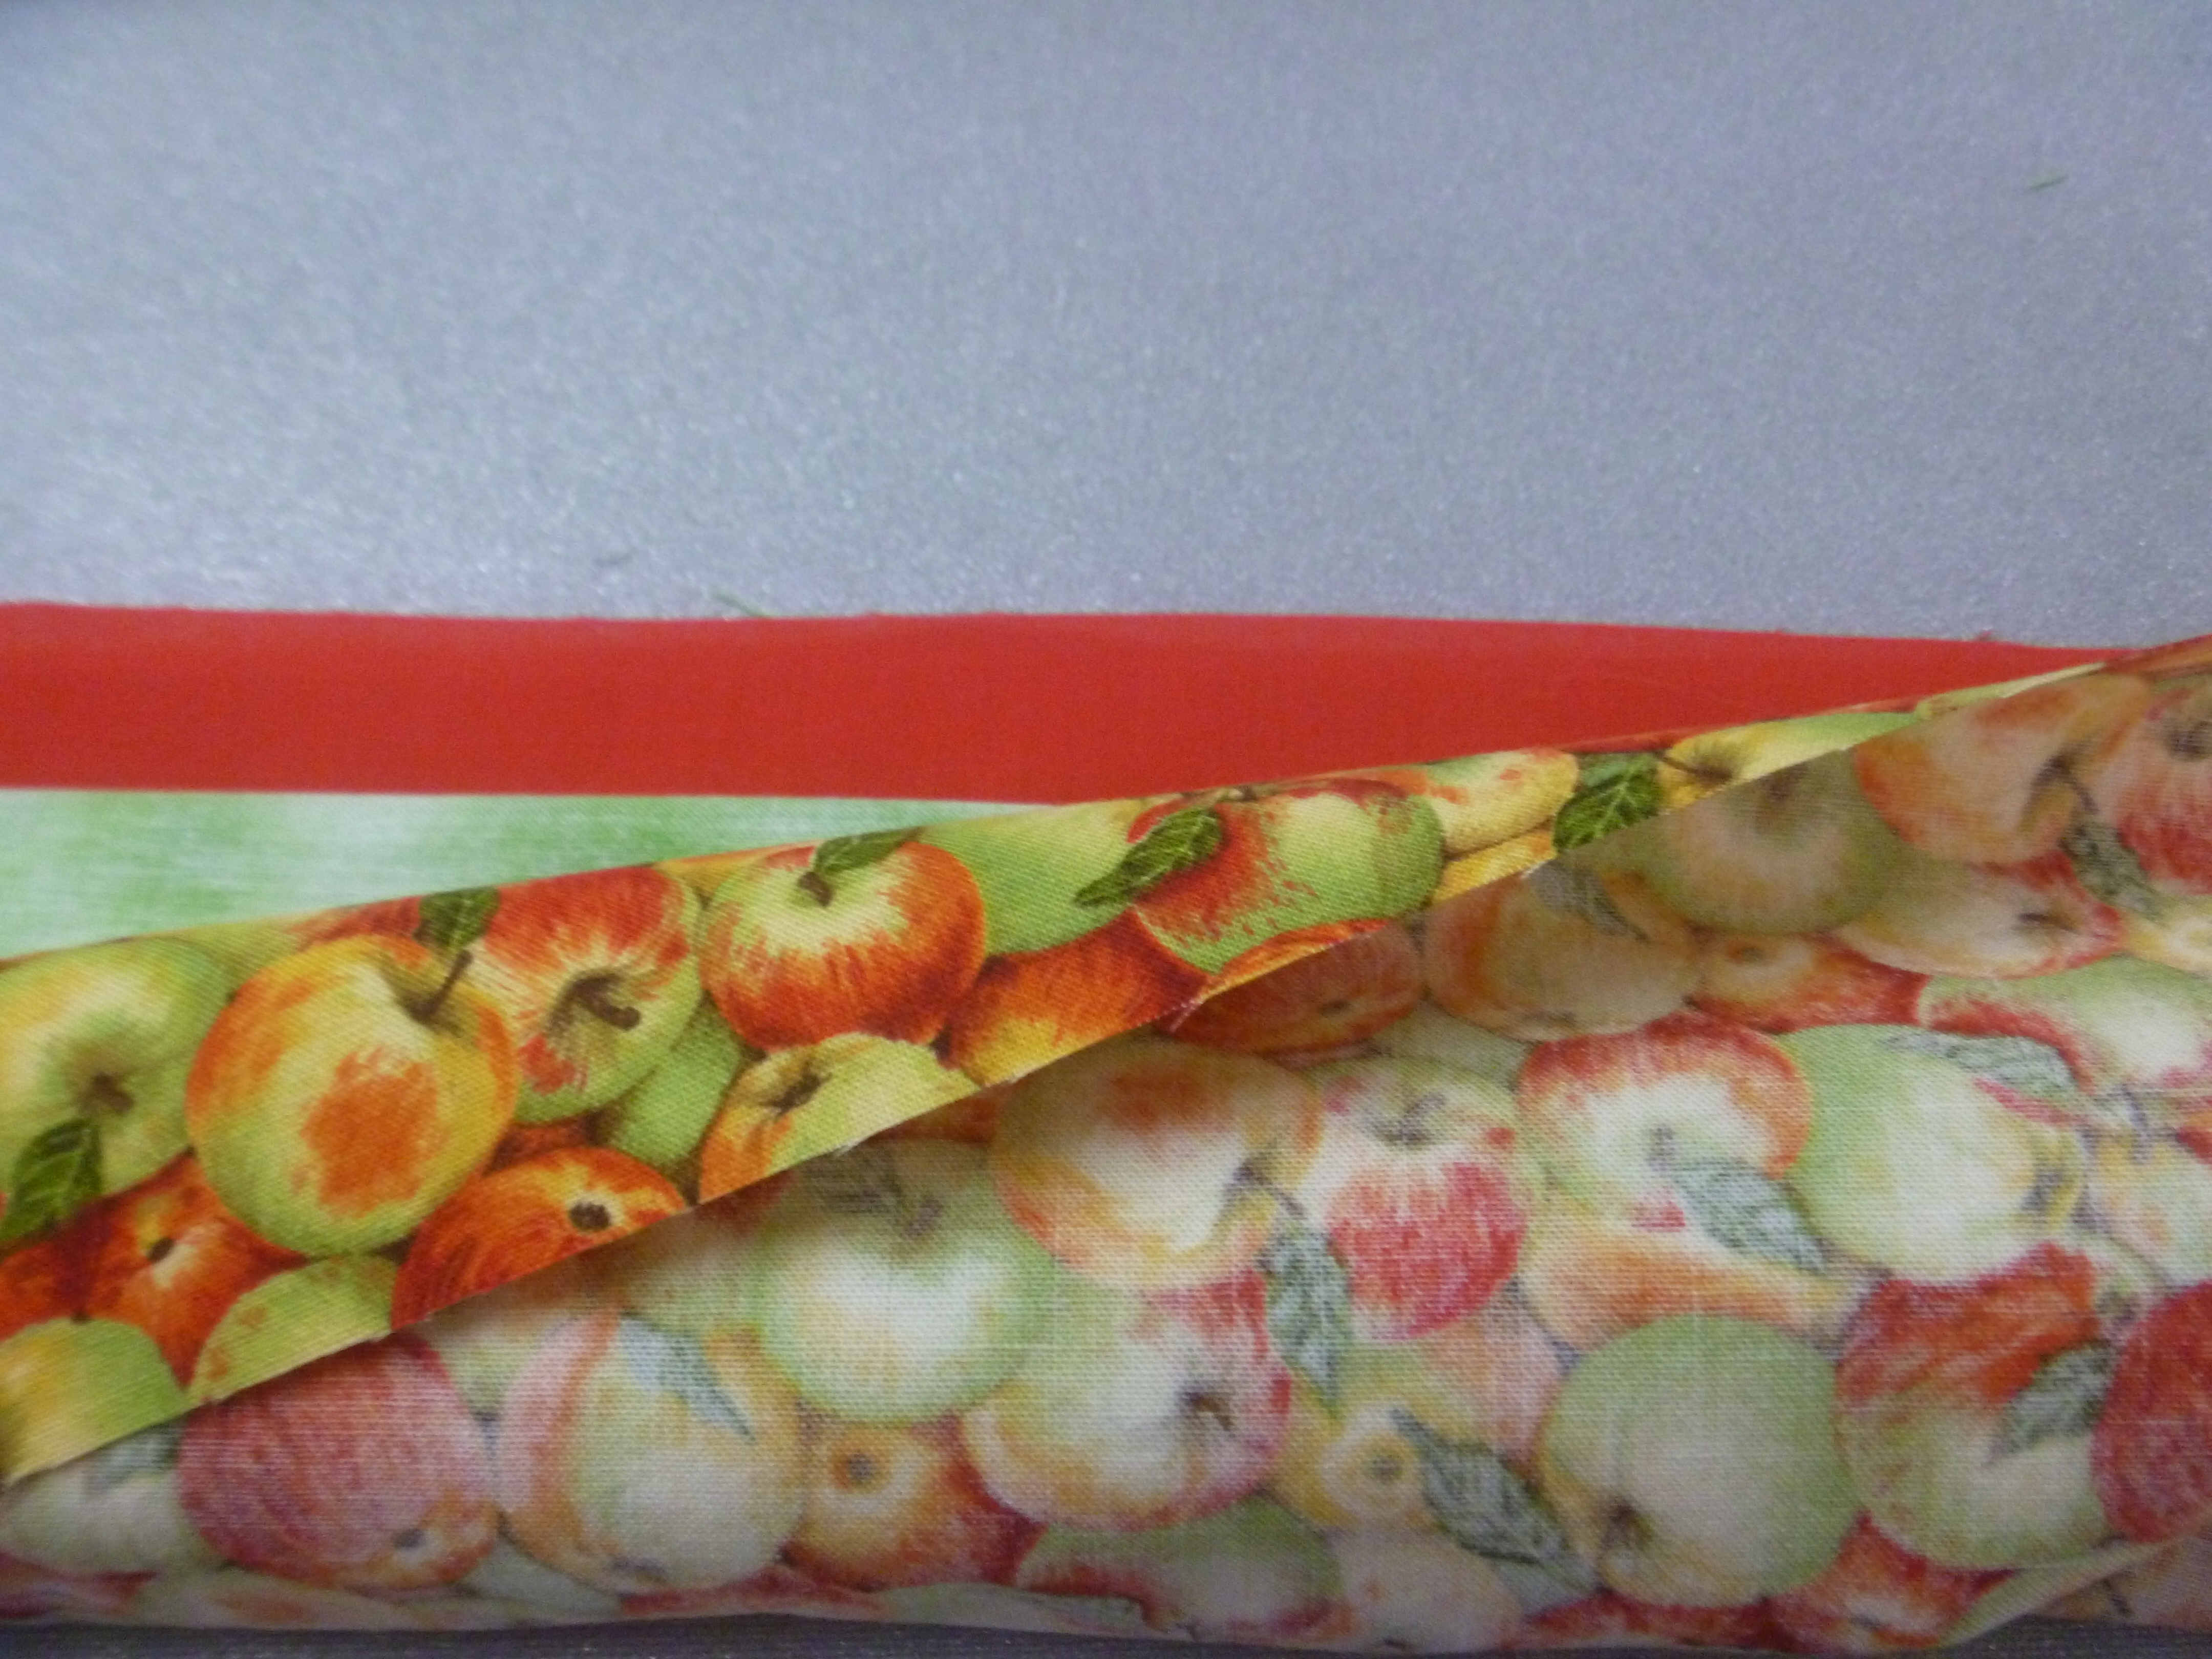
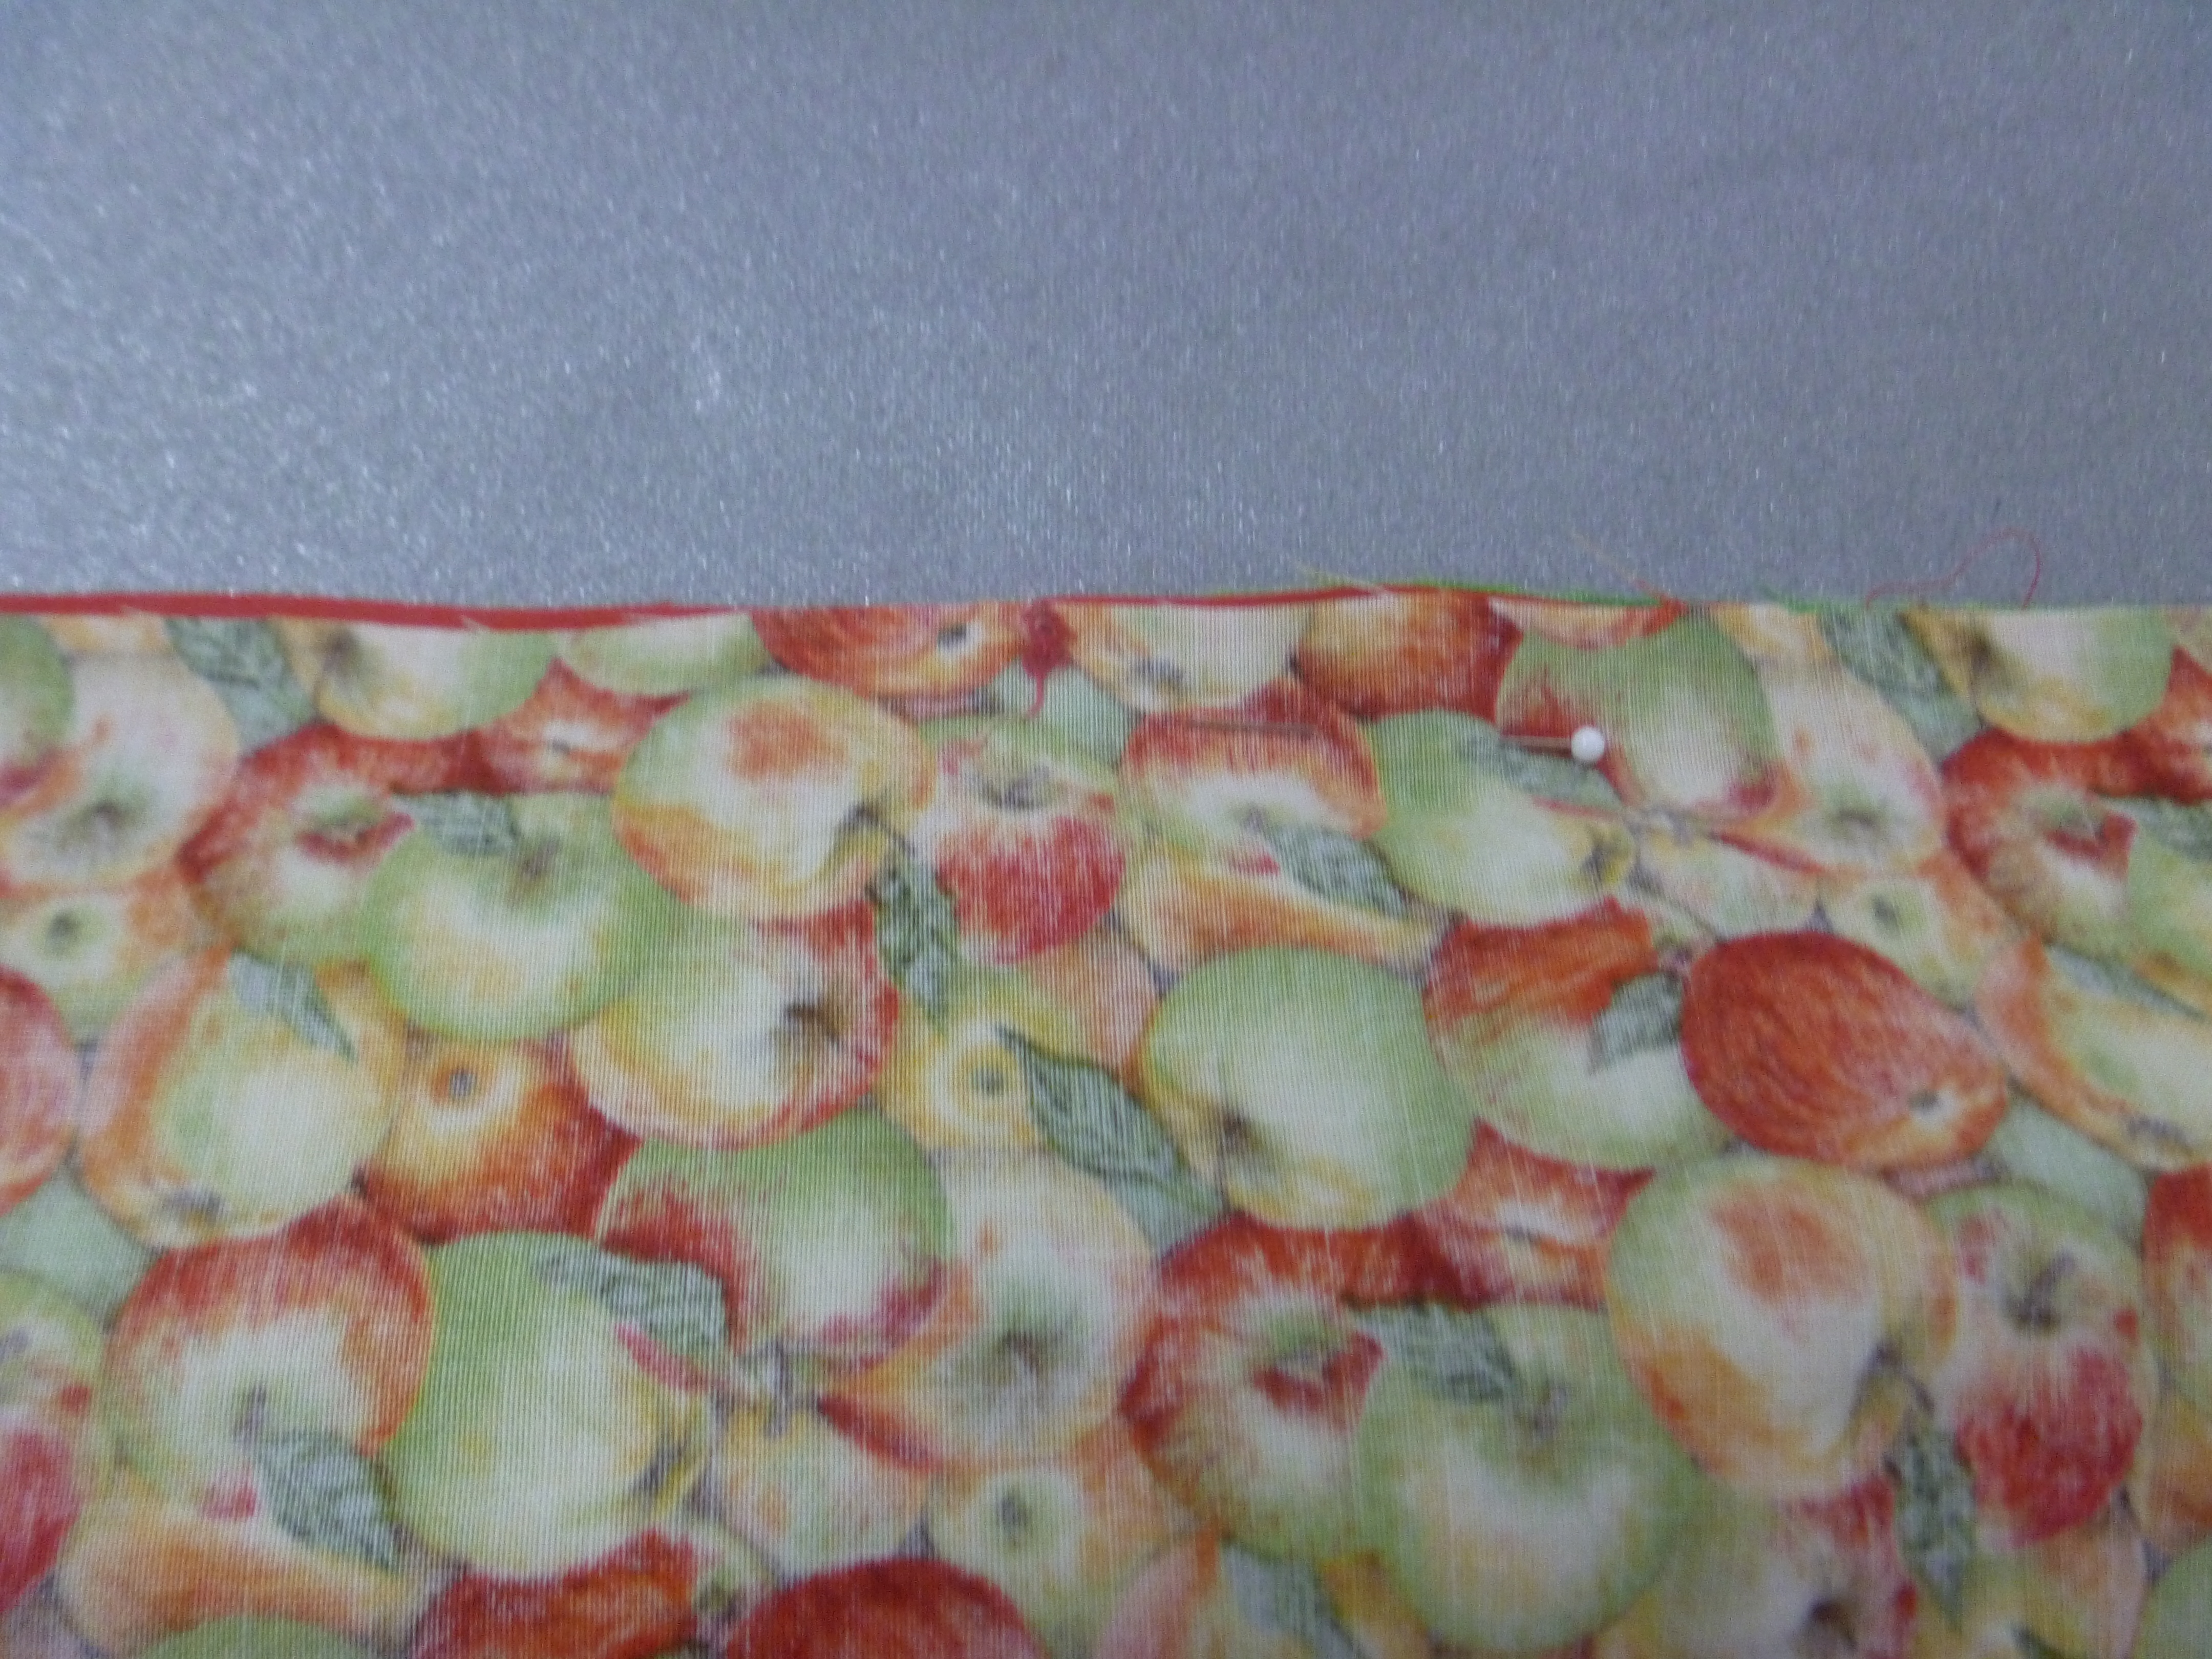
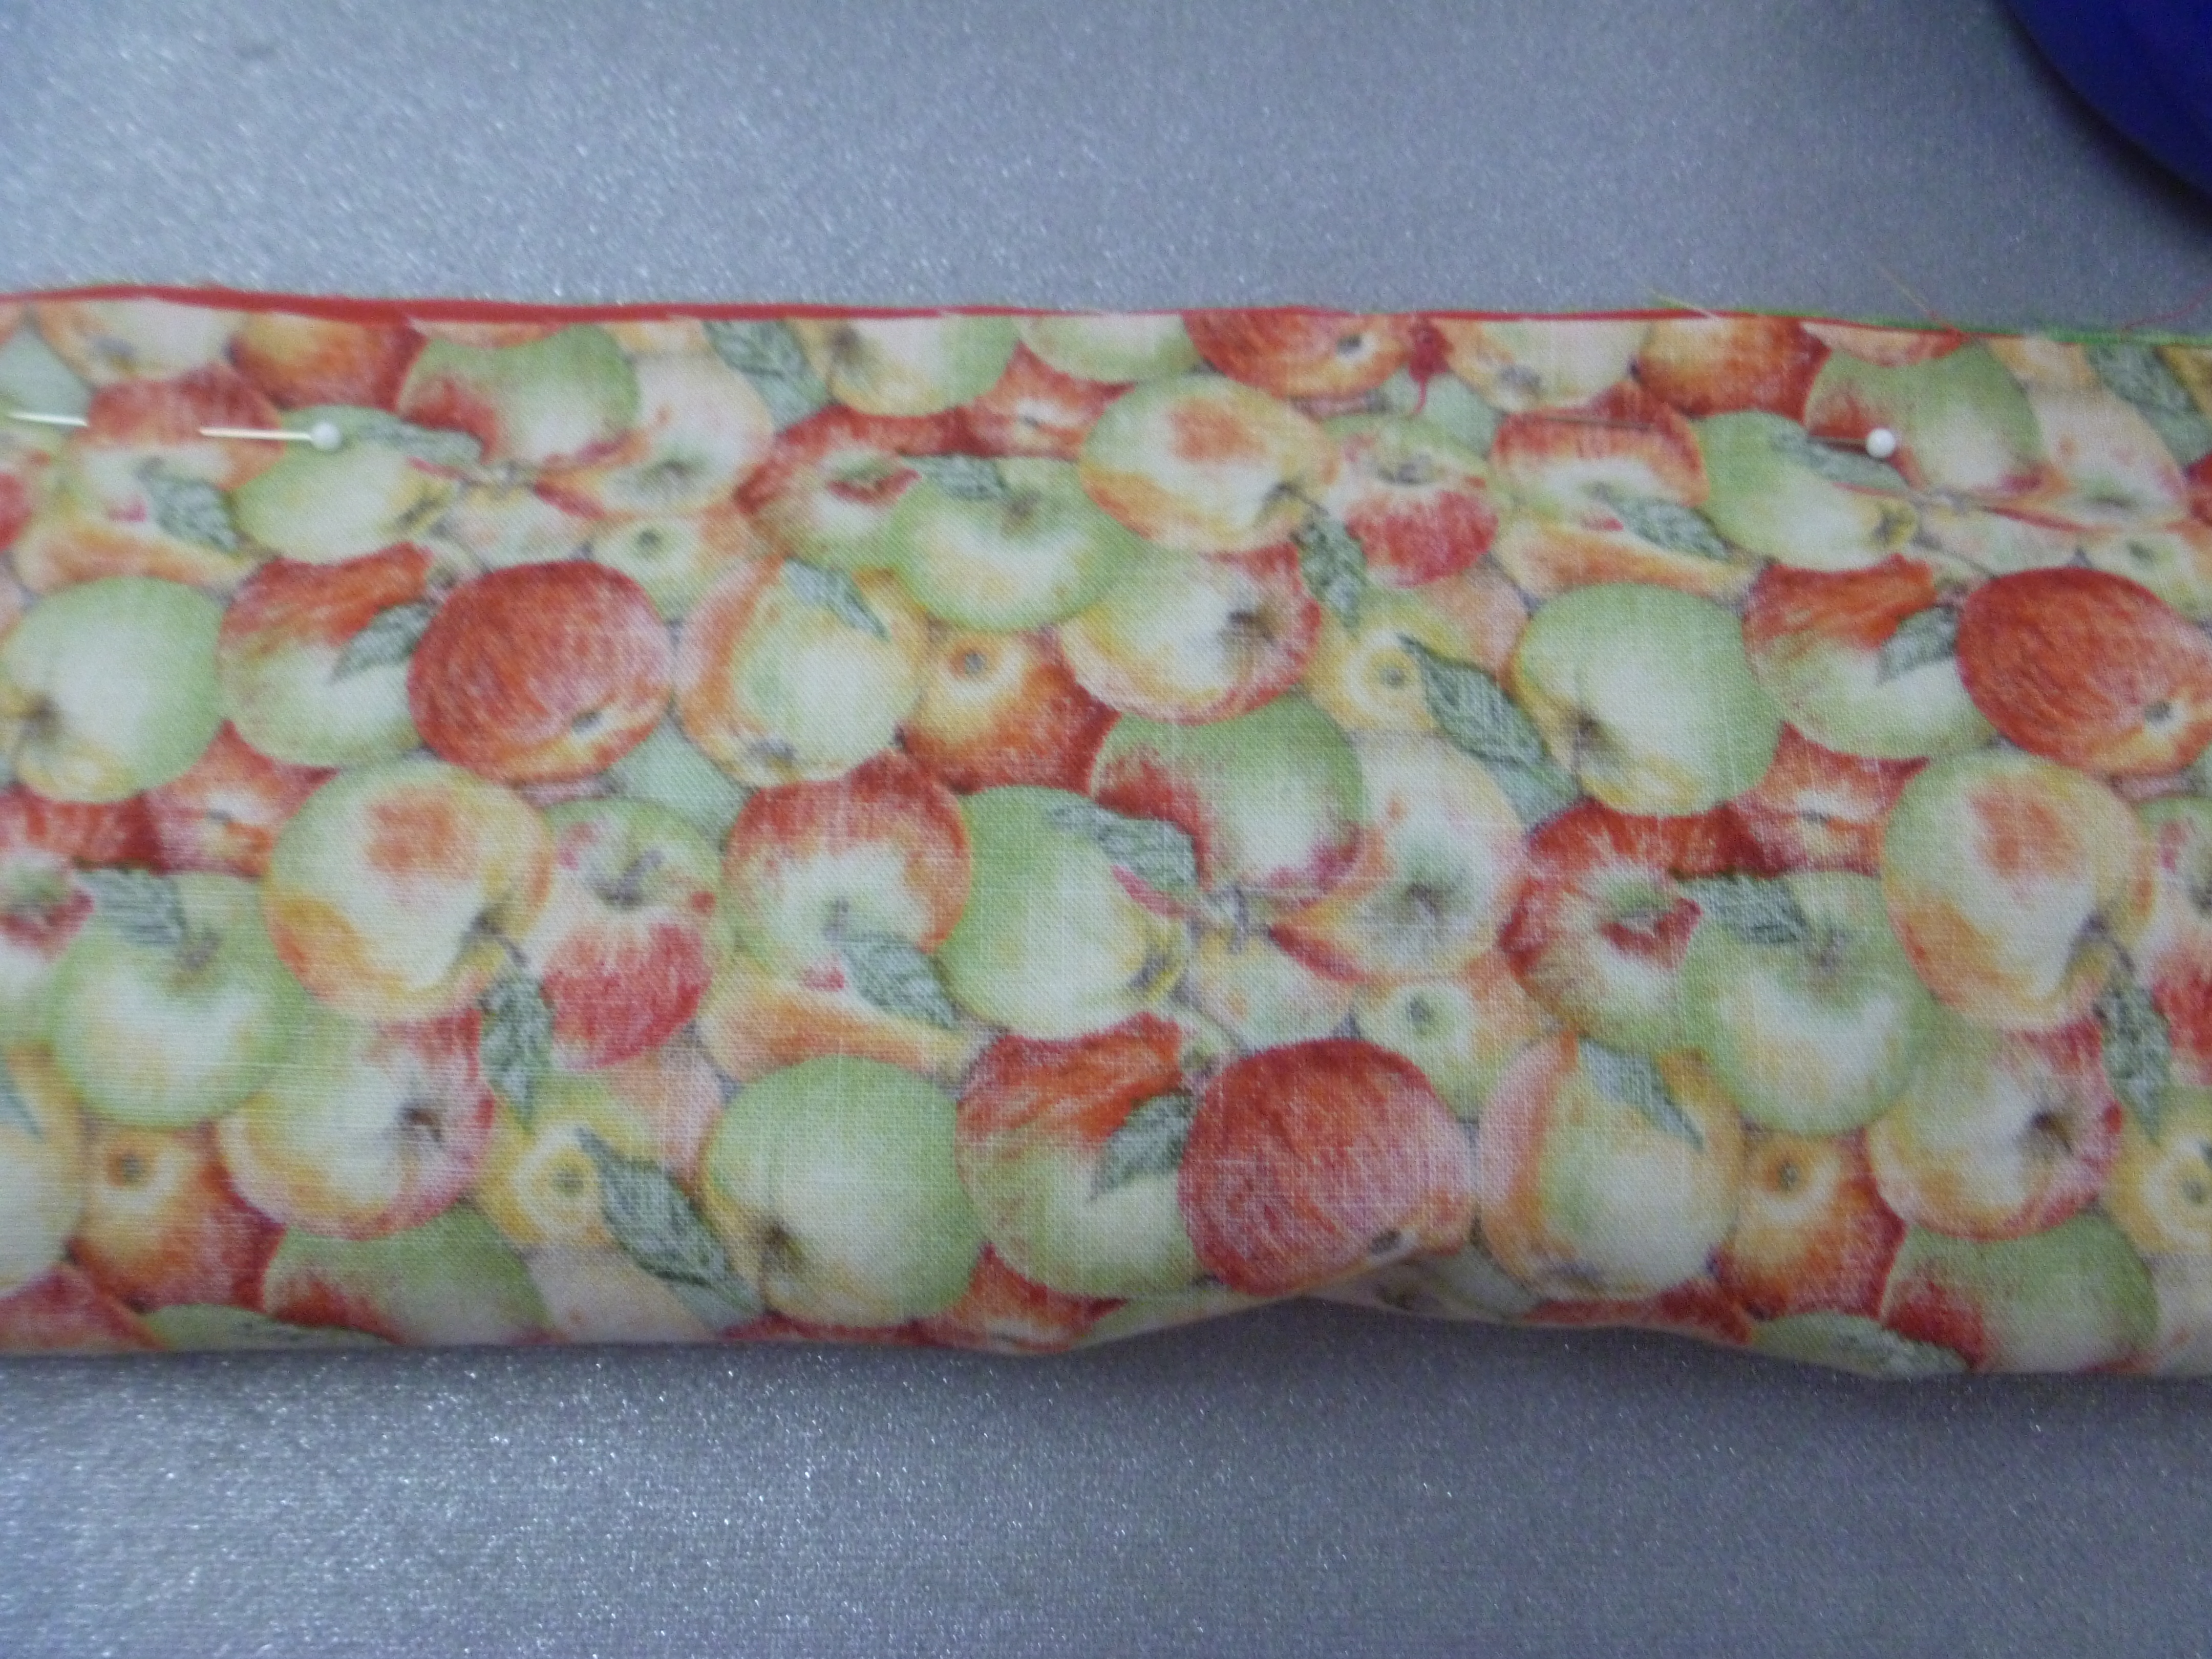
Making sure that all the edges are even, pin across this side. If using a serger, pin away from the edge. Trust me, you don’t want to try to run a serger over a pin. If using a sewing machine, make it convenient to take the pins out as you come to them.’
Sew or serge across this long side.
Now put your hand in one side opening and start pulling out the inside of this roll. Press the band and trim and all we need to do now is sew or serge up the side and across the top (with wrong sides together)
If you have a one way print, you may have to layer this with the trim next to the band and the body good side down on top.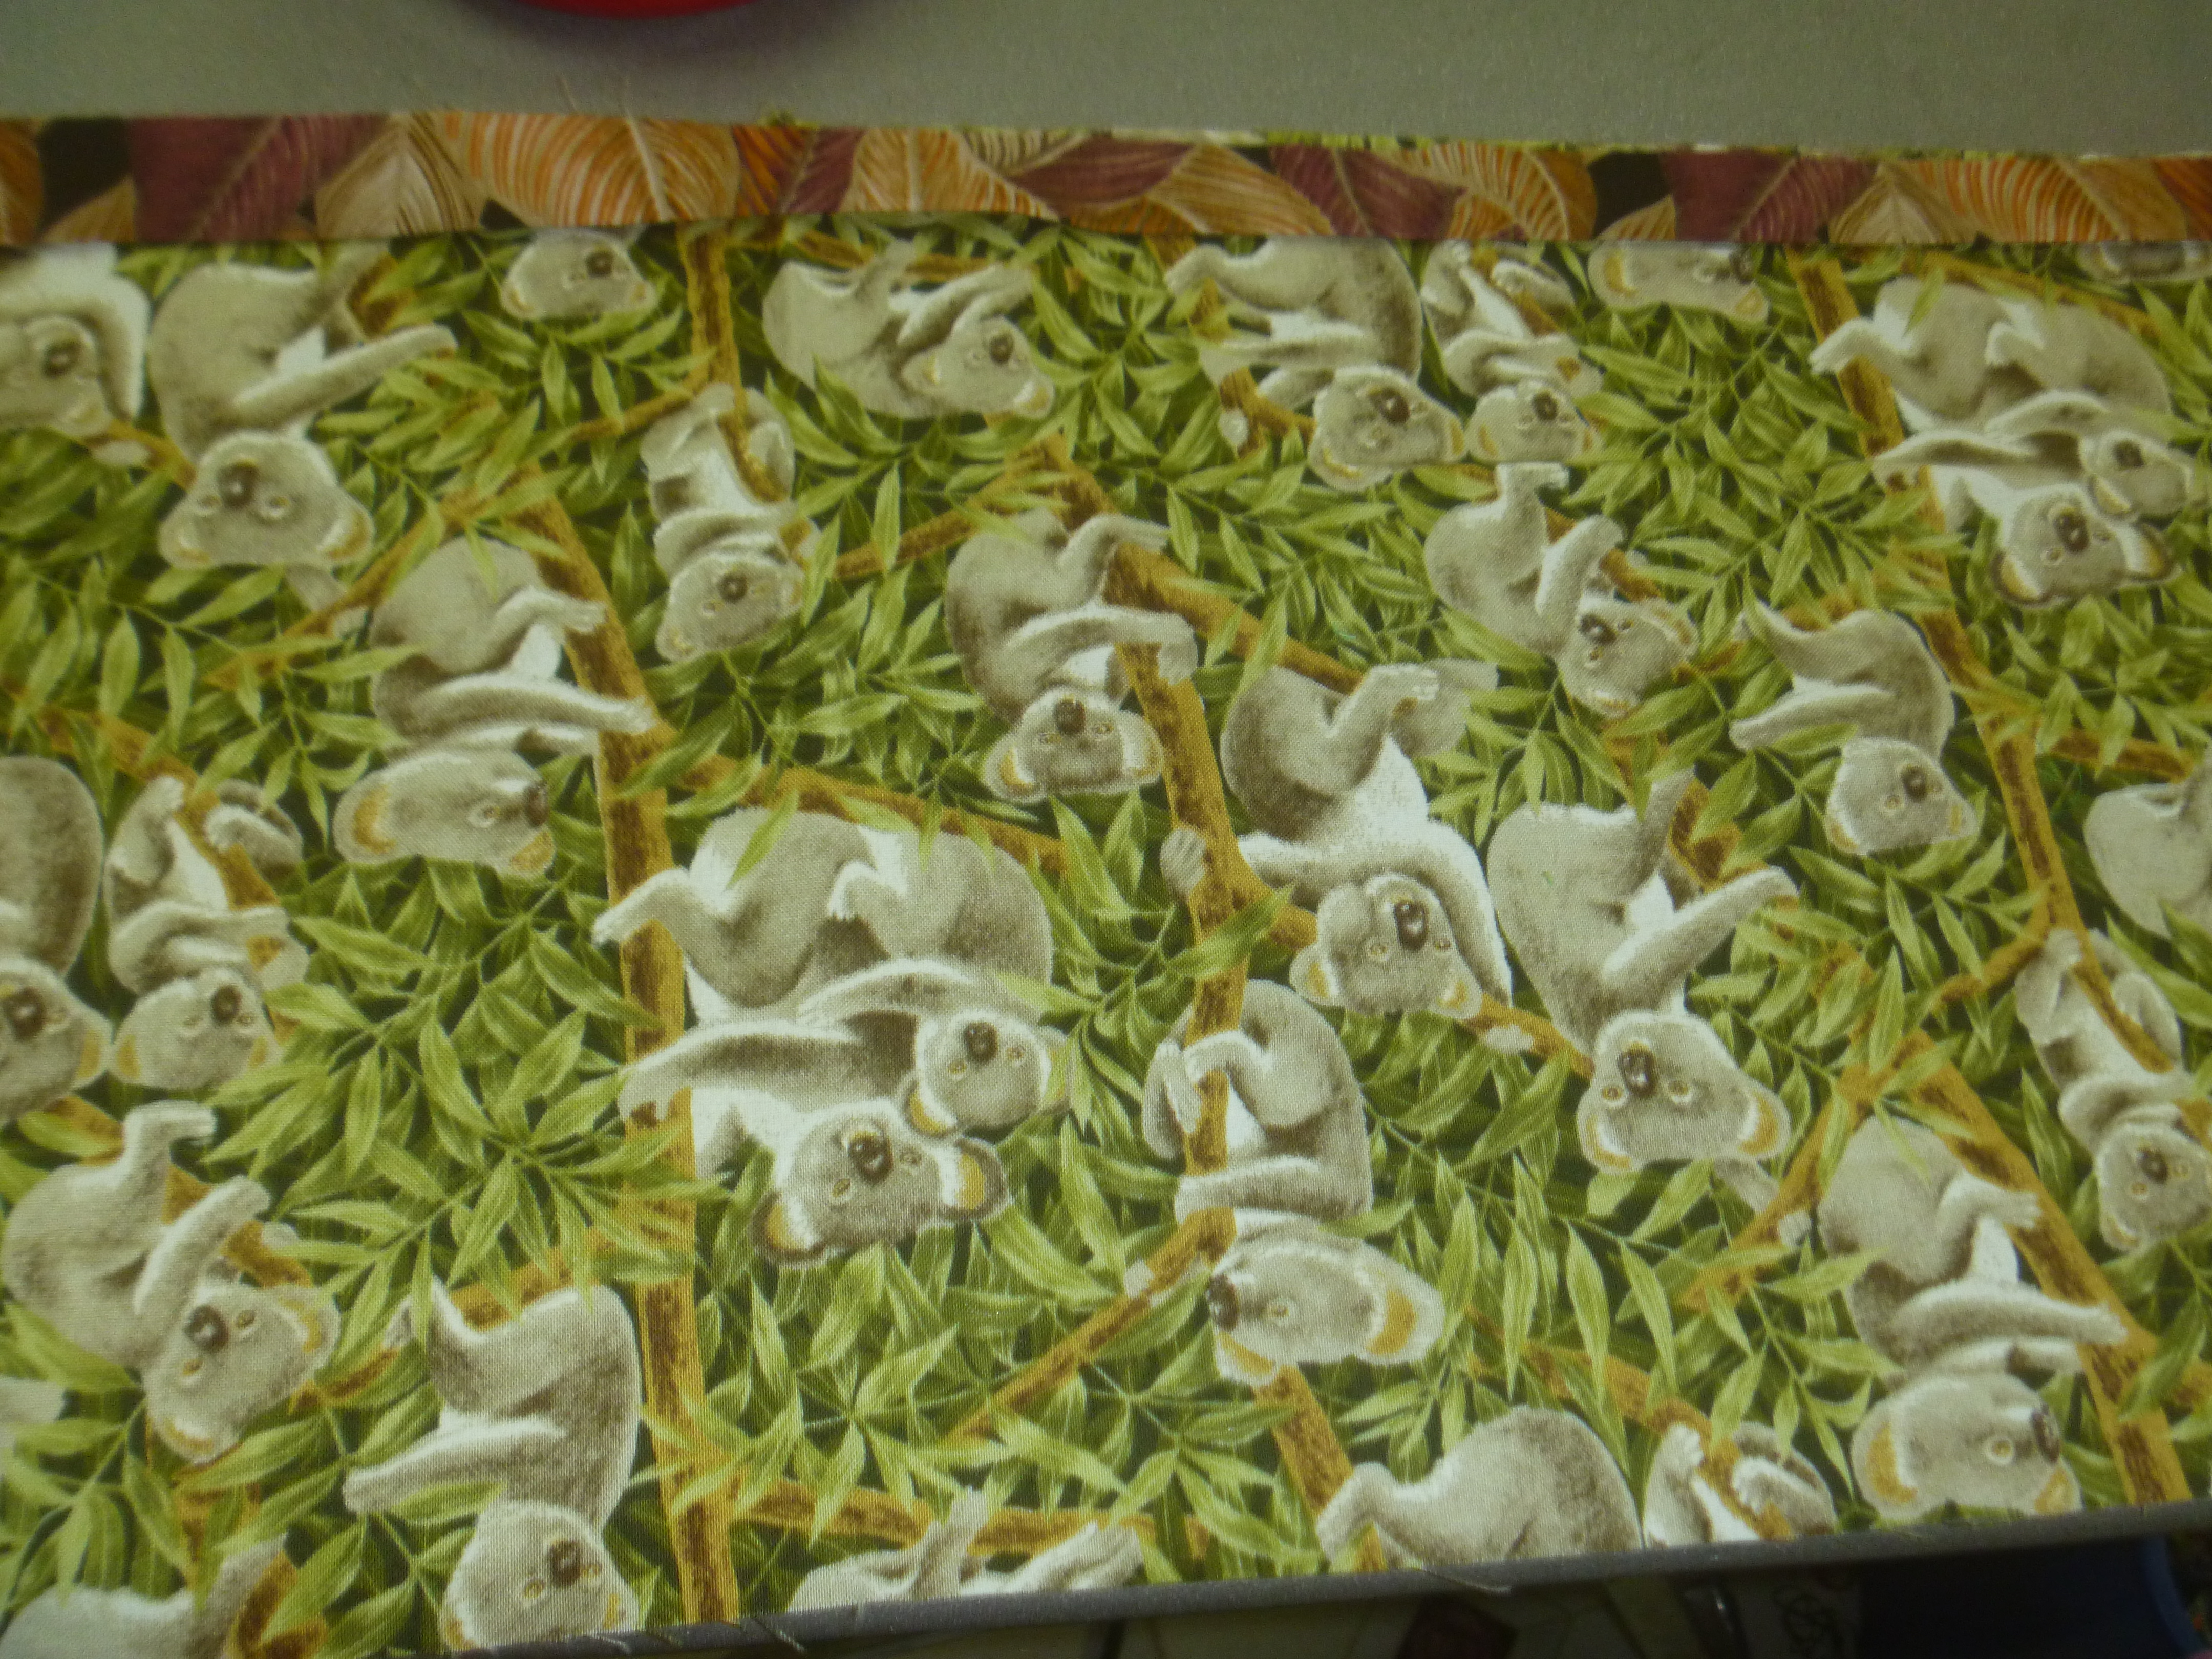
I usually topstitch that accent piece down because once it goes thru the wash it gets all wrinkled doesn’t lay flat unless you iron it.
Thank you so very much for this suggestion. I have never done that, but it makes sew much since. I’ll pass it on.