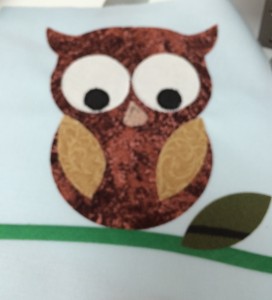
I thought you might enjoy learning from what I did with the owls. I used a GO die. First I ironed onto each of the pieces Steam a seam. But you could starch heavily or use another product that is sticky on both sides. I cut three of the owl pieces, three white eyes, and three black eyes at the same time. I knew that I wanted 12 owls, so that was what I cut out. The instructions that come with the owl die is for a pillow and they put the owl on a 6 x 6.5 piece of fabric. So that’s what I did. However, I feel the owl looks squeezed into too small a space, so I would probably try an 8″ square.
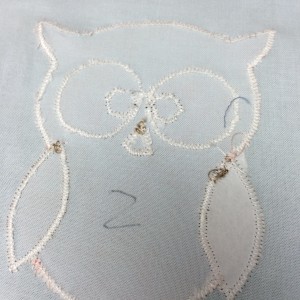
We put the owls in the color order we wanted them, then proceeded to make the pupils, wings, leaves (we used the wing pattern for leaves) different so no two were alike sitting side by side or up and down. Narrow double fold bias tape remnants were used for branches. I numbered the owls on the back of the owl so I could sew like colors at the same time.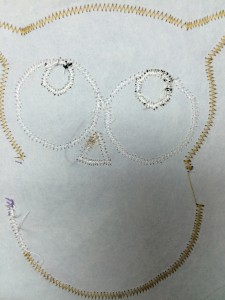
Next I put tear away stabilizer on the back side as I sewed the white eyes and then the black eyes using a zigzag with 2.5 width and 1.0 length on the machine. You can change this. I am making this for a small child who will undoubtedly drag this around and I want the applique secure. This is a great place to use those partial bobbins because they won’t be seen. (This is not a display piece and with matching thread on the front, you won’t notice the eyes aren’t exactly a perfect circle – this is a child’s fun quilt)
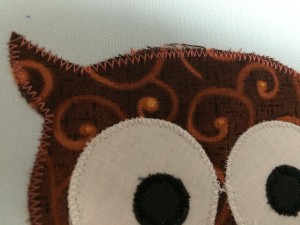
You can see at the top of this owl, I’m a bit on the inside of the applique. It is better if you are totally on the applique piece than that you might be half on and half on, because this quilt will see the washing machine frequently.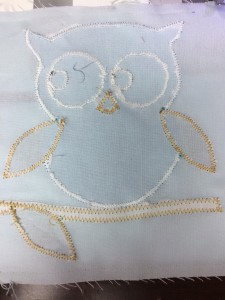
The tear away is now there for the rest of the sewing and you won’t have puckering. From here on, I put on a thread color and did all pieces with that color, then changed color and repeated until all the pieces were secure. When finished, I took off as much of the tear away as I reasonably could and saved any of the tear away large enough to back a leaf, because there will be a lot of leaves on the brown tree trunk. I could have put different borders around each owl to make the block larger and omitted the tree, but chose instead to use width of fabric in tree color for the length of this small quilt. The width will be about 36 which make it a perfect size for a little one.
If I were doing a pillow, wall hanging, or something that wouldn’t see the wash that much, I would probably take my machine numbers to 1.5 -2 width and maybe a .3 zigzag. You might want to play with that.
If you don’t have a GO and aren’t getting one soon, this quilt is simple enough you could make cardboard patterns and still have the fun of making it.
I’m hoping you will enjoy making a few owls for yourself or a special little one.