
Oven beans and rice then Doctors
Something exciting and new here this morning. I put 5 cups of water with 3 cups of washed whole grain rice in a dutch oven with lid, then 2 cups of washed dry red beans with about 3″ of water in another pan with a lid in the oven at 350 for an hour. ( I did have to add more water when I checked the beans). I also needed to add half an hour to that. I was happy with the results of both. How convenient not to have to soak the beans or worry about them running over and since both could be cooked at the same time, I saved oven energy. Next time I will up the temperature to 375 and see if that cuts the time a bit.
As soon as the vet office was open we made an appointment for Lacey. who was supposedly due in two weeks. She has not eaten for the last 3 days. So off we went with her. No, she is not pregnant AGAIN. I’m guessing she knows I have homes for some puppies. (LOL) But she did have a fever, so we left her there for blood tests and will find out more when the results come back.

I found these interesting small – 3″ diameter – tortillas at the store last week and we were out of chips. I toasted these for about 3.5 minutes and they formed little pockets. That was unexpected and very interesting. Since I made a Costa Rican dish, Gallo Pinto, we put it in the pockets and ate it that way – very delicious! We did top it with tomato salsa when we ate it . In Costa Rico, Gallo Pinto is served for breakfast, lunch, and dinner. If you haven’t tried it, you’ll be surprised how delicious a simple dish can be. All you’ll need to add is a salad. It freezes well also. So I like to have it on hand for a quick meal.
Gallo Pinto.
1/2 sautéed red onion
1 cup rice cooked
1 cup beans cooked
Add Lizano salsa while cooking to your taste
Salt if you wish.
mix and heat throughout. Serve.
Google has Lizano salsa which we have not found in local stores It’s ingredients include: water, sugar, salt, onions, carrots, cauliflower, cucumbers, spices, pepper, mustard, and turmeric.
Multitasking and Doll Hobo bag
The outside gardens have finally been fertilized. I know I would have more success if I’d get things done in a more timely manner. It seems other things keep getting in the way. This is only the second time this year I’ve fertilized, so I’m hoping all the composted manure from last year that we put in the beds is still effective. This fall we will put in a cover crop as the ground is heavy with clay and perhaps that will help break it up.
I love multitasking. The clothes were being washed, the beans were cooking while I was finishing the strawberries. Aw the wonder of modern conveniences.

See my helper peeking out from under the right side of the table. He enjoyed watching. When I got the camera out, he ran for cover.
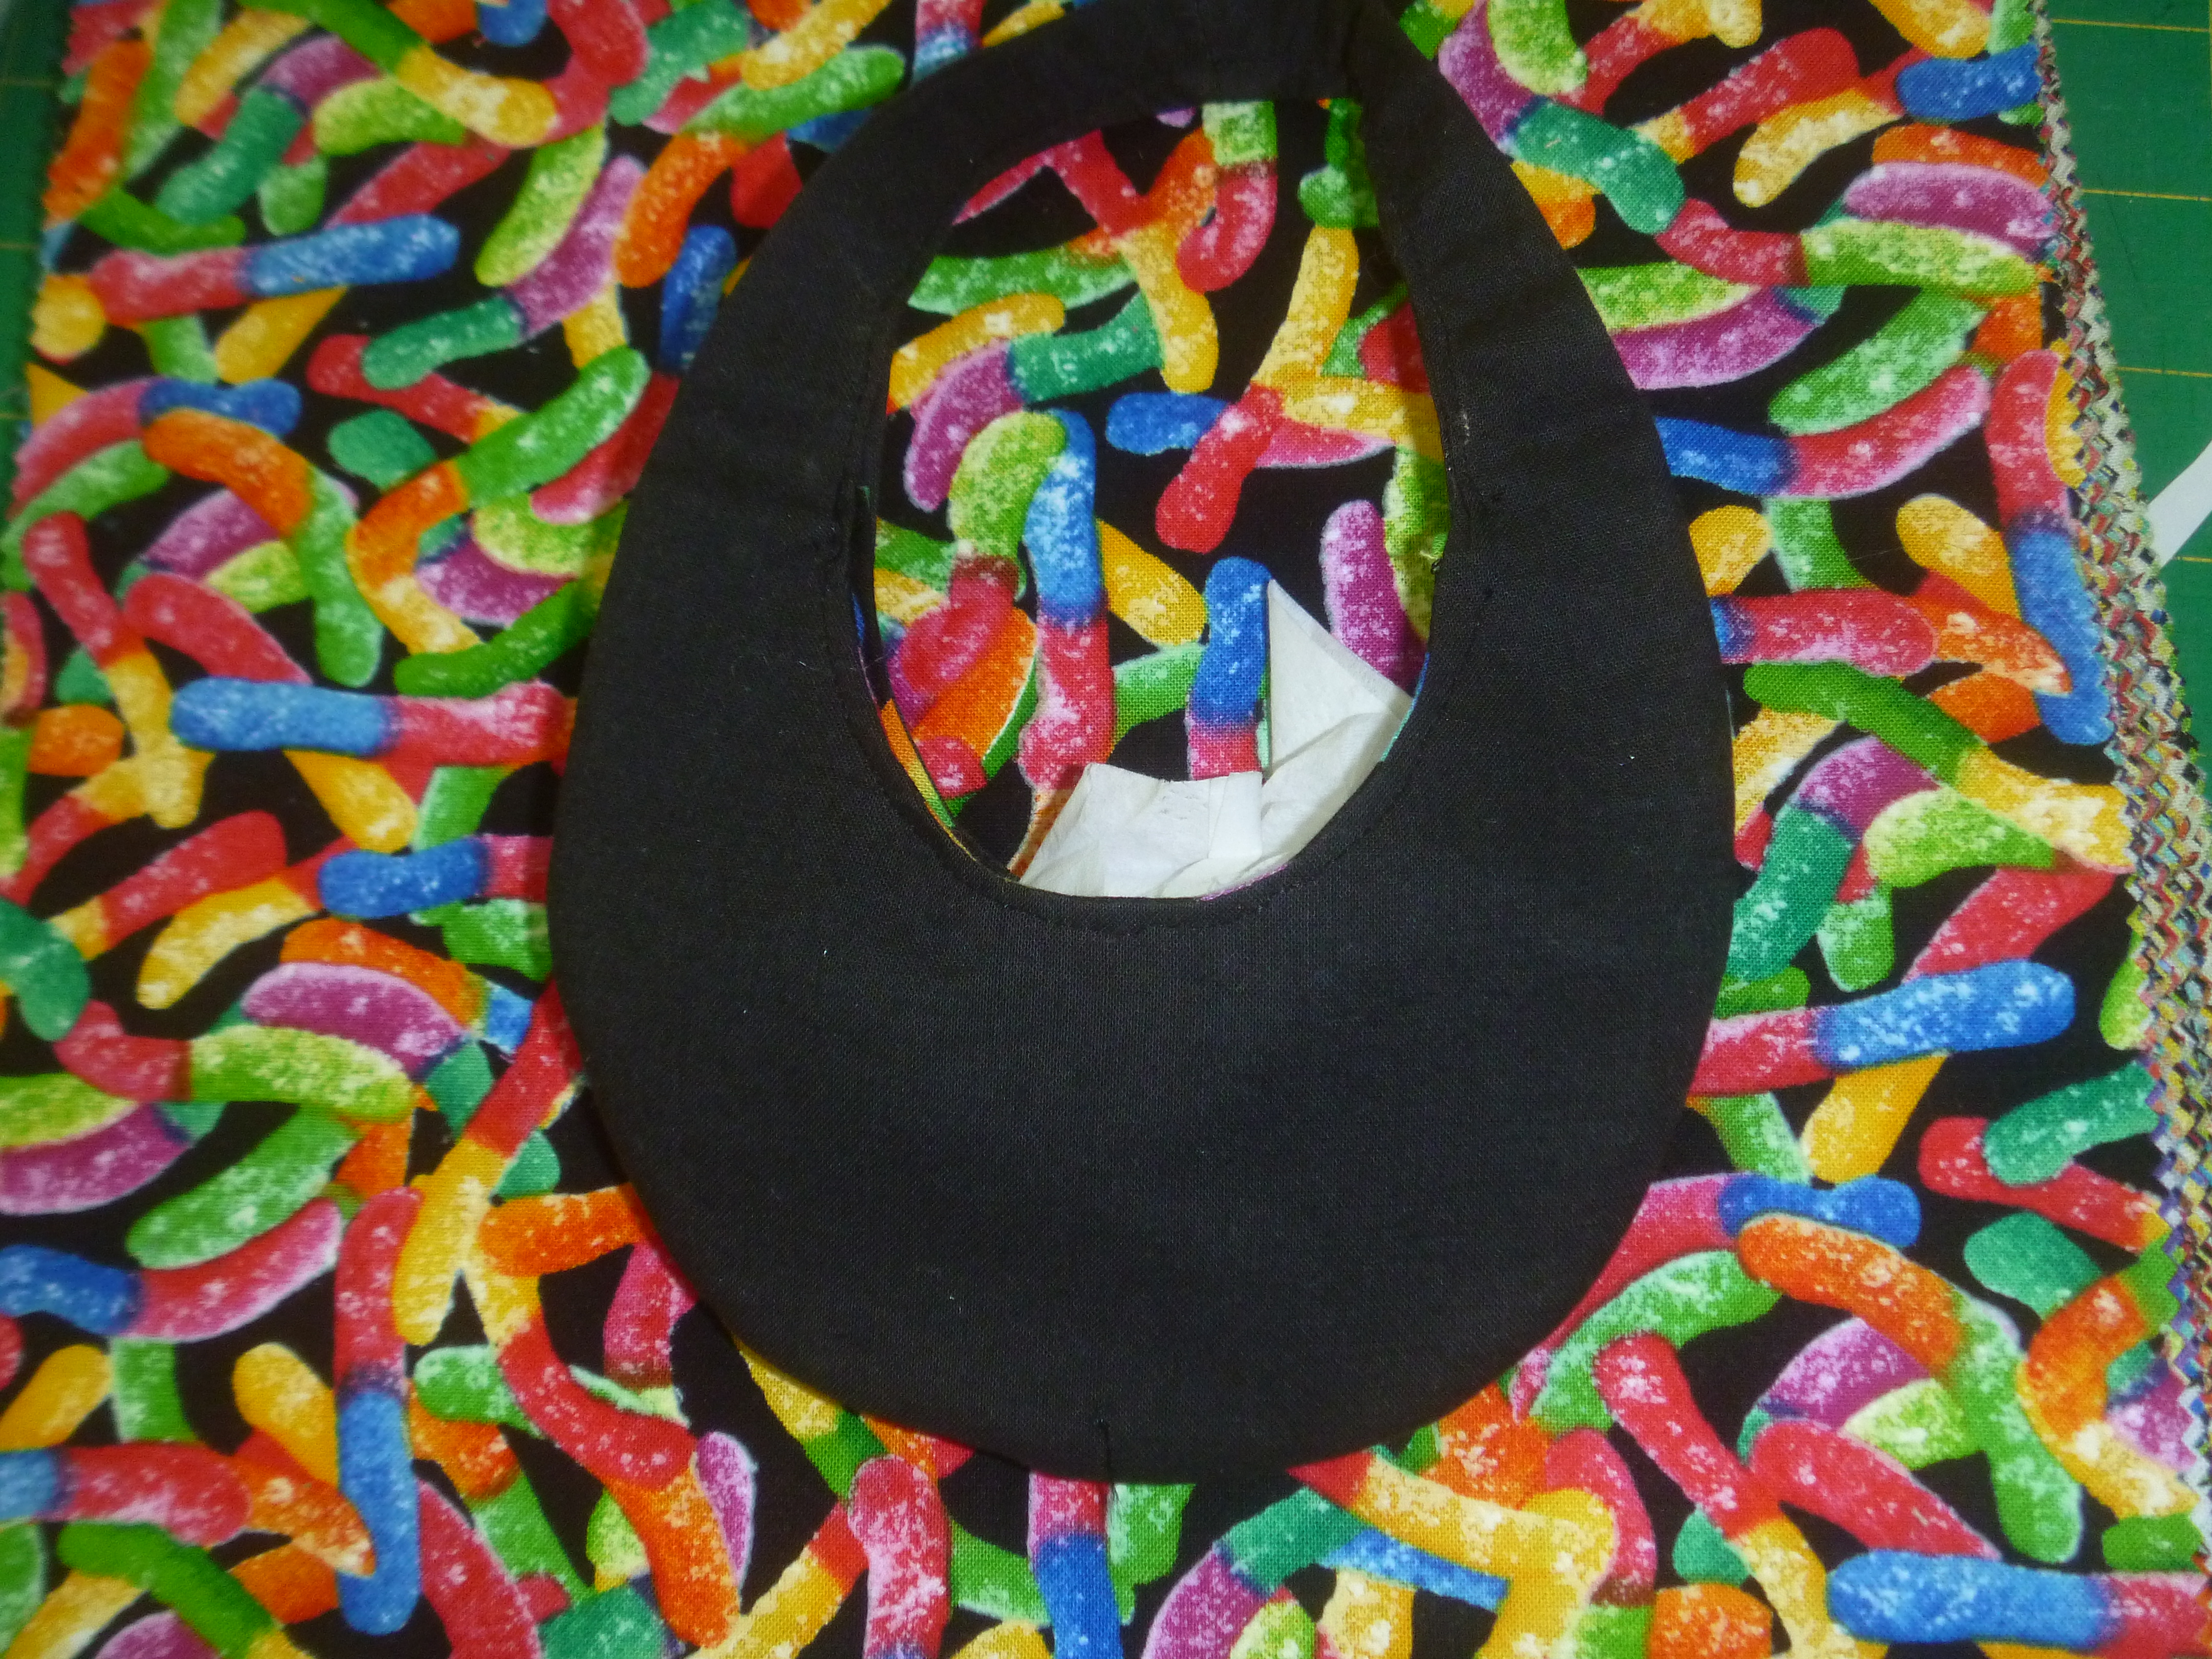
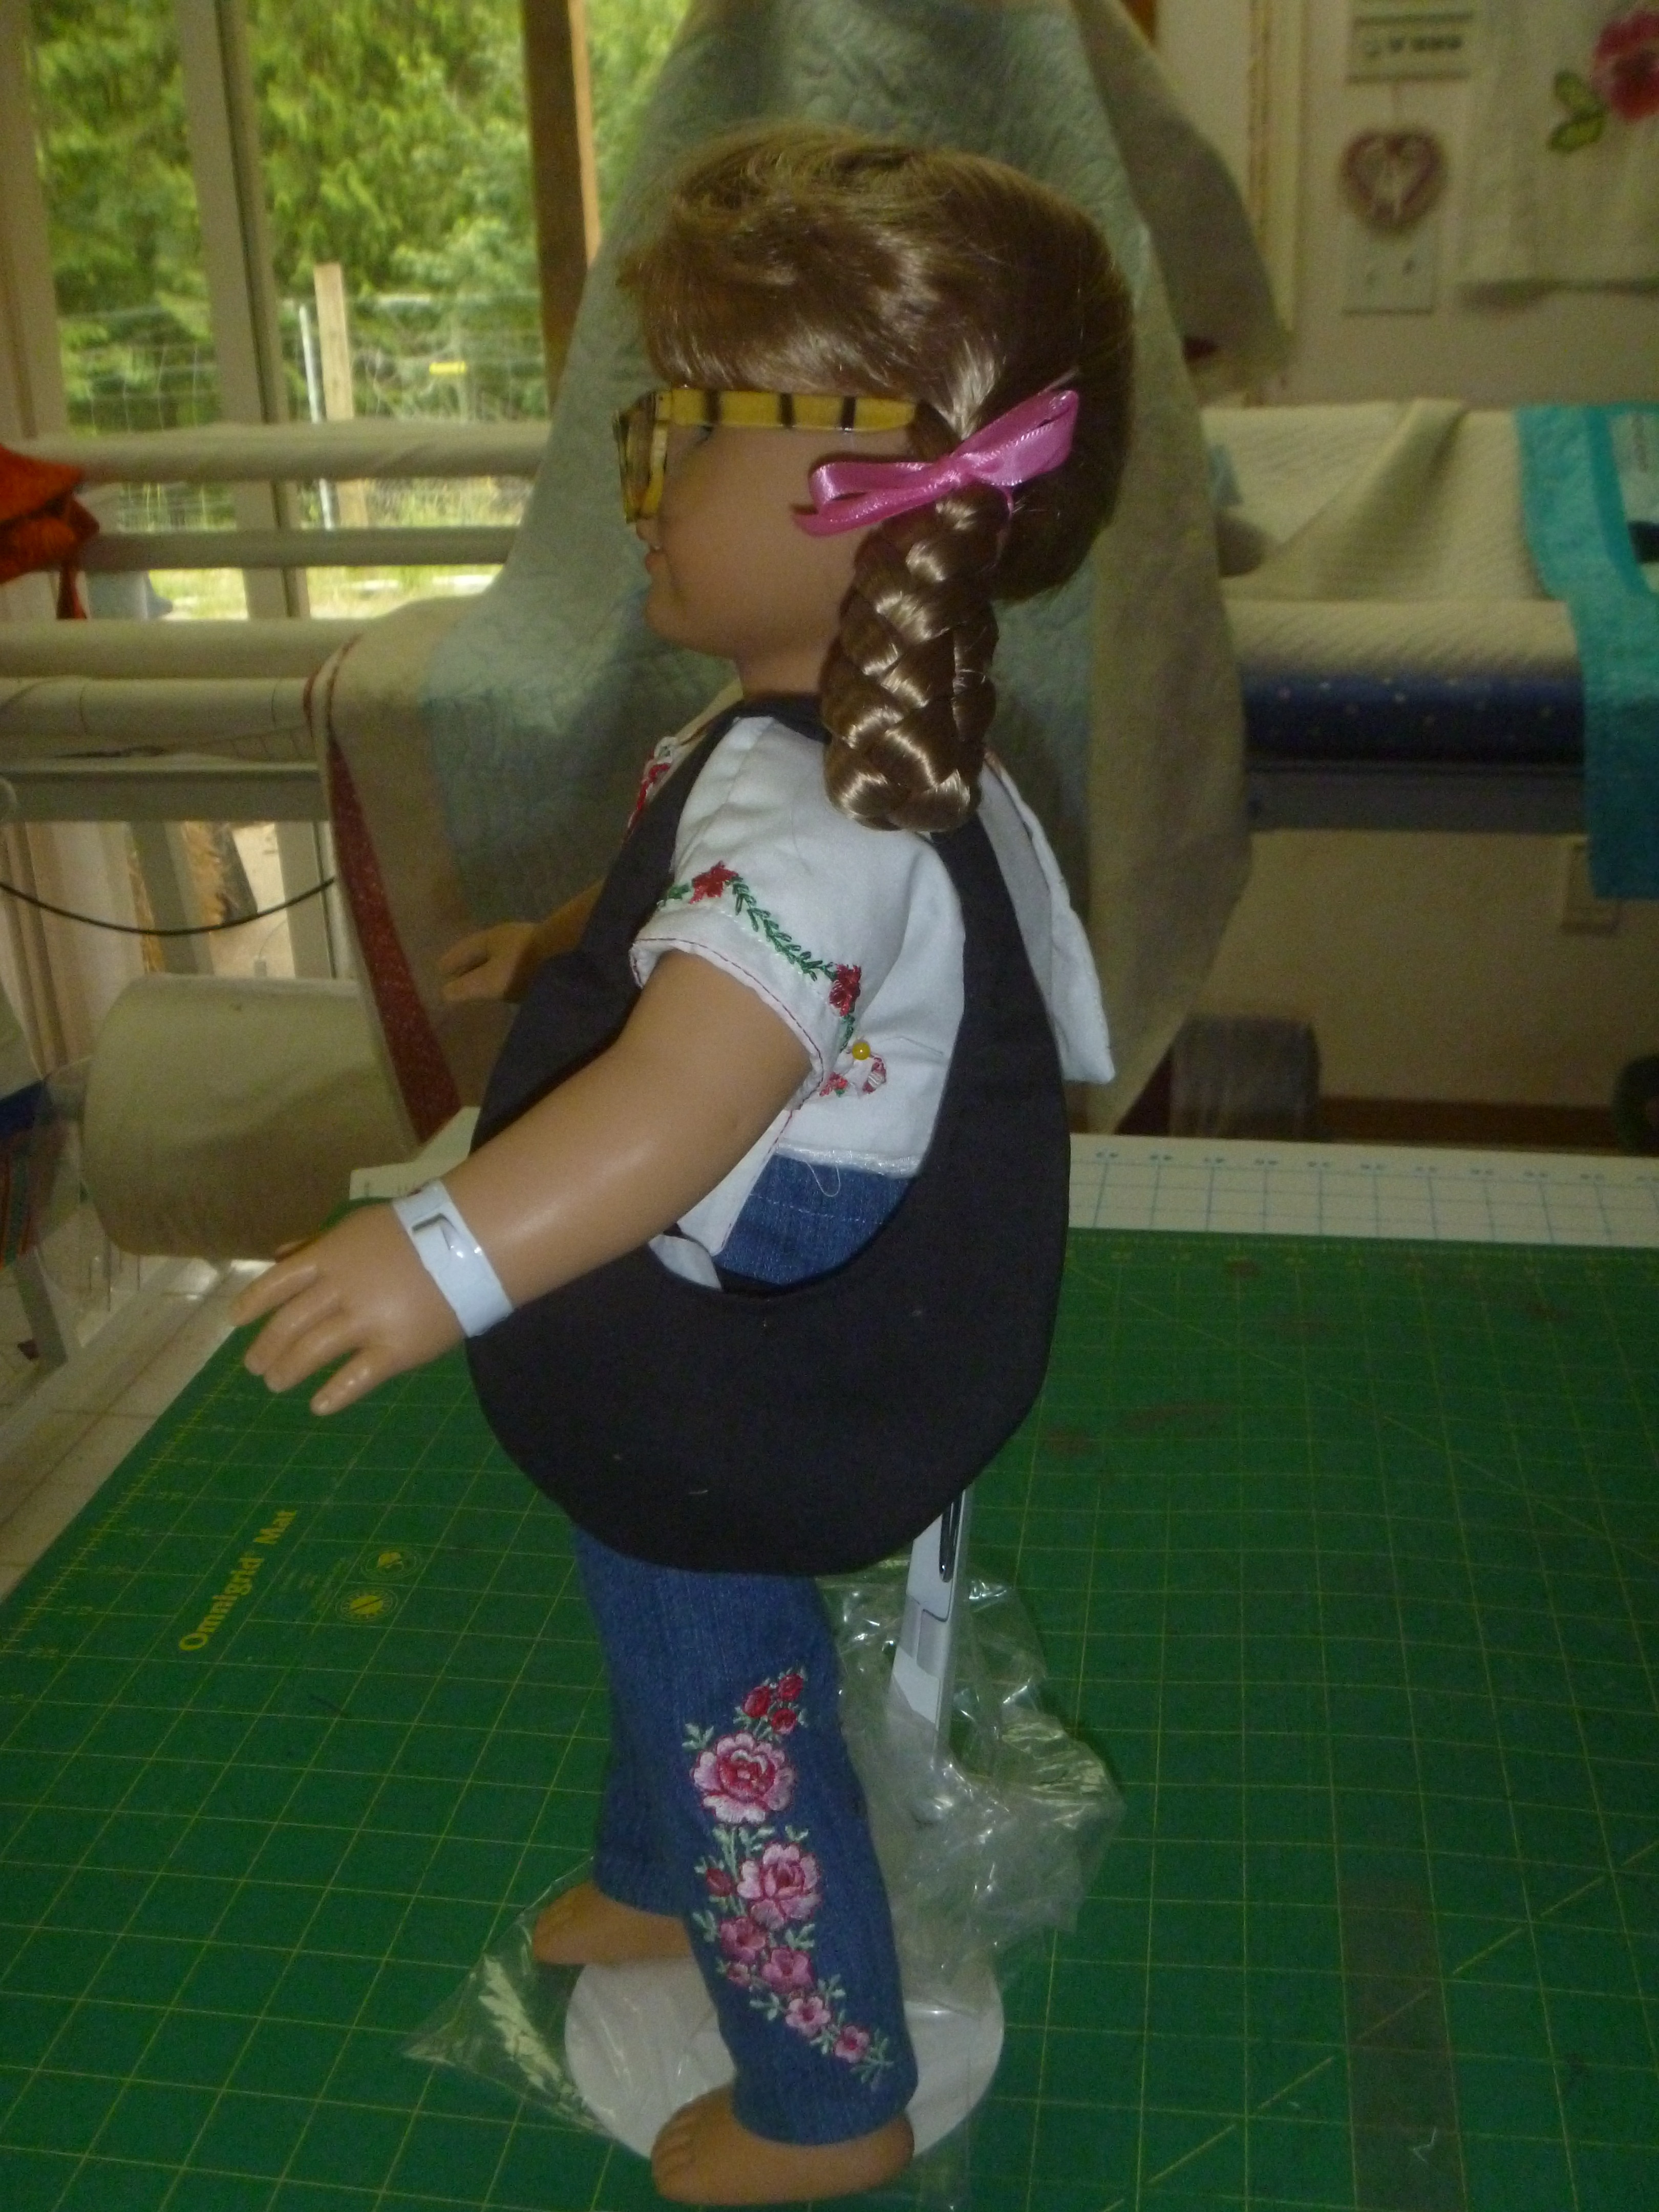
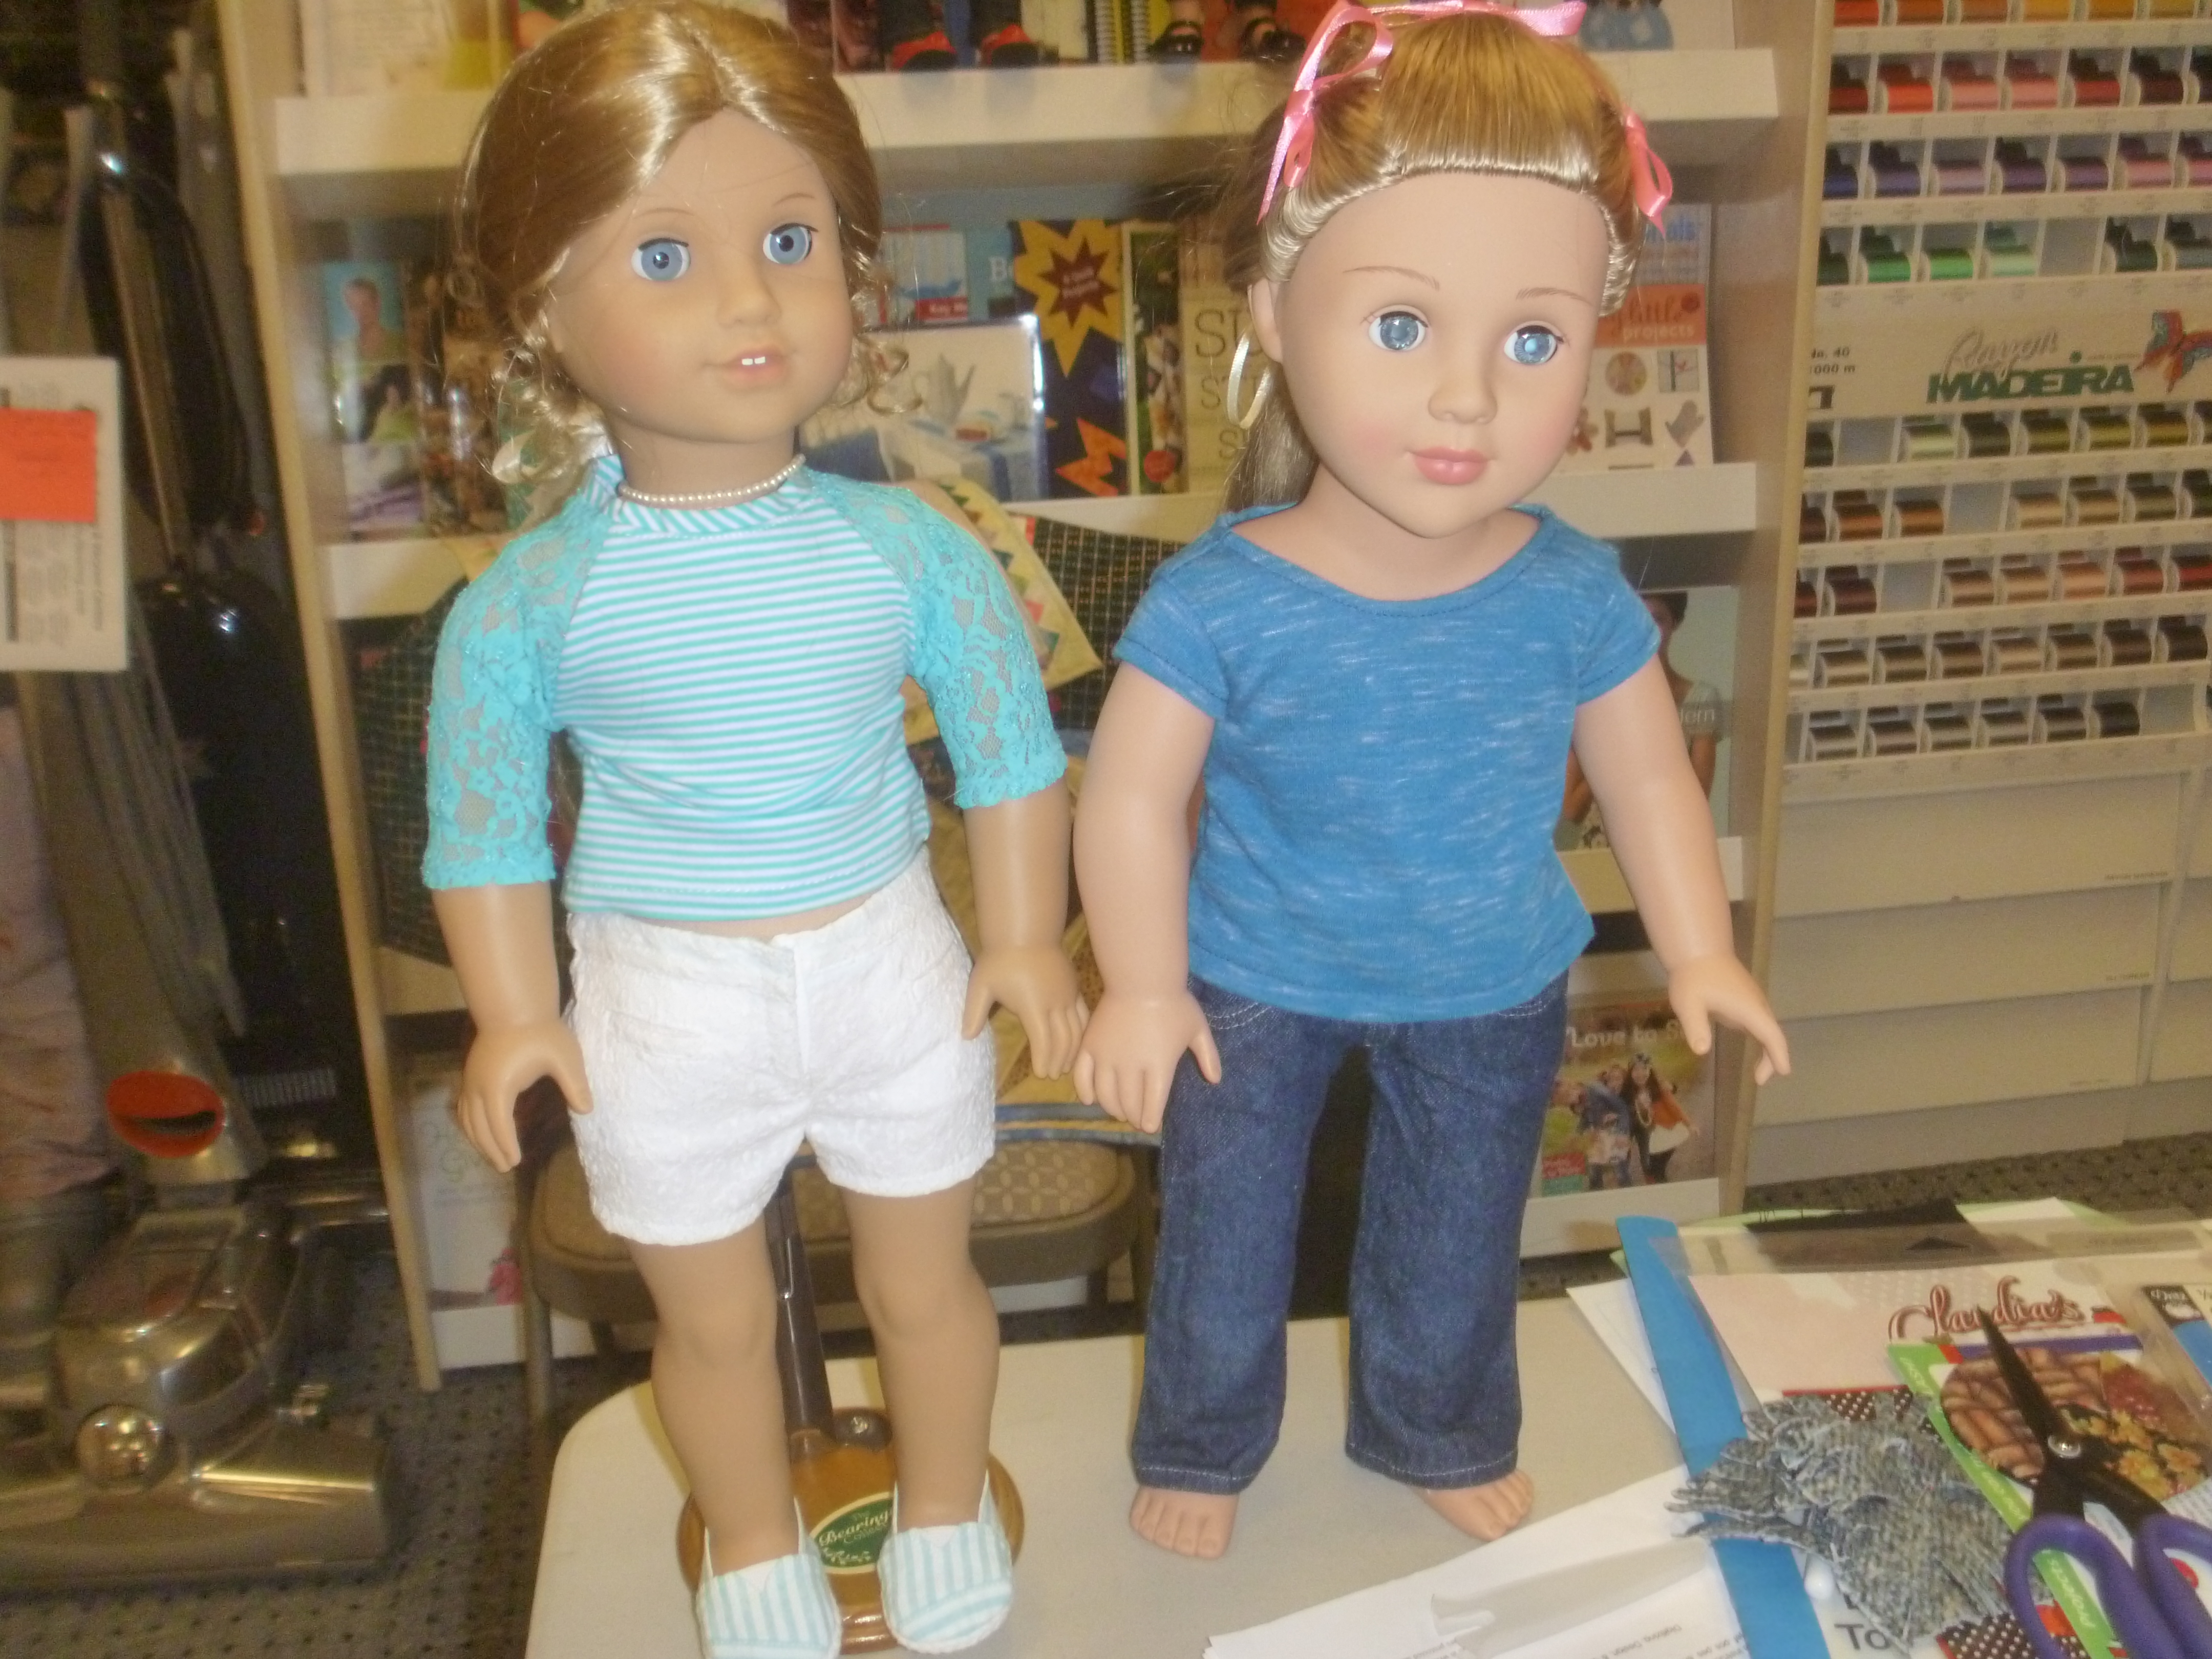
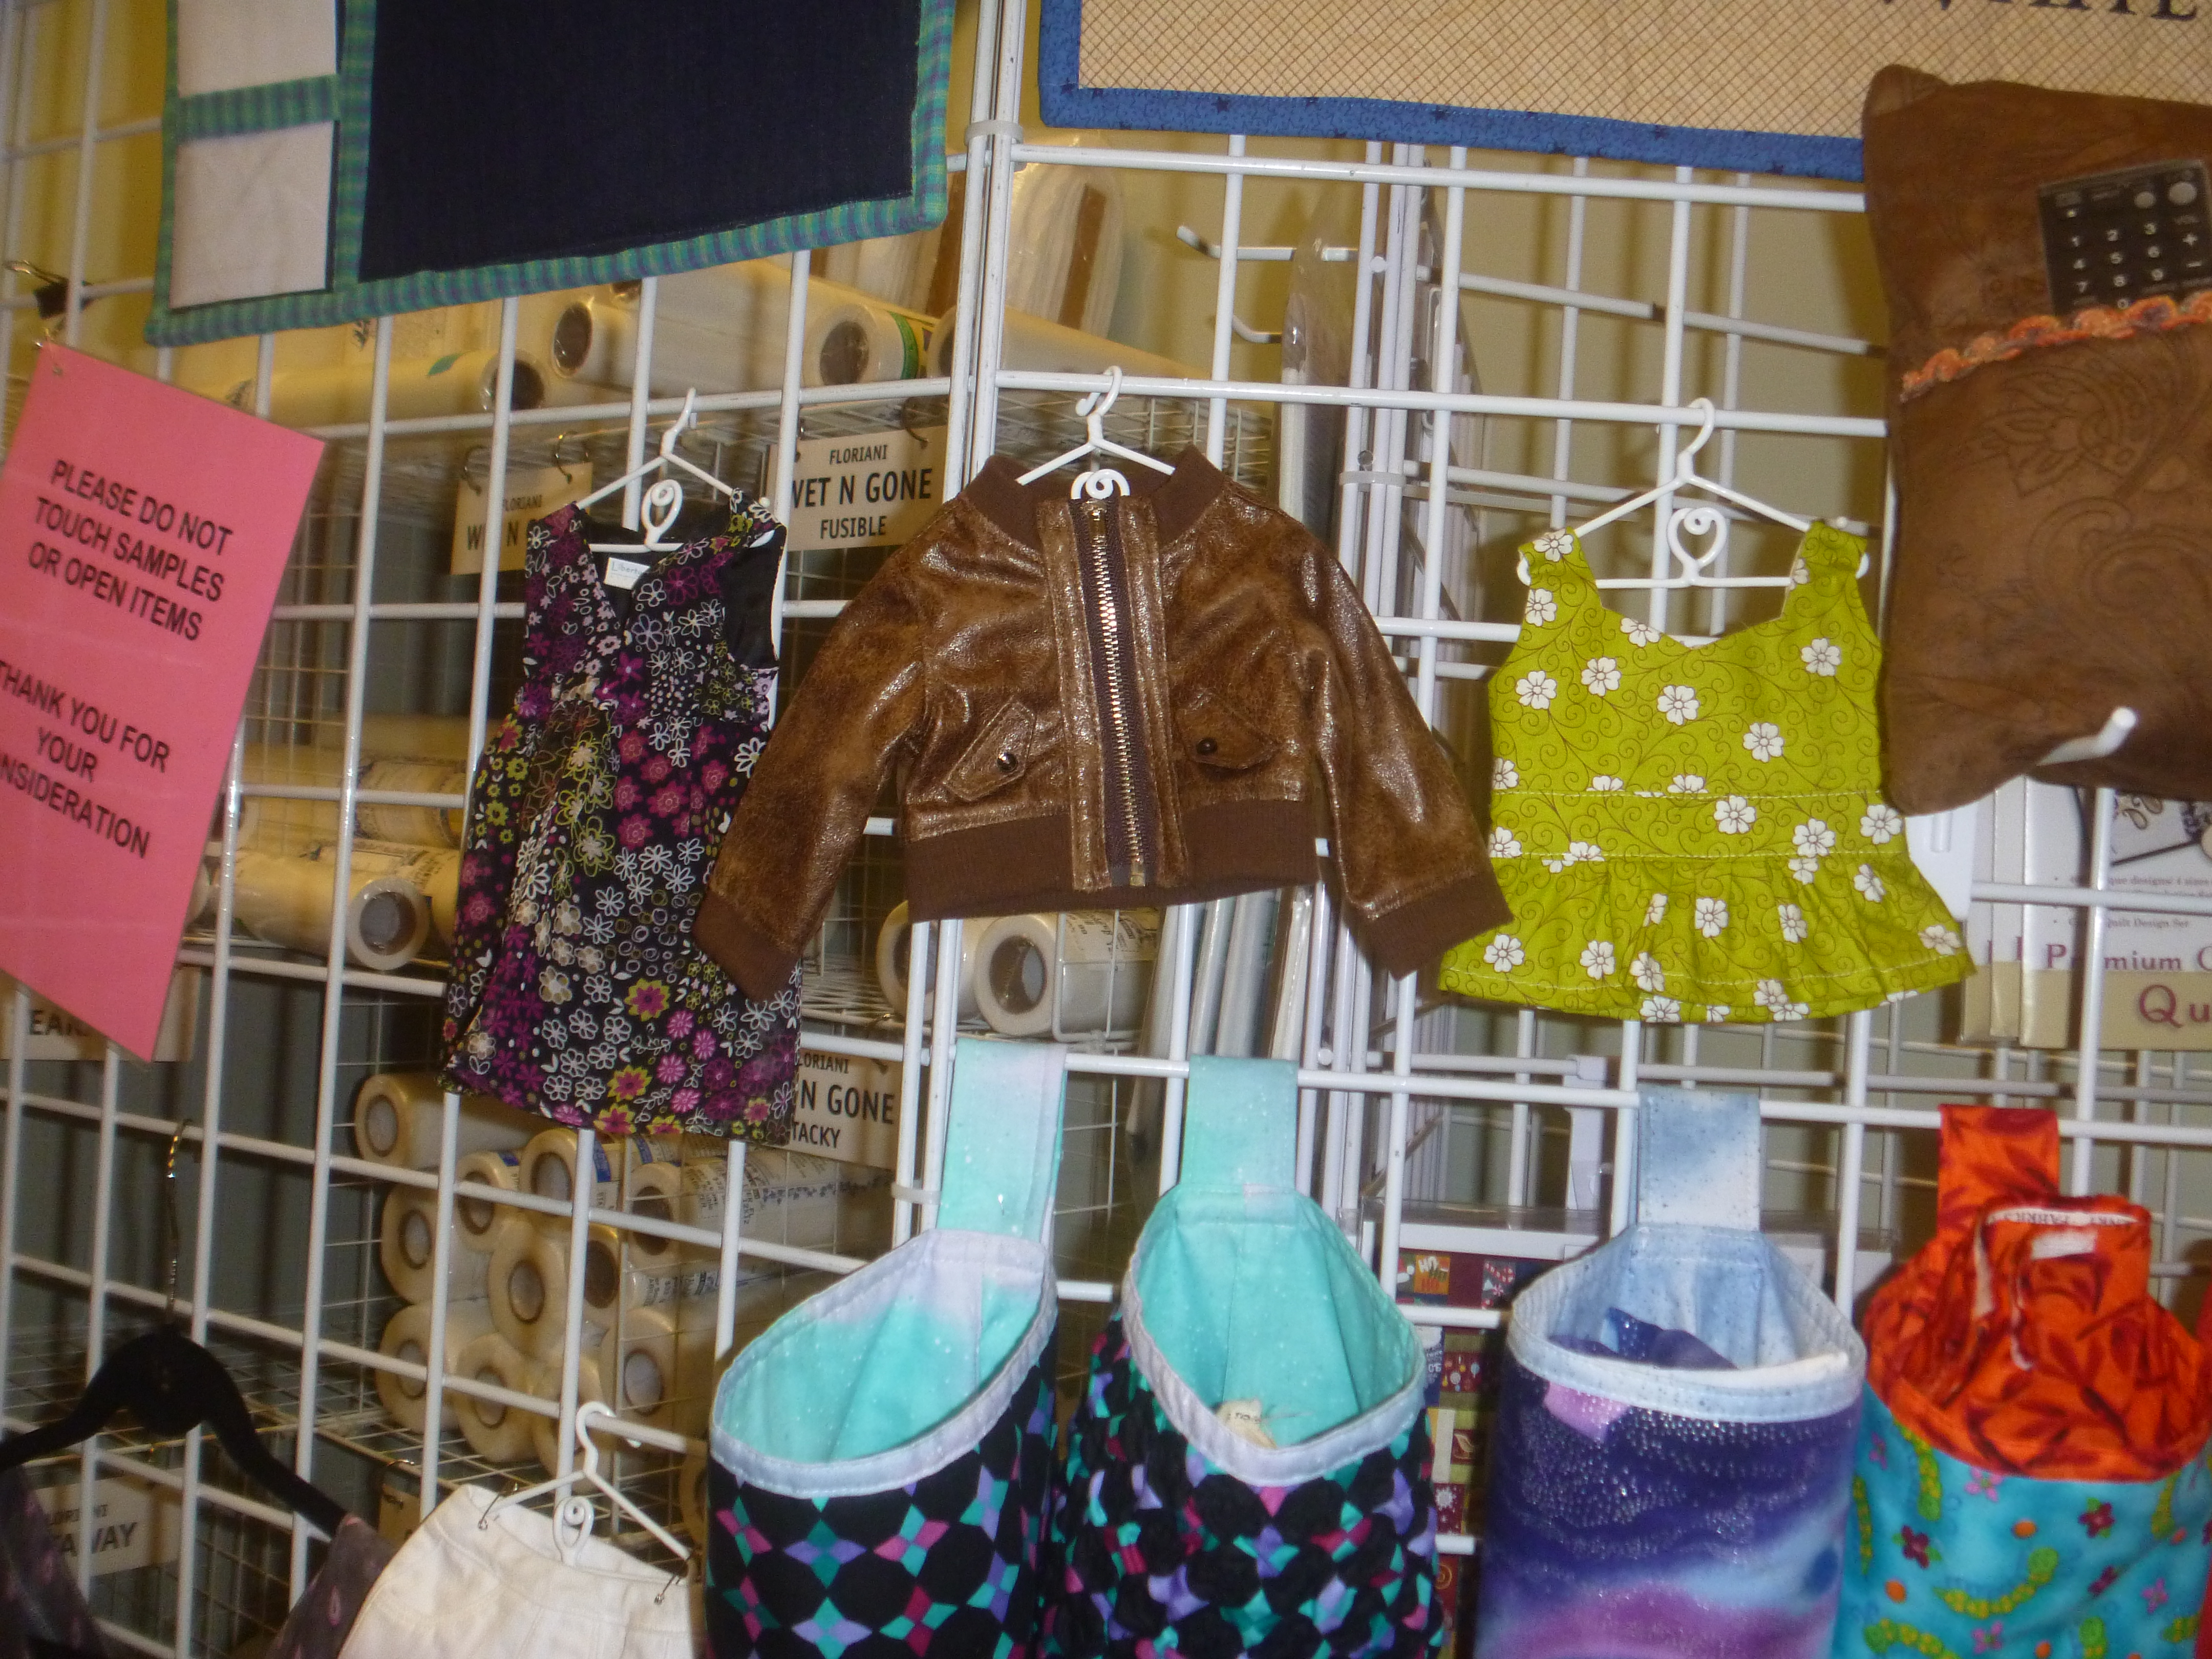
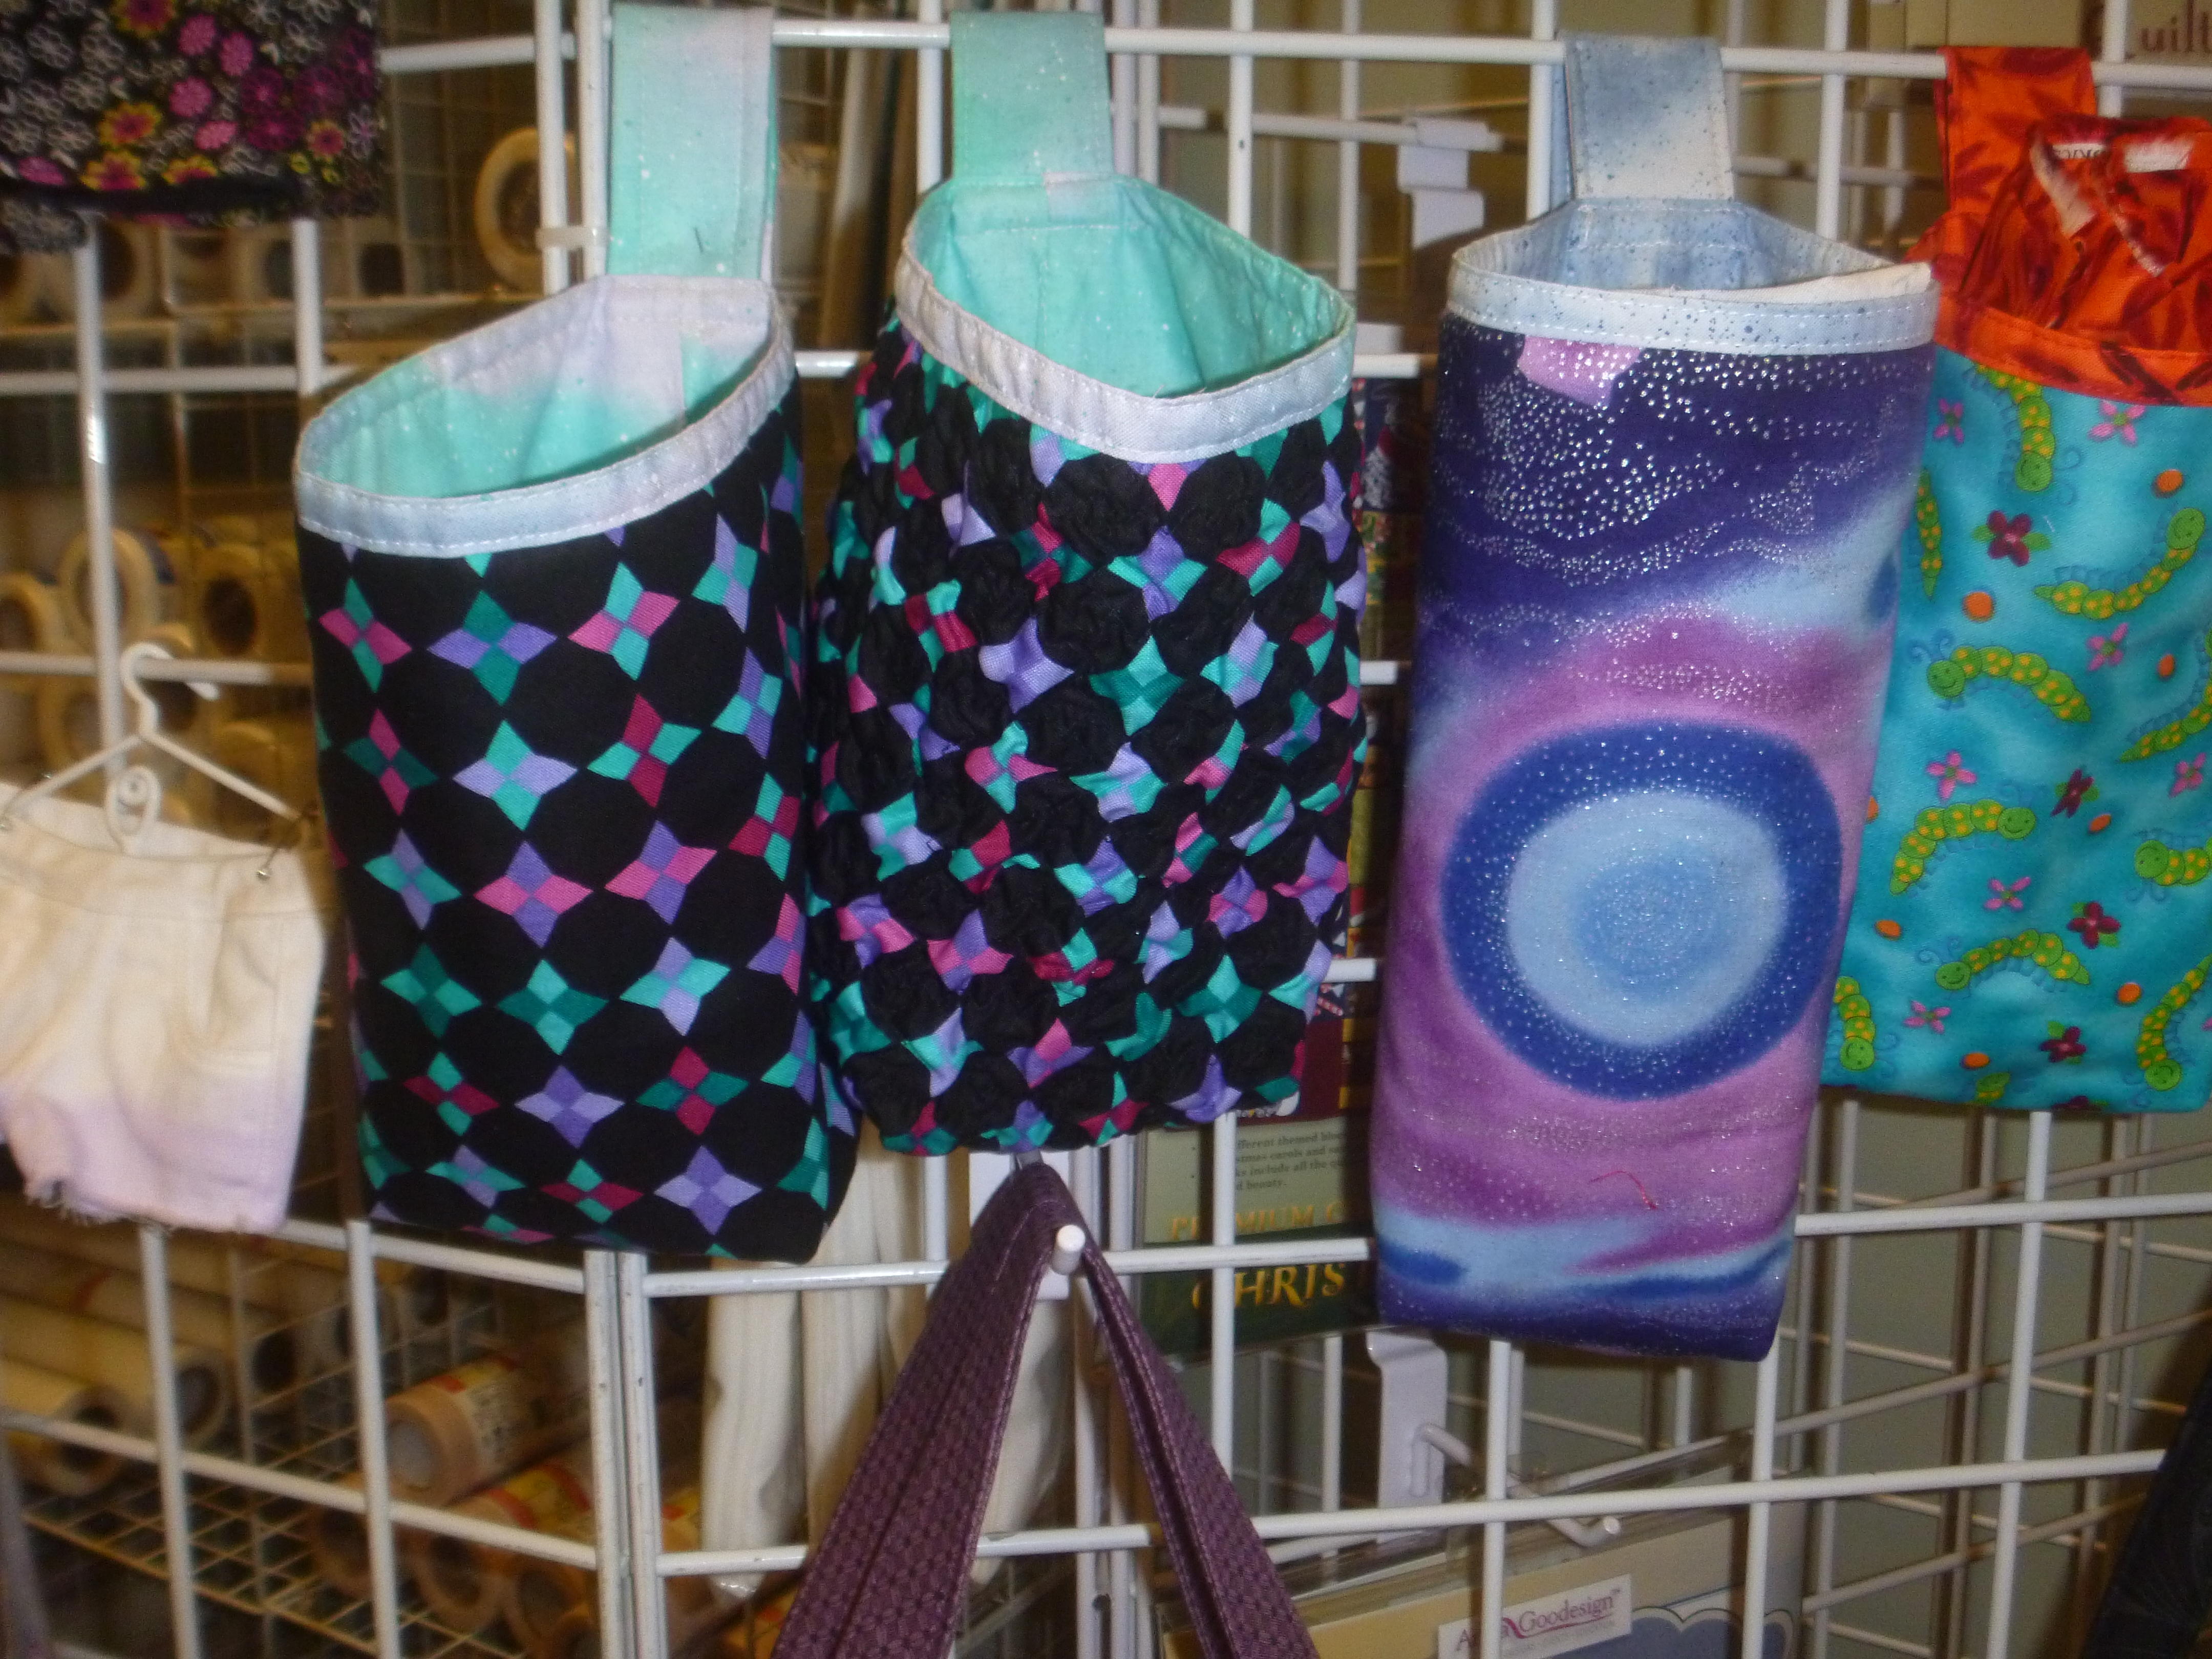
I was ready for a break so I made a hobo bag using this pattern for the dolls. The instructions are good with photos to go with it. They don’t take long so I’m planning on making more of these for Christmas gifts to gift with the dolls. And to make it even better, the designer will send you the “money” you can print out and put inside.
The counters are clean, the dishes done and the floors are clean from the strawberry marathon. Supper and relaxing time have arrived.
Strawberries, strawberries, strawberries
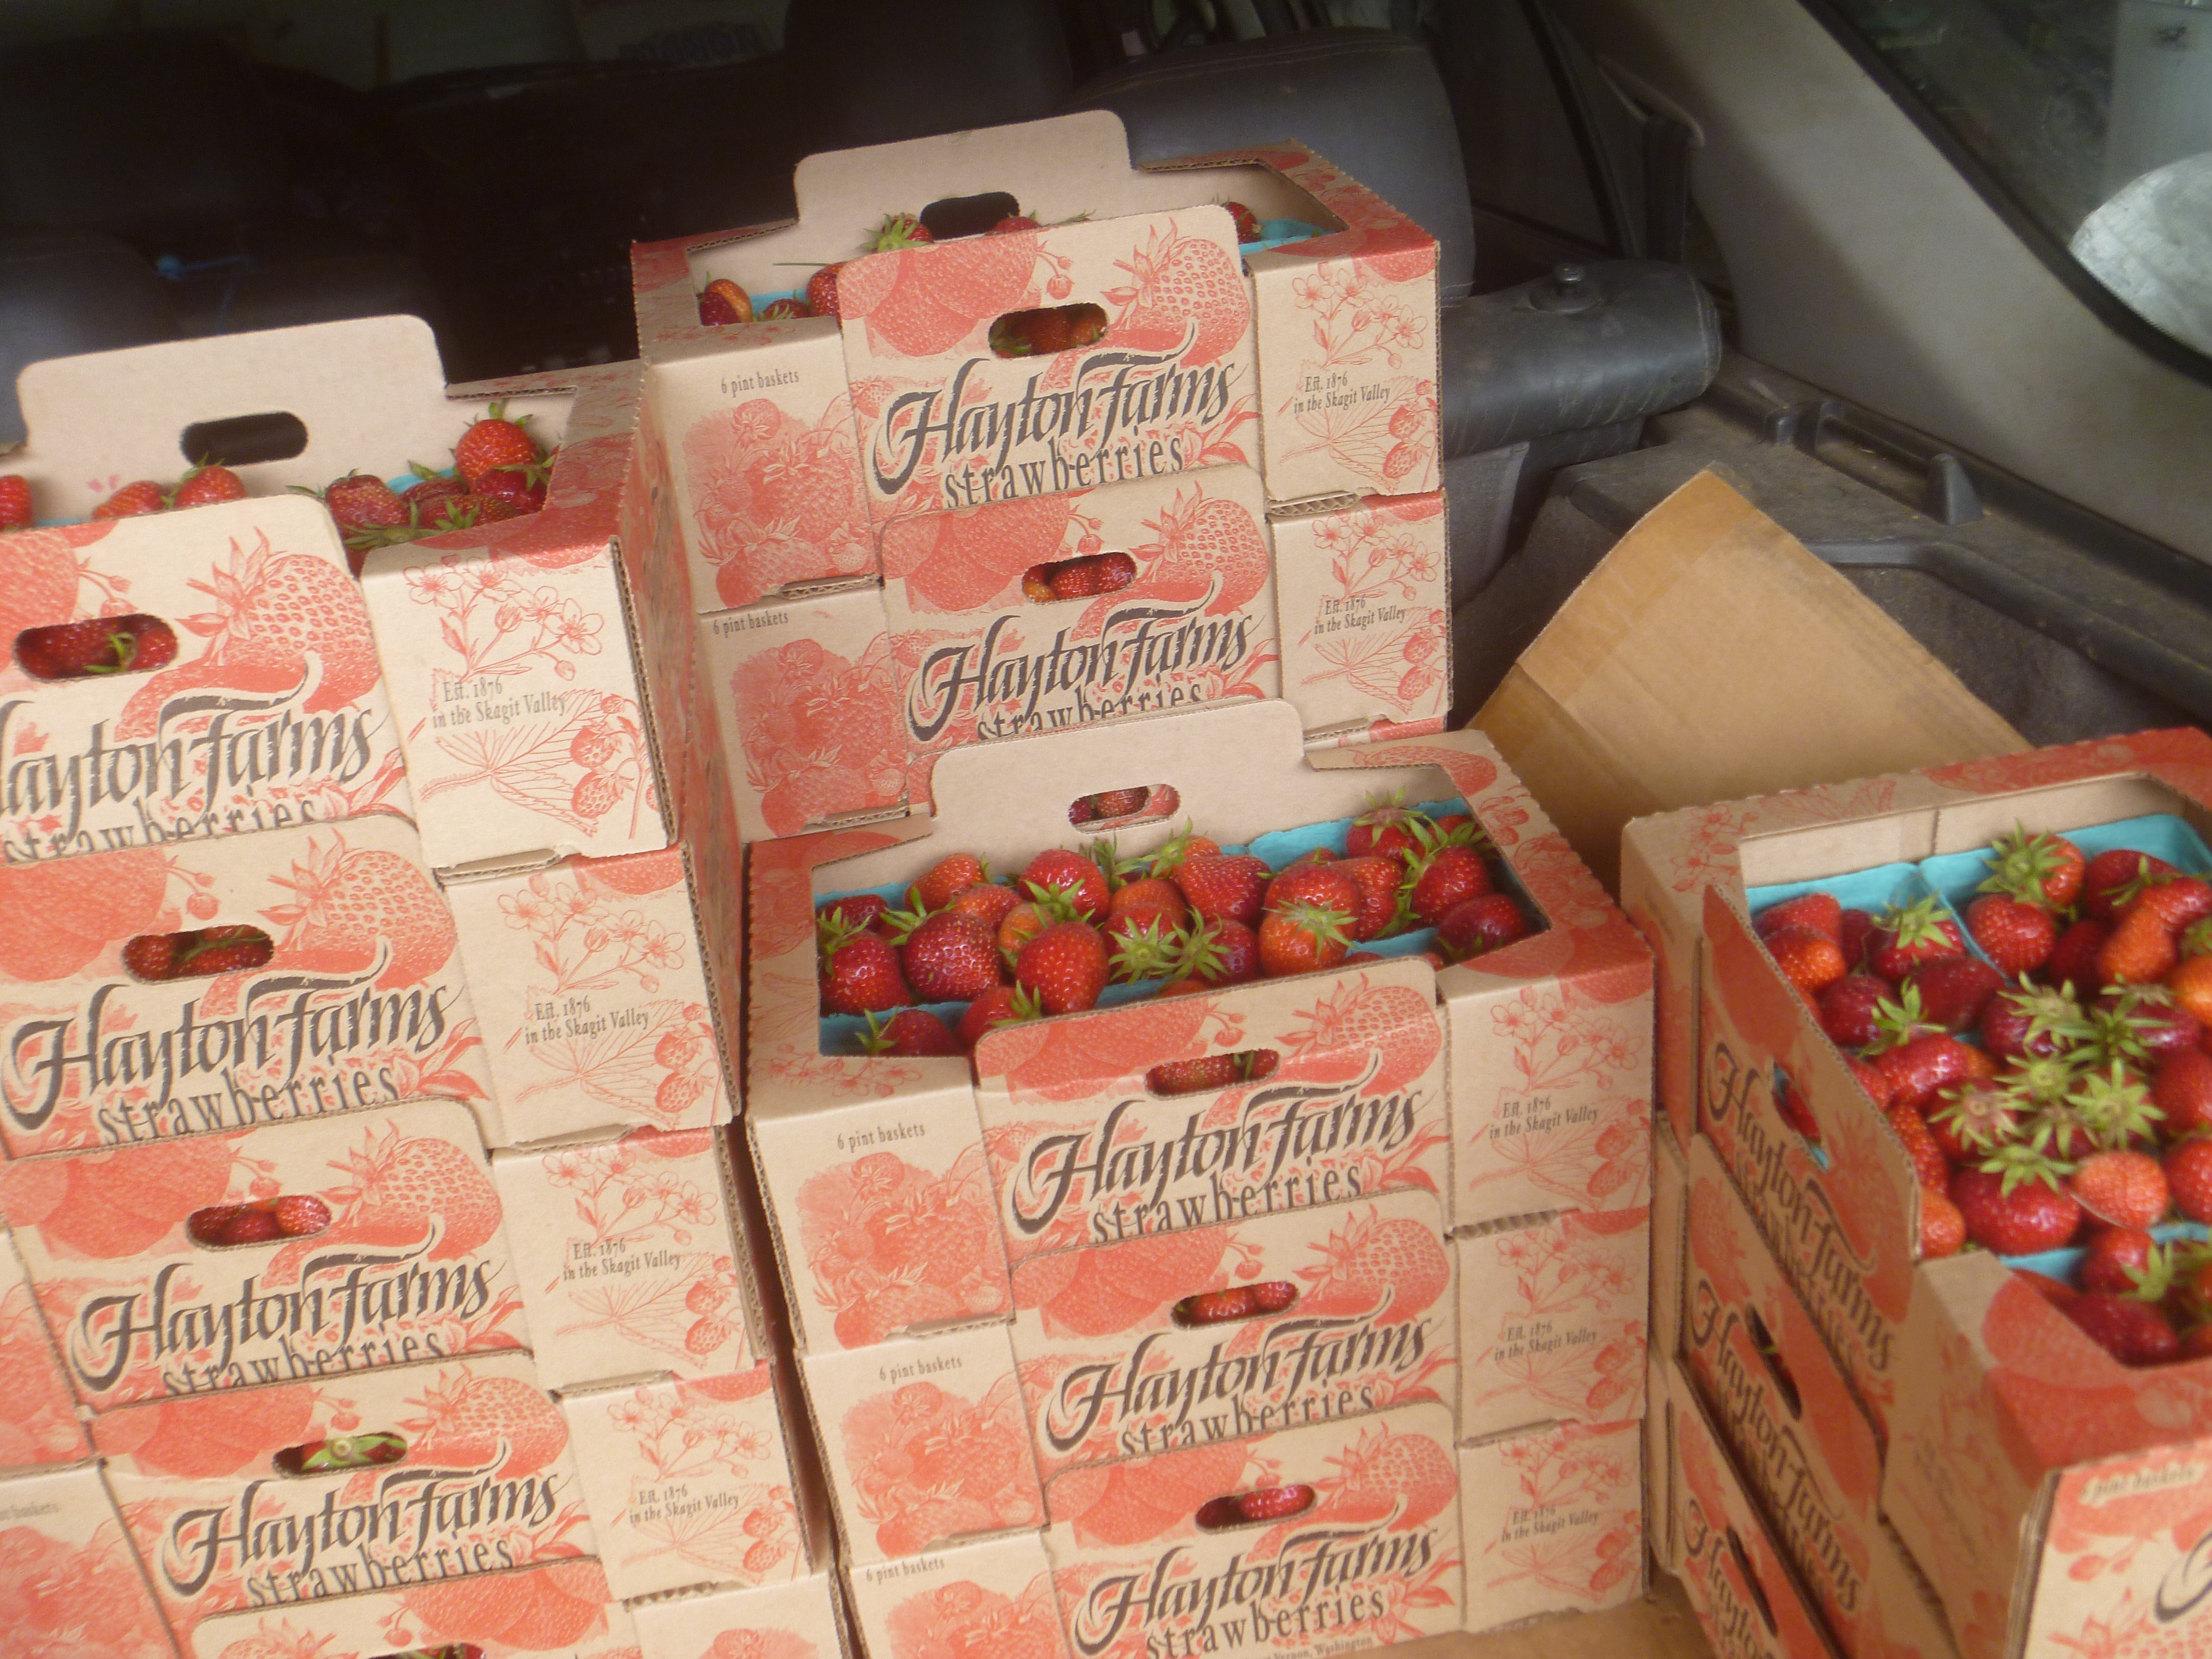
Having decided I have lots of energy (must keep telling self this), I ordered 150# of the best organic strawberries. 150# is 15 full flats. We picked them up at 10 this morning and have been working on them. I washed and stemmed and he cut and packed into the vacuum bags.
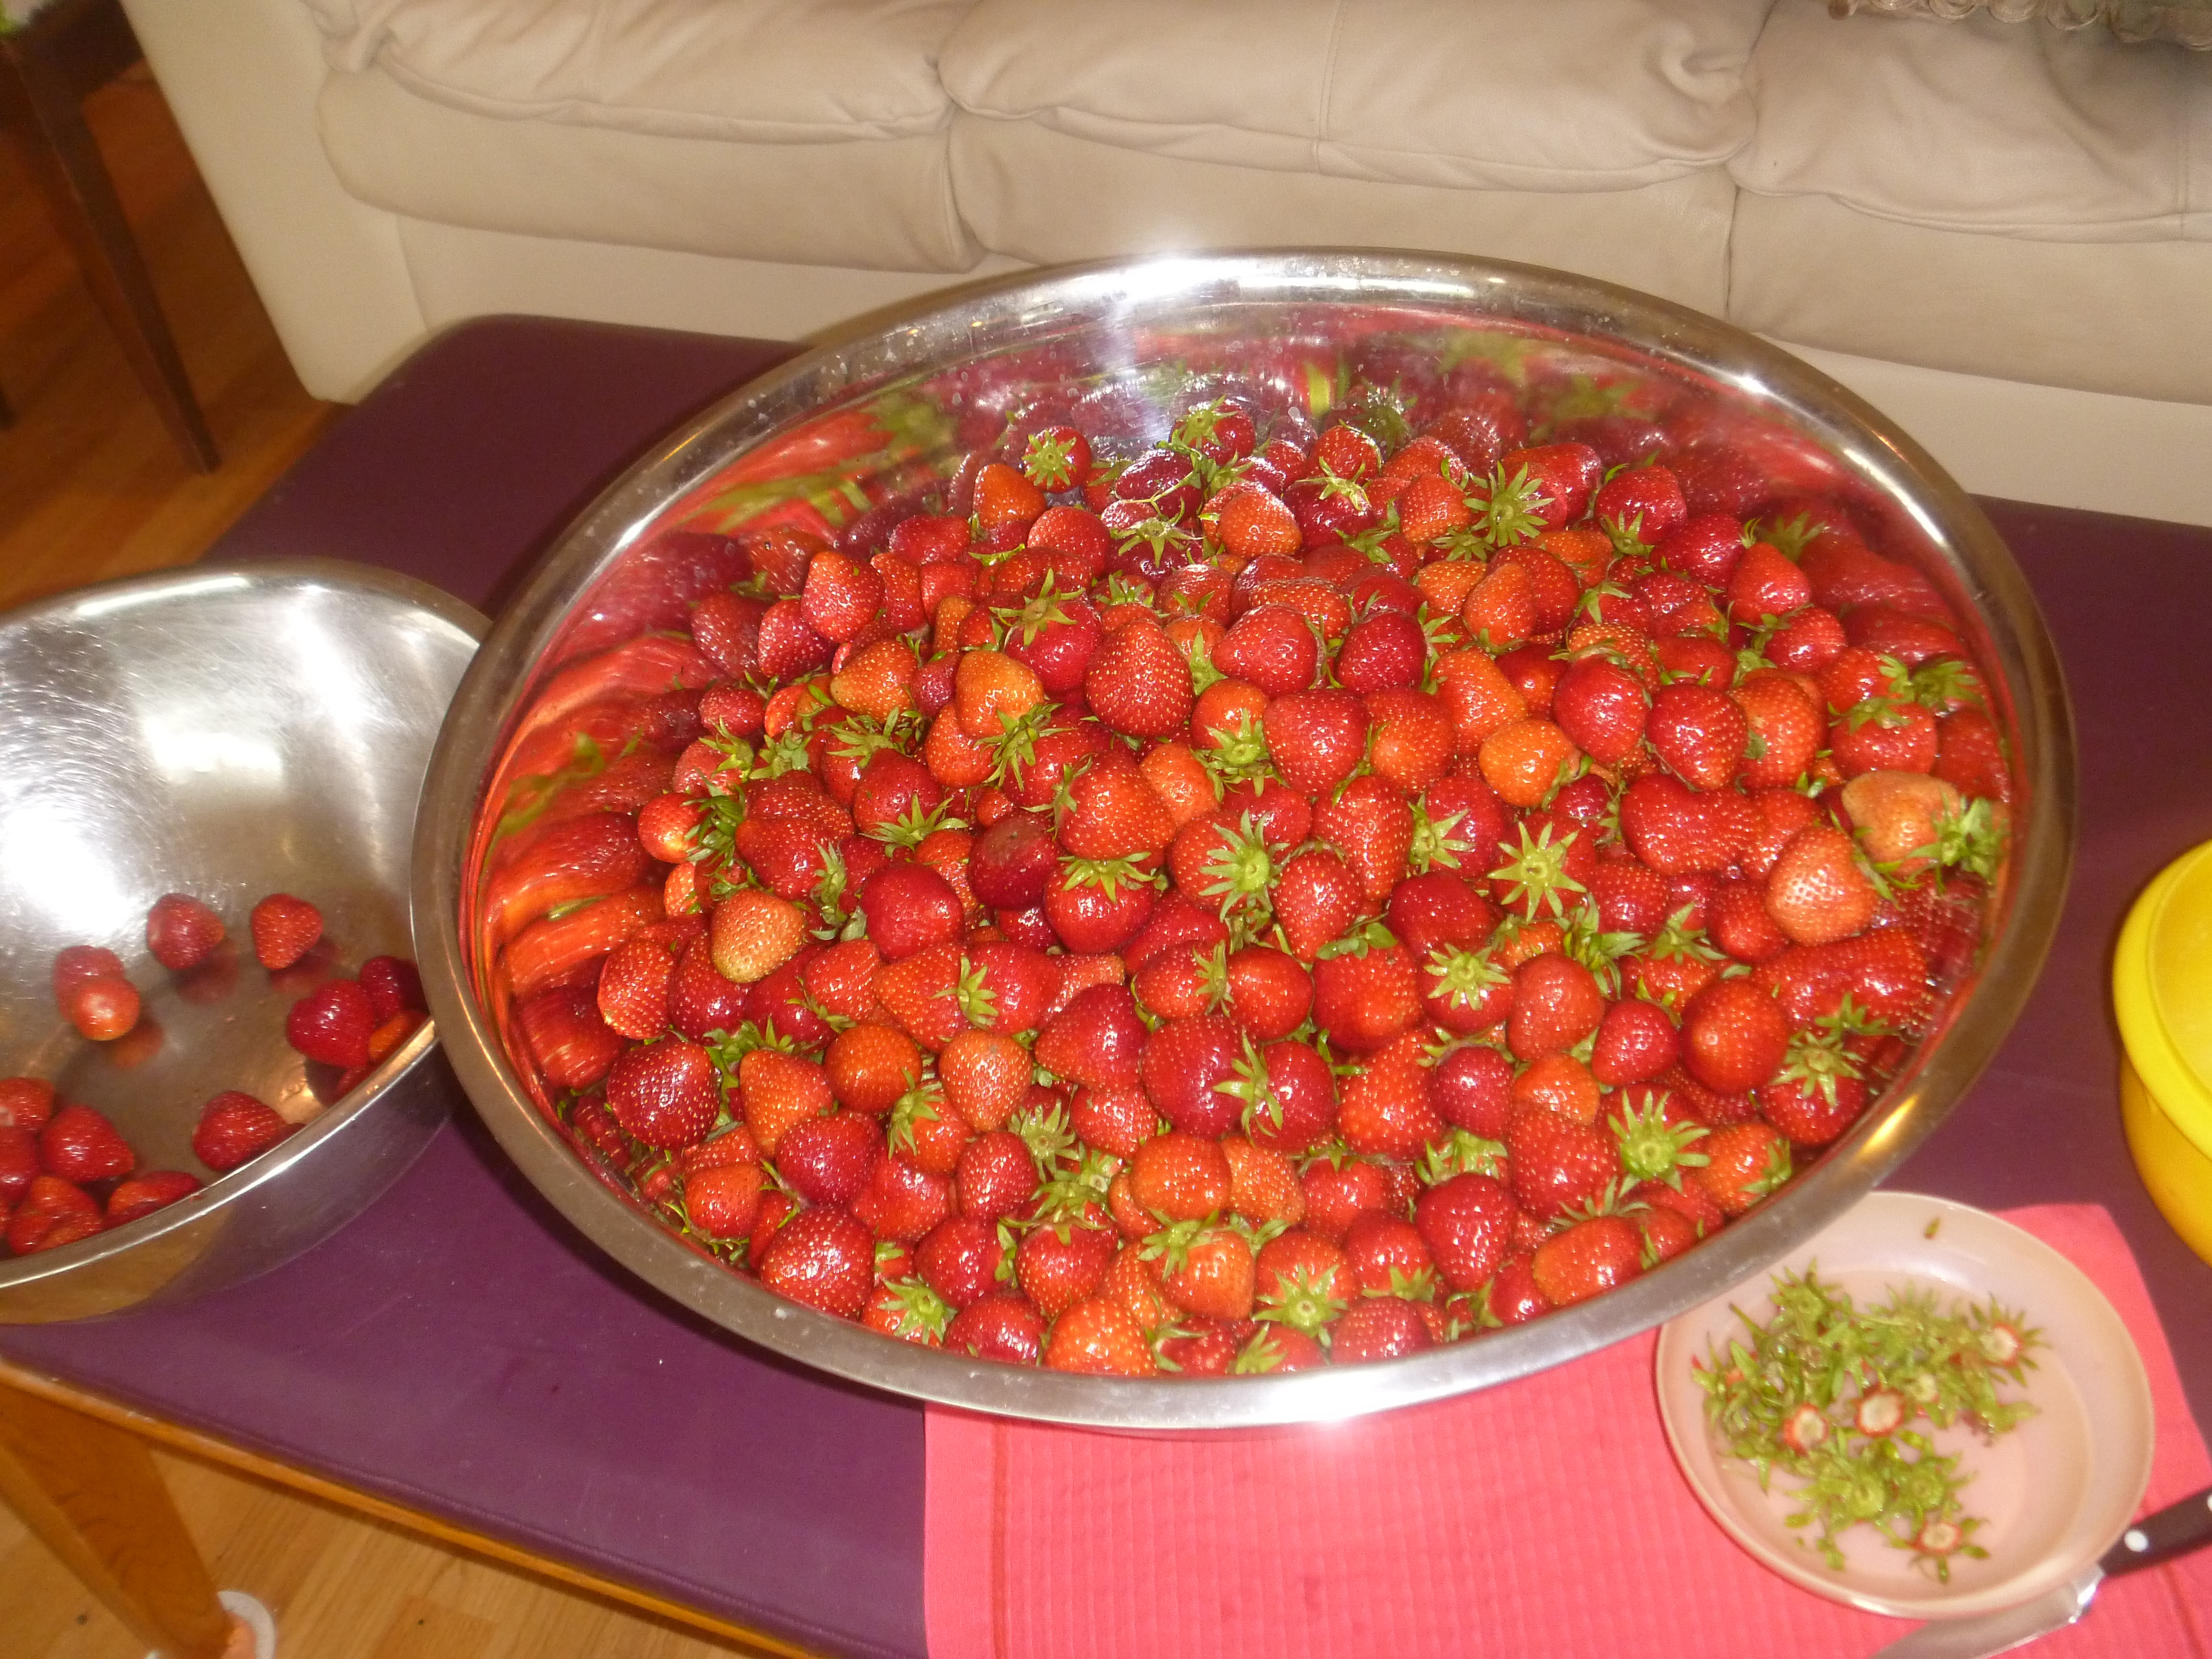
We did take a quick lunch break and then right back to working on the berries until 6 this evening. We now have about 110# in the freezer, vacuum packed in smaller quantities. The rest are either in our stomachs or in the refrigerator waiting until morning. I’ll put 4 batches in the freezer with just the quantity for the jam recipe. That will probably take most of the rest. I’ll leave a few out for eating.
These will be oh, so good, this winter and will remind us that summer will soon be here again.
Purple baby hats
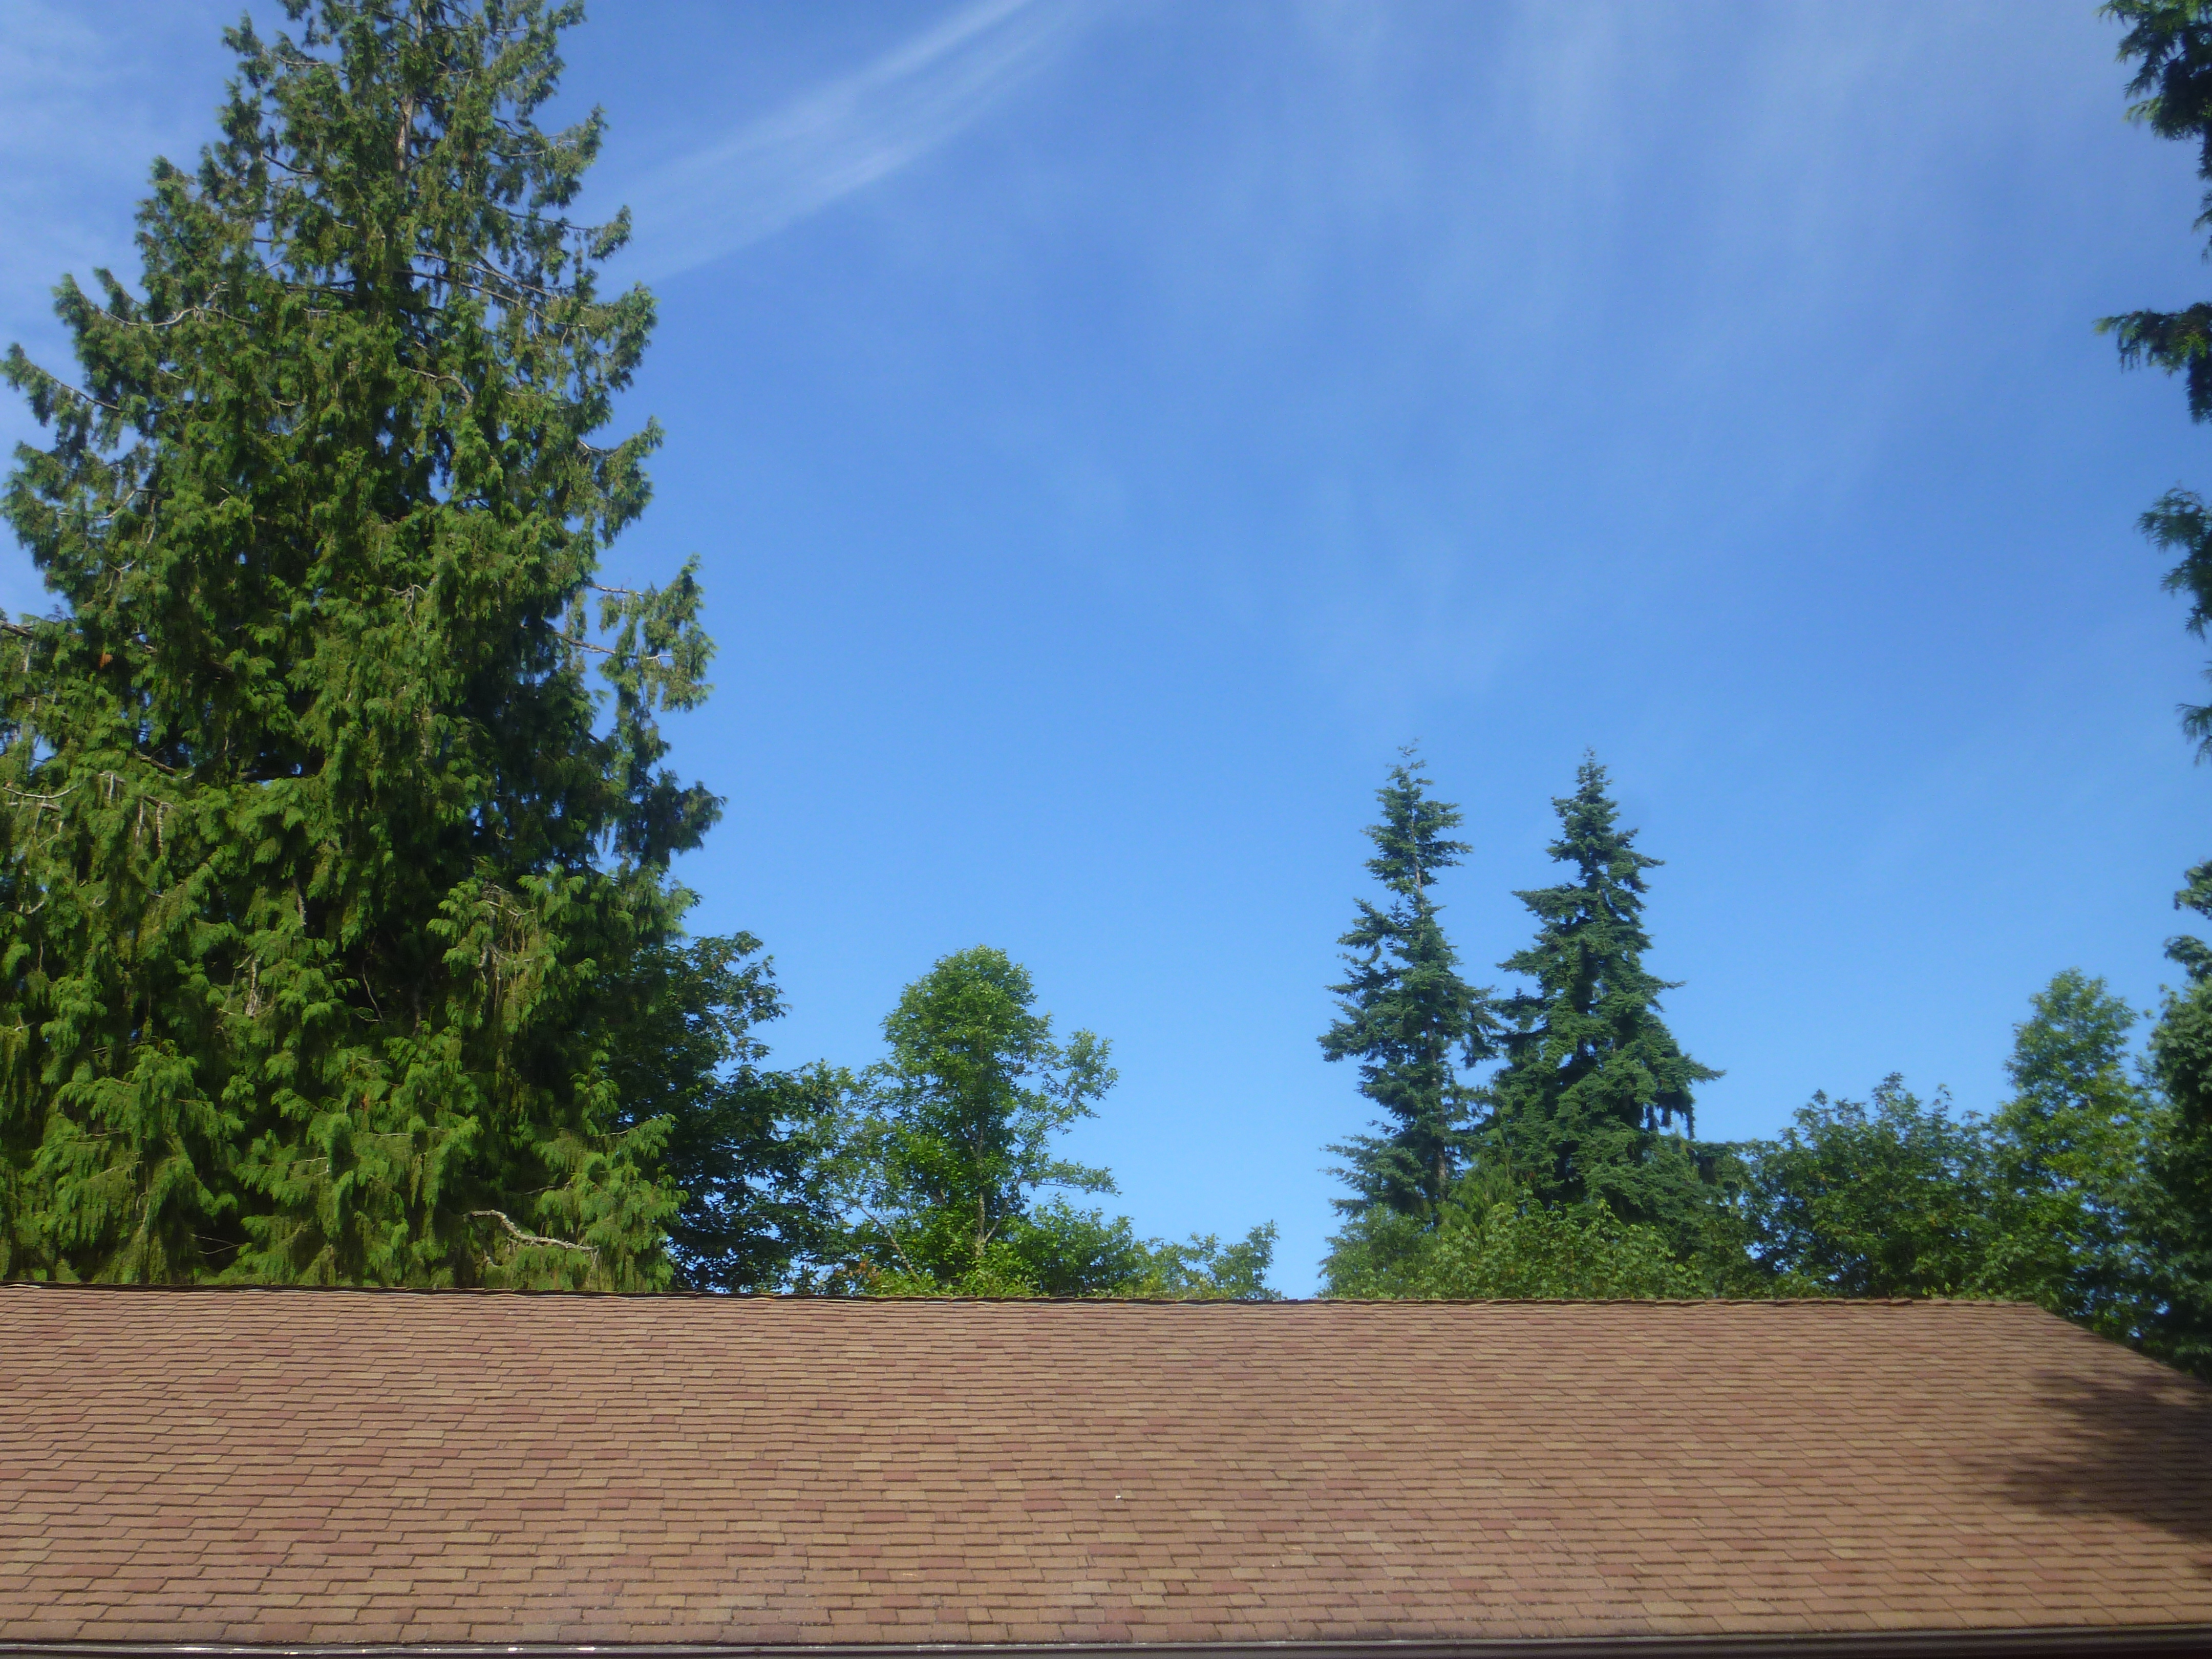
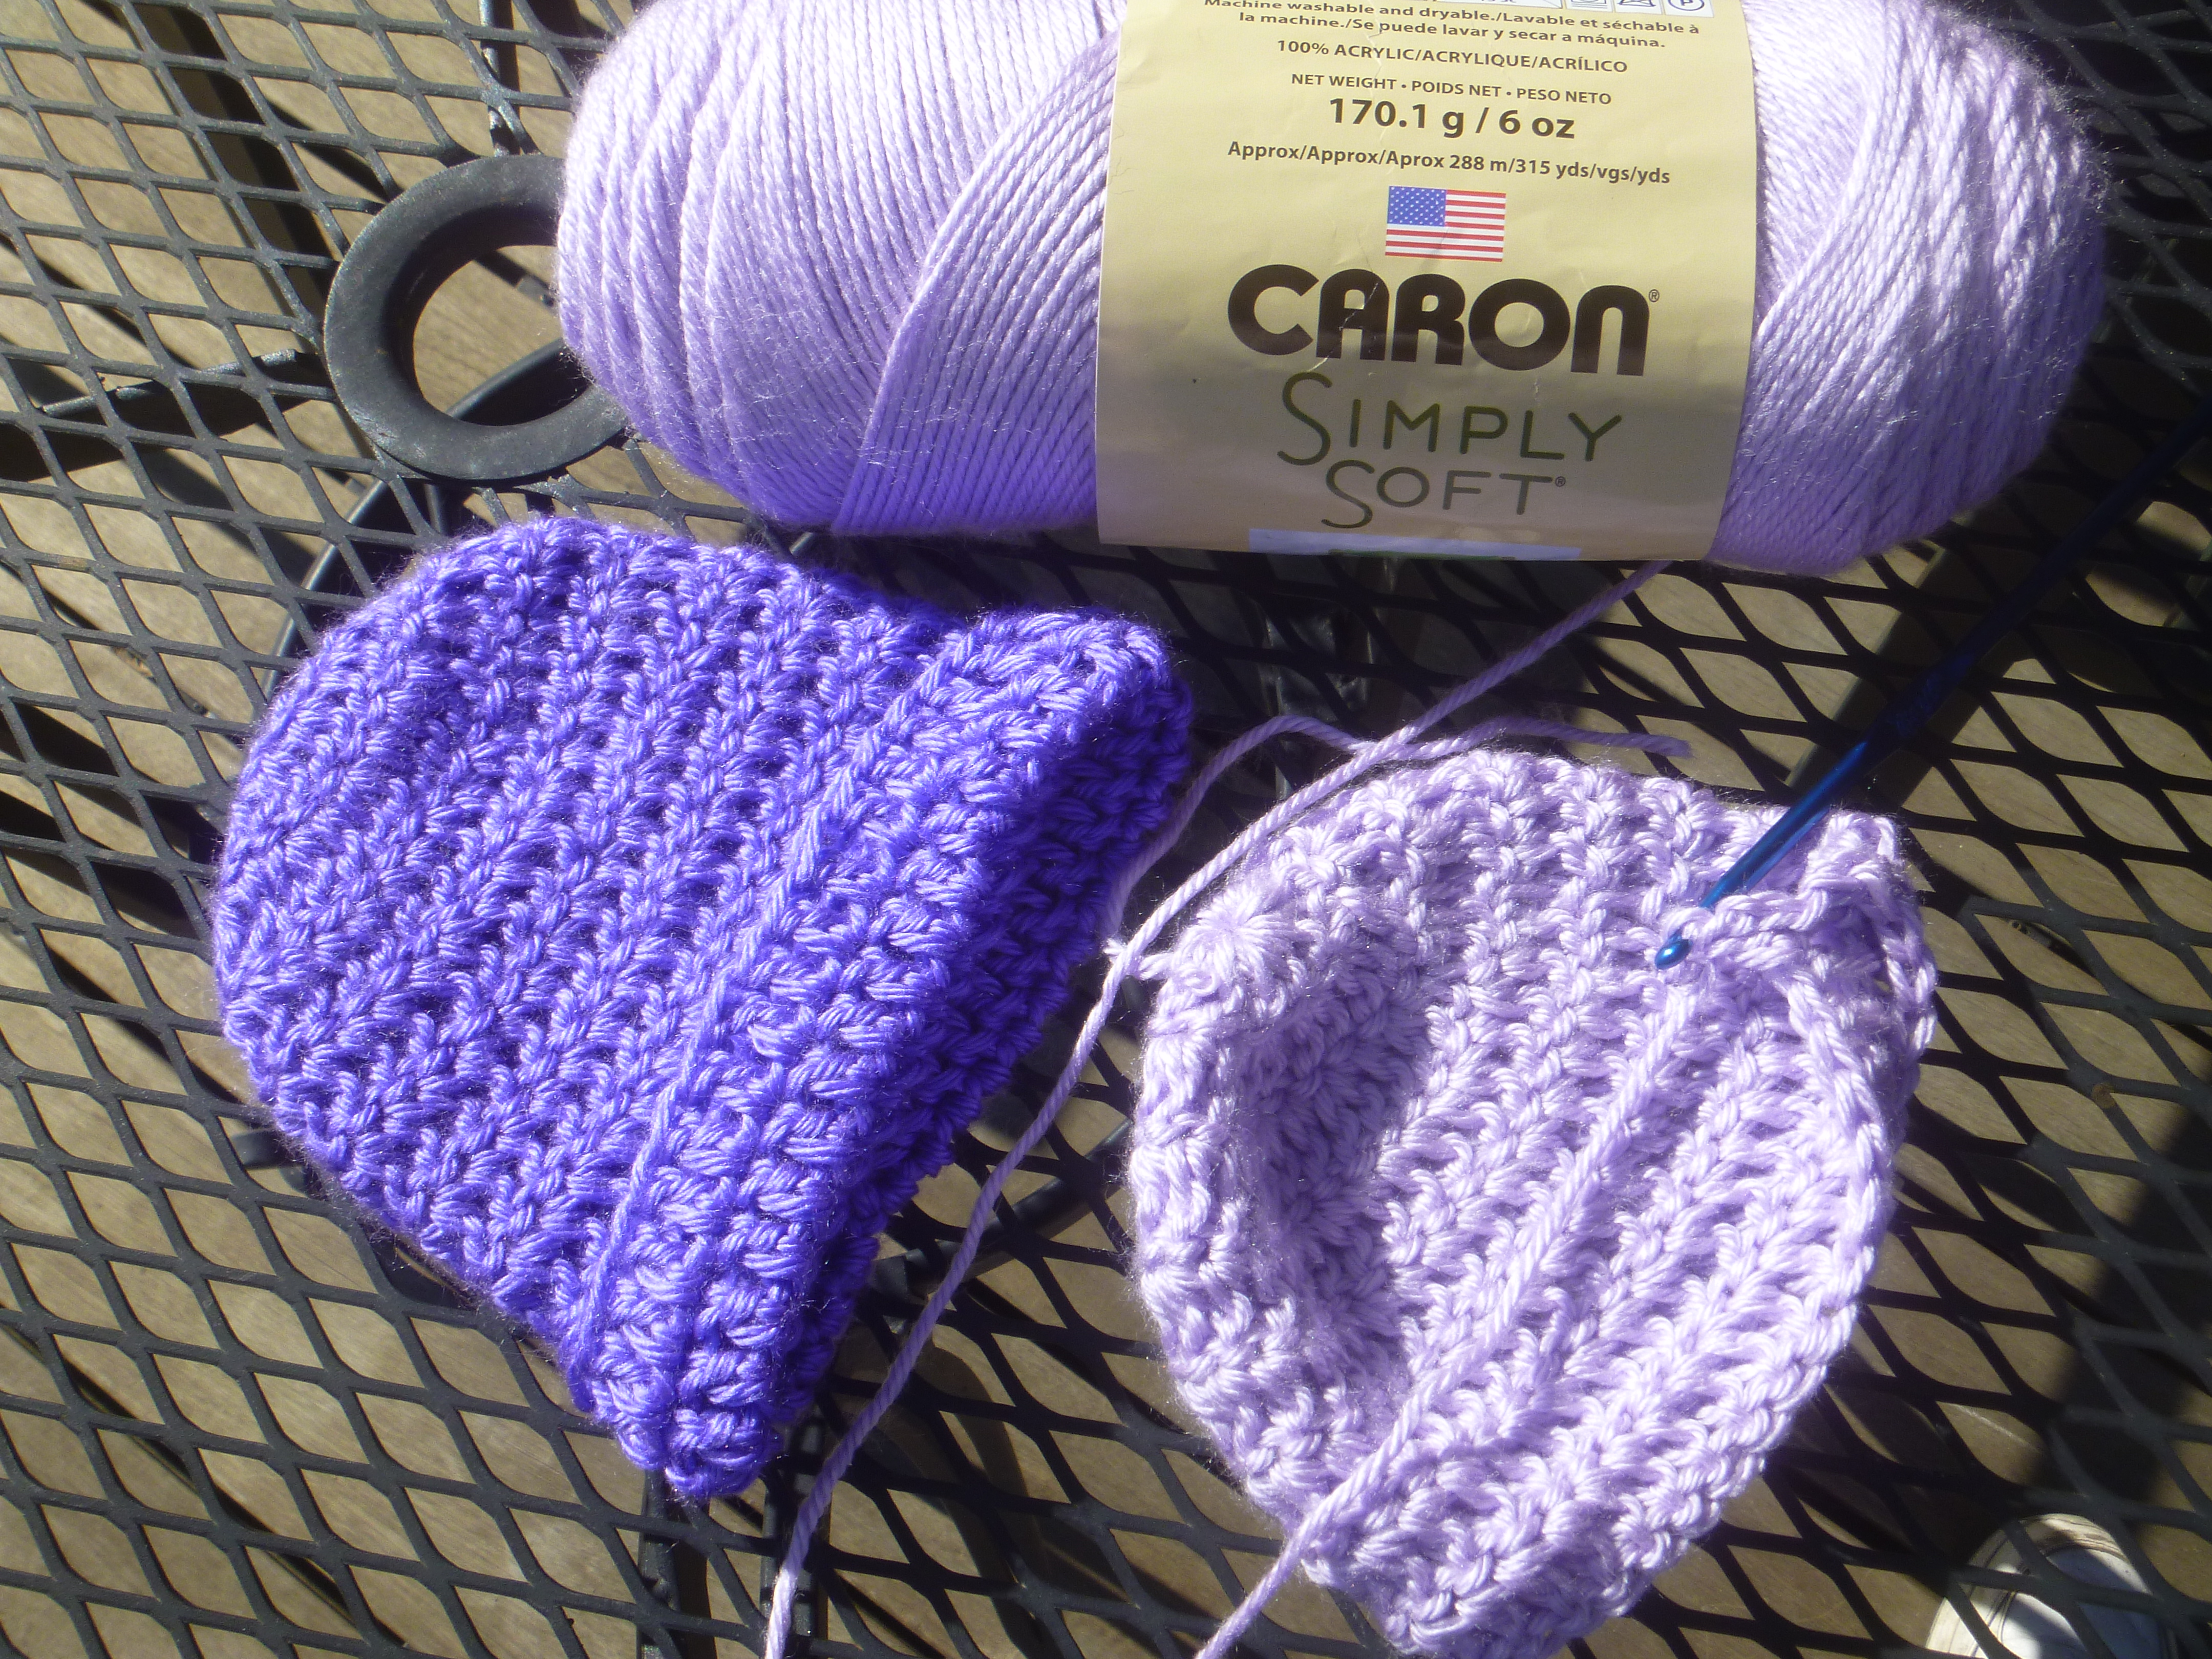
First I must share the beautiful sky we had today because it’s not often like this. My husband is crocheting these little purple hats for Mary Bridge Children’s hospital in Tacoma. The national goal is to send every new baby home with a purple hat and a 7 minute video on why one should not shake a baby.
If you know how to chain stitch and how to do a double crochet (dc) this might be a charity project you would consider. (and if you are interested and don’t know how , you can go to YouTube like I did) You could even make one for yourself with a larger hook and yarn, using the same number of stitches. .
-
This is a simple pattern We use a G hook and purple baby yarn
-
chain 5 and close circle ch2, dc 12 in circle, close circle = 12 stitches ch2,
-
2 dc in every stitch, close circle= 24 stitches ch2,
-
dc in first stitch and 2 dc in next stitch around, close circle = 36 stitches ch2,
-
dc in every stitch around and close circle.
-
continue you until you have a total of 10 rounds
Lemon day
Next on the quilt top, we need to square up the borders. I use a square ruler to make sure I have a 90 degree angle. Then it’s border time.
First I fold the quilt in half, then bring the front down so that both sides are exposed. I then check the border to make sure it will be the same on both sides. When sure, I cut off the same amount on both border pieces.
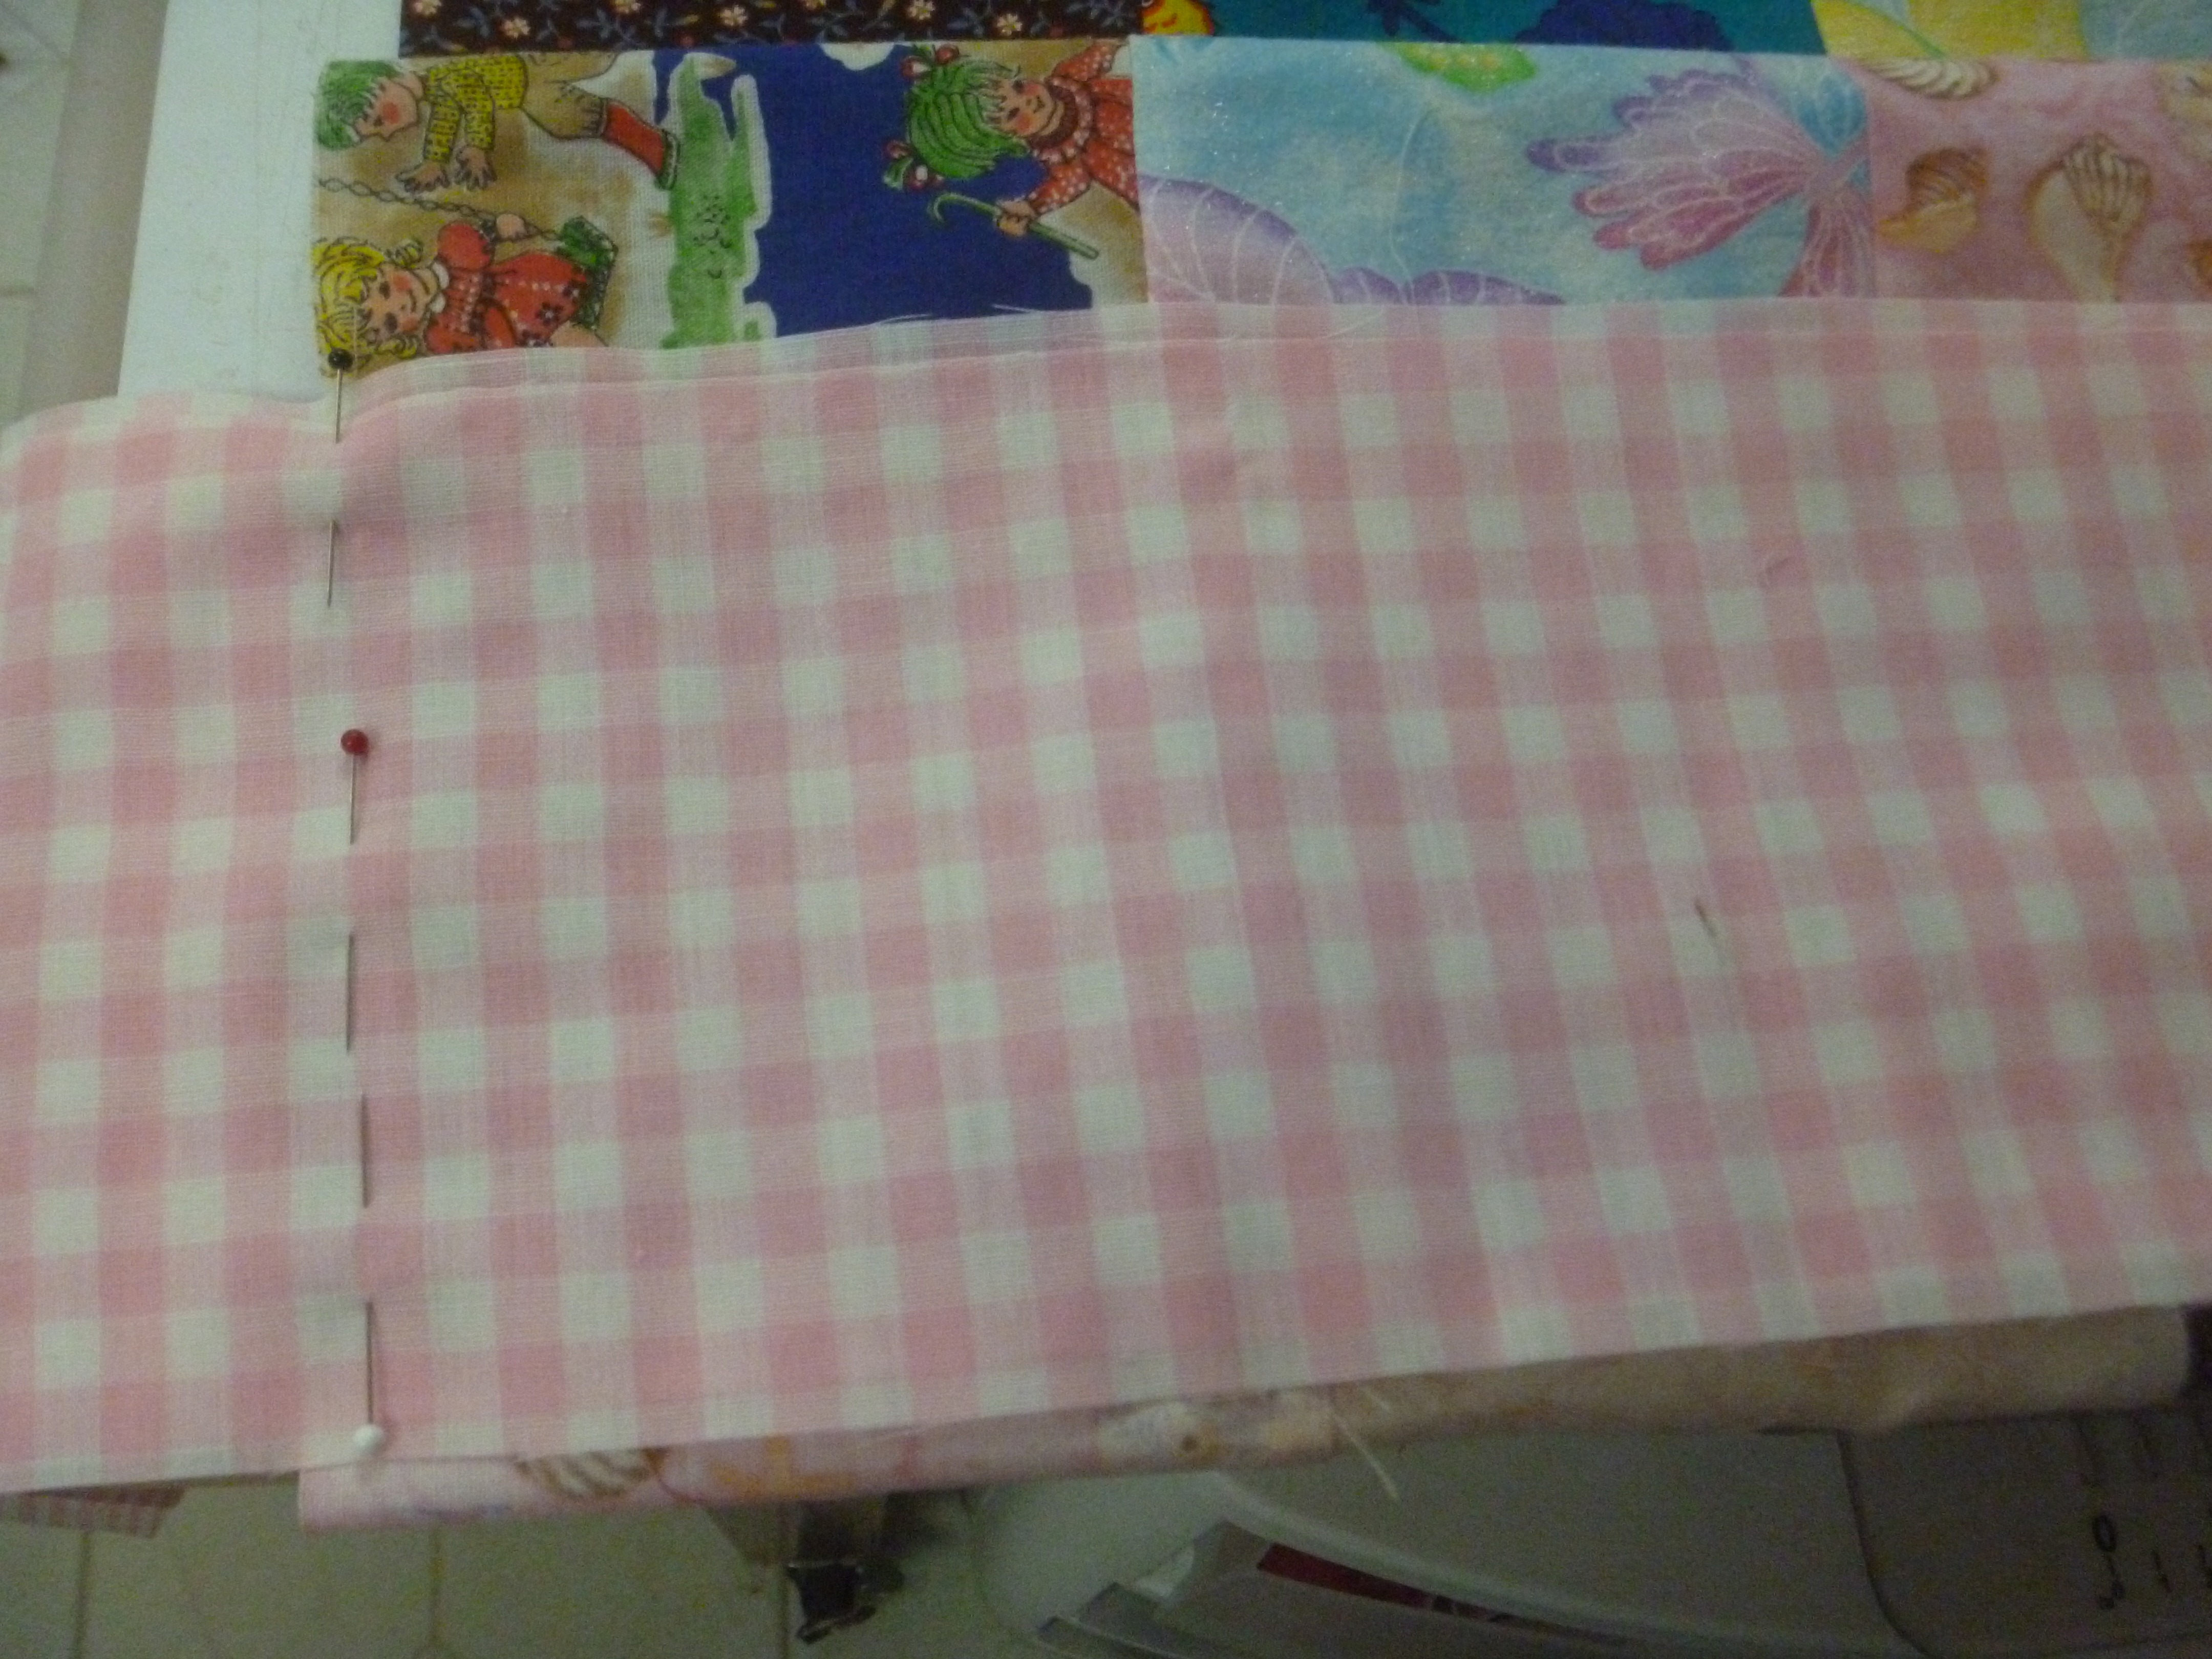
Now pin the borders on the sides. I pin about 5 pins on each side for a 40 inch quilt. Repeat for the top and bottom.
I thought I would just put the back on, envelope style. Those checks would not cooperate, plus my batting is thin. So after sewing it on, I decided to cut it off by changing what was a 4″ border to a 2″ border.. Usually I would leave the backing and batting until the quilt was quilted. I have a fair amount of pins in it so it shouldn’t move while I’m quilting which I will do by using decorative stitches on my sewing machine. Then I will bind it. However, when I have sewing days, like this, it is best to leave everything alone for a couple of days and then come back.
Baby quilt center finish
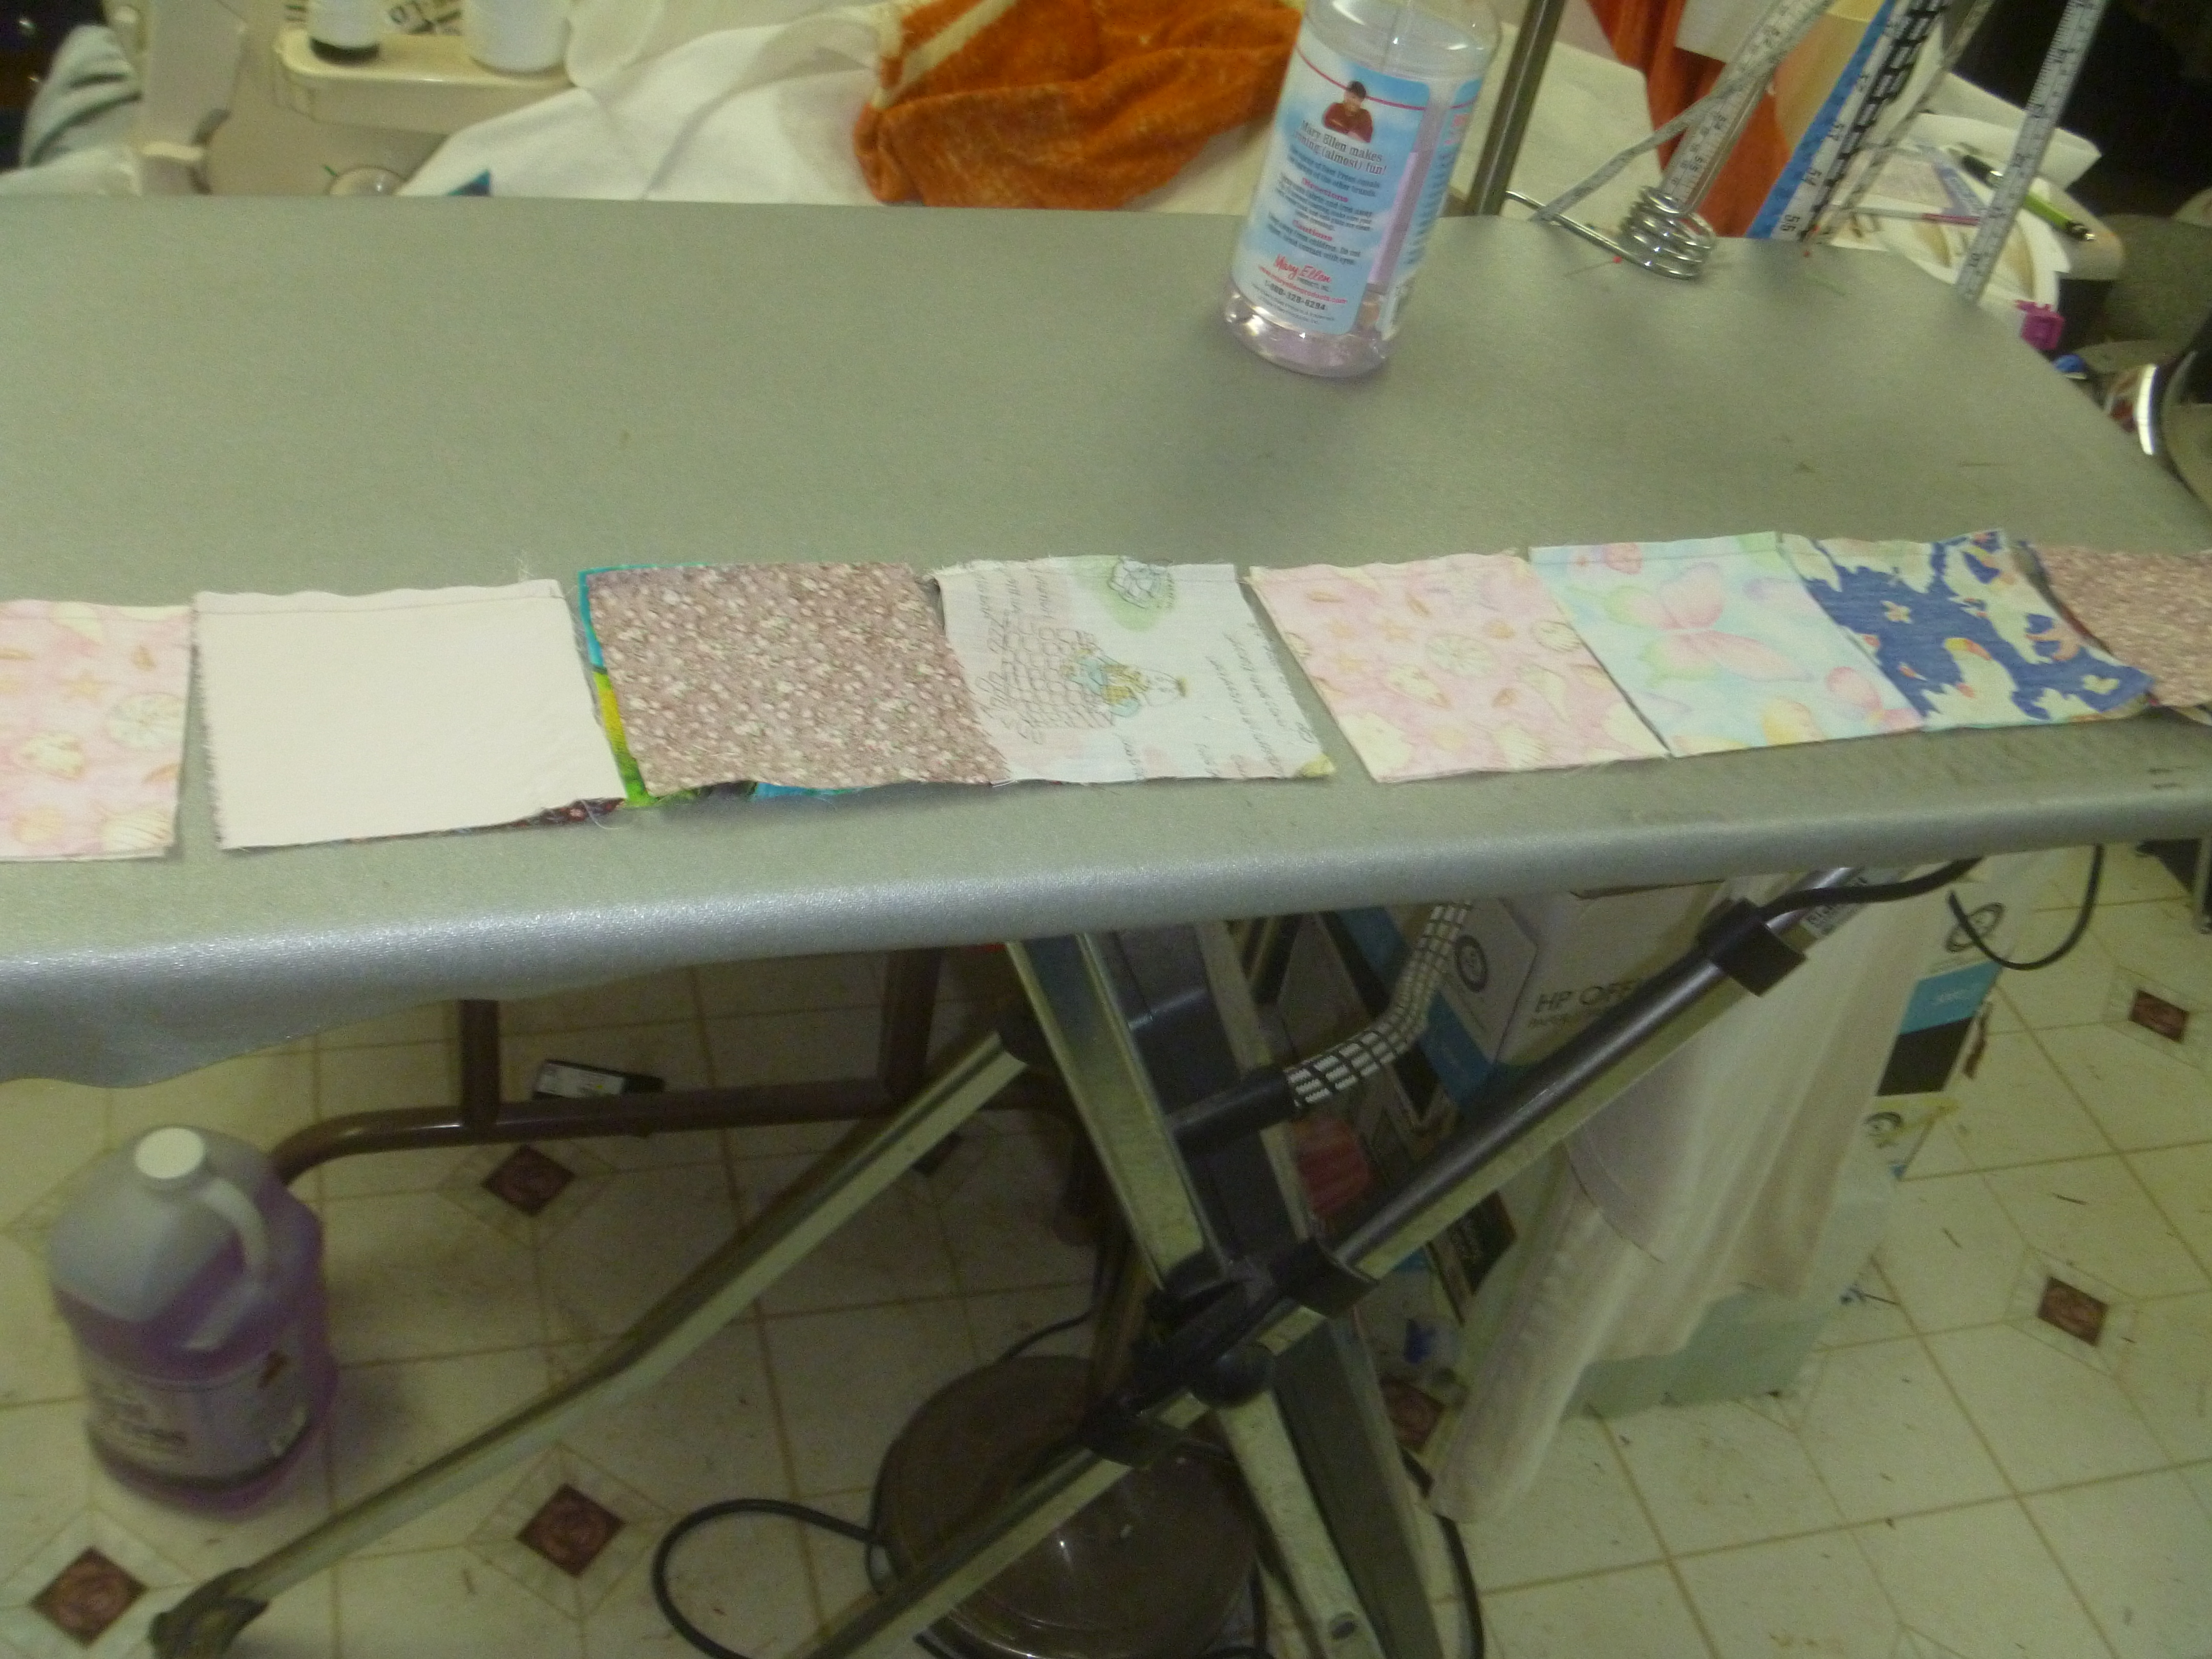
Now that each row is complete, we are ready to press. (Did I mention that I sew quilts with a #2 length on modern machines or on older machines, it would be a few more stitches to the inch) OK, ready to put the quilt together – Move the numbered papers you have at the top to down the left side.
At the ironing board press all even numbered rows to the left and all odd numbered rows to the right (this can be reversed, just be sure that they are pressed opposite)

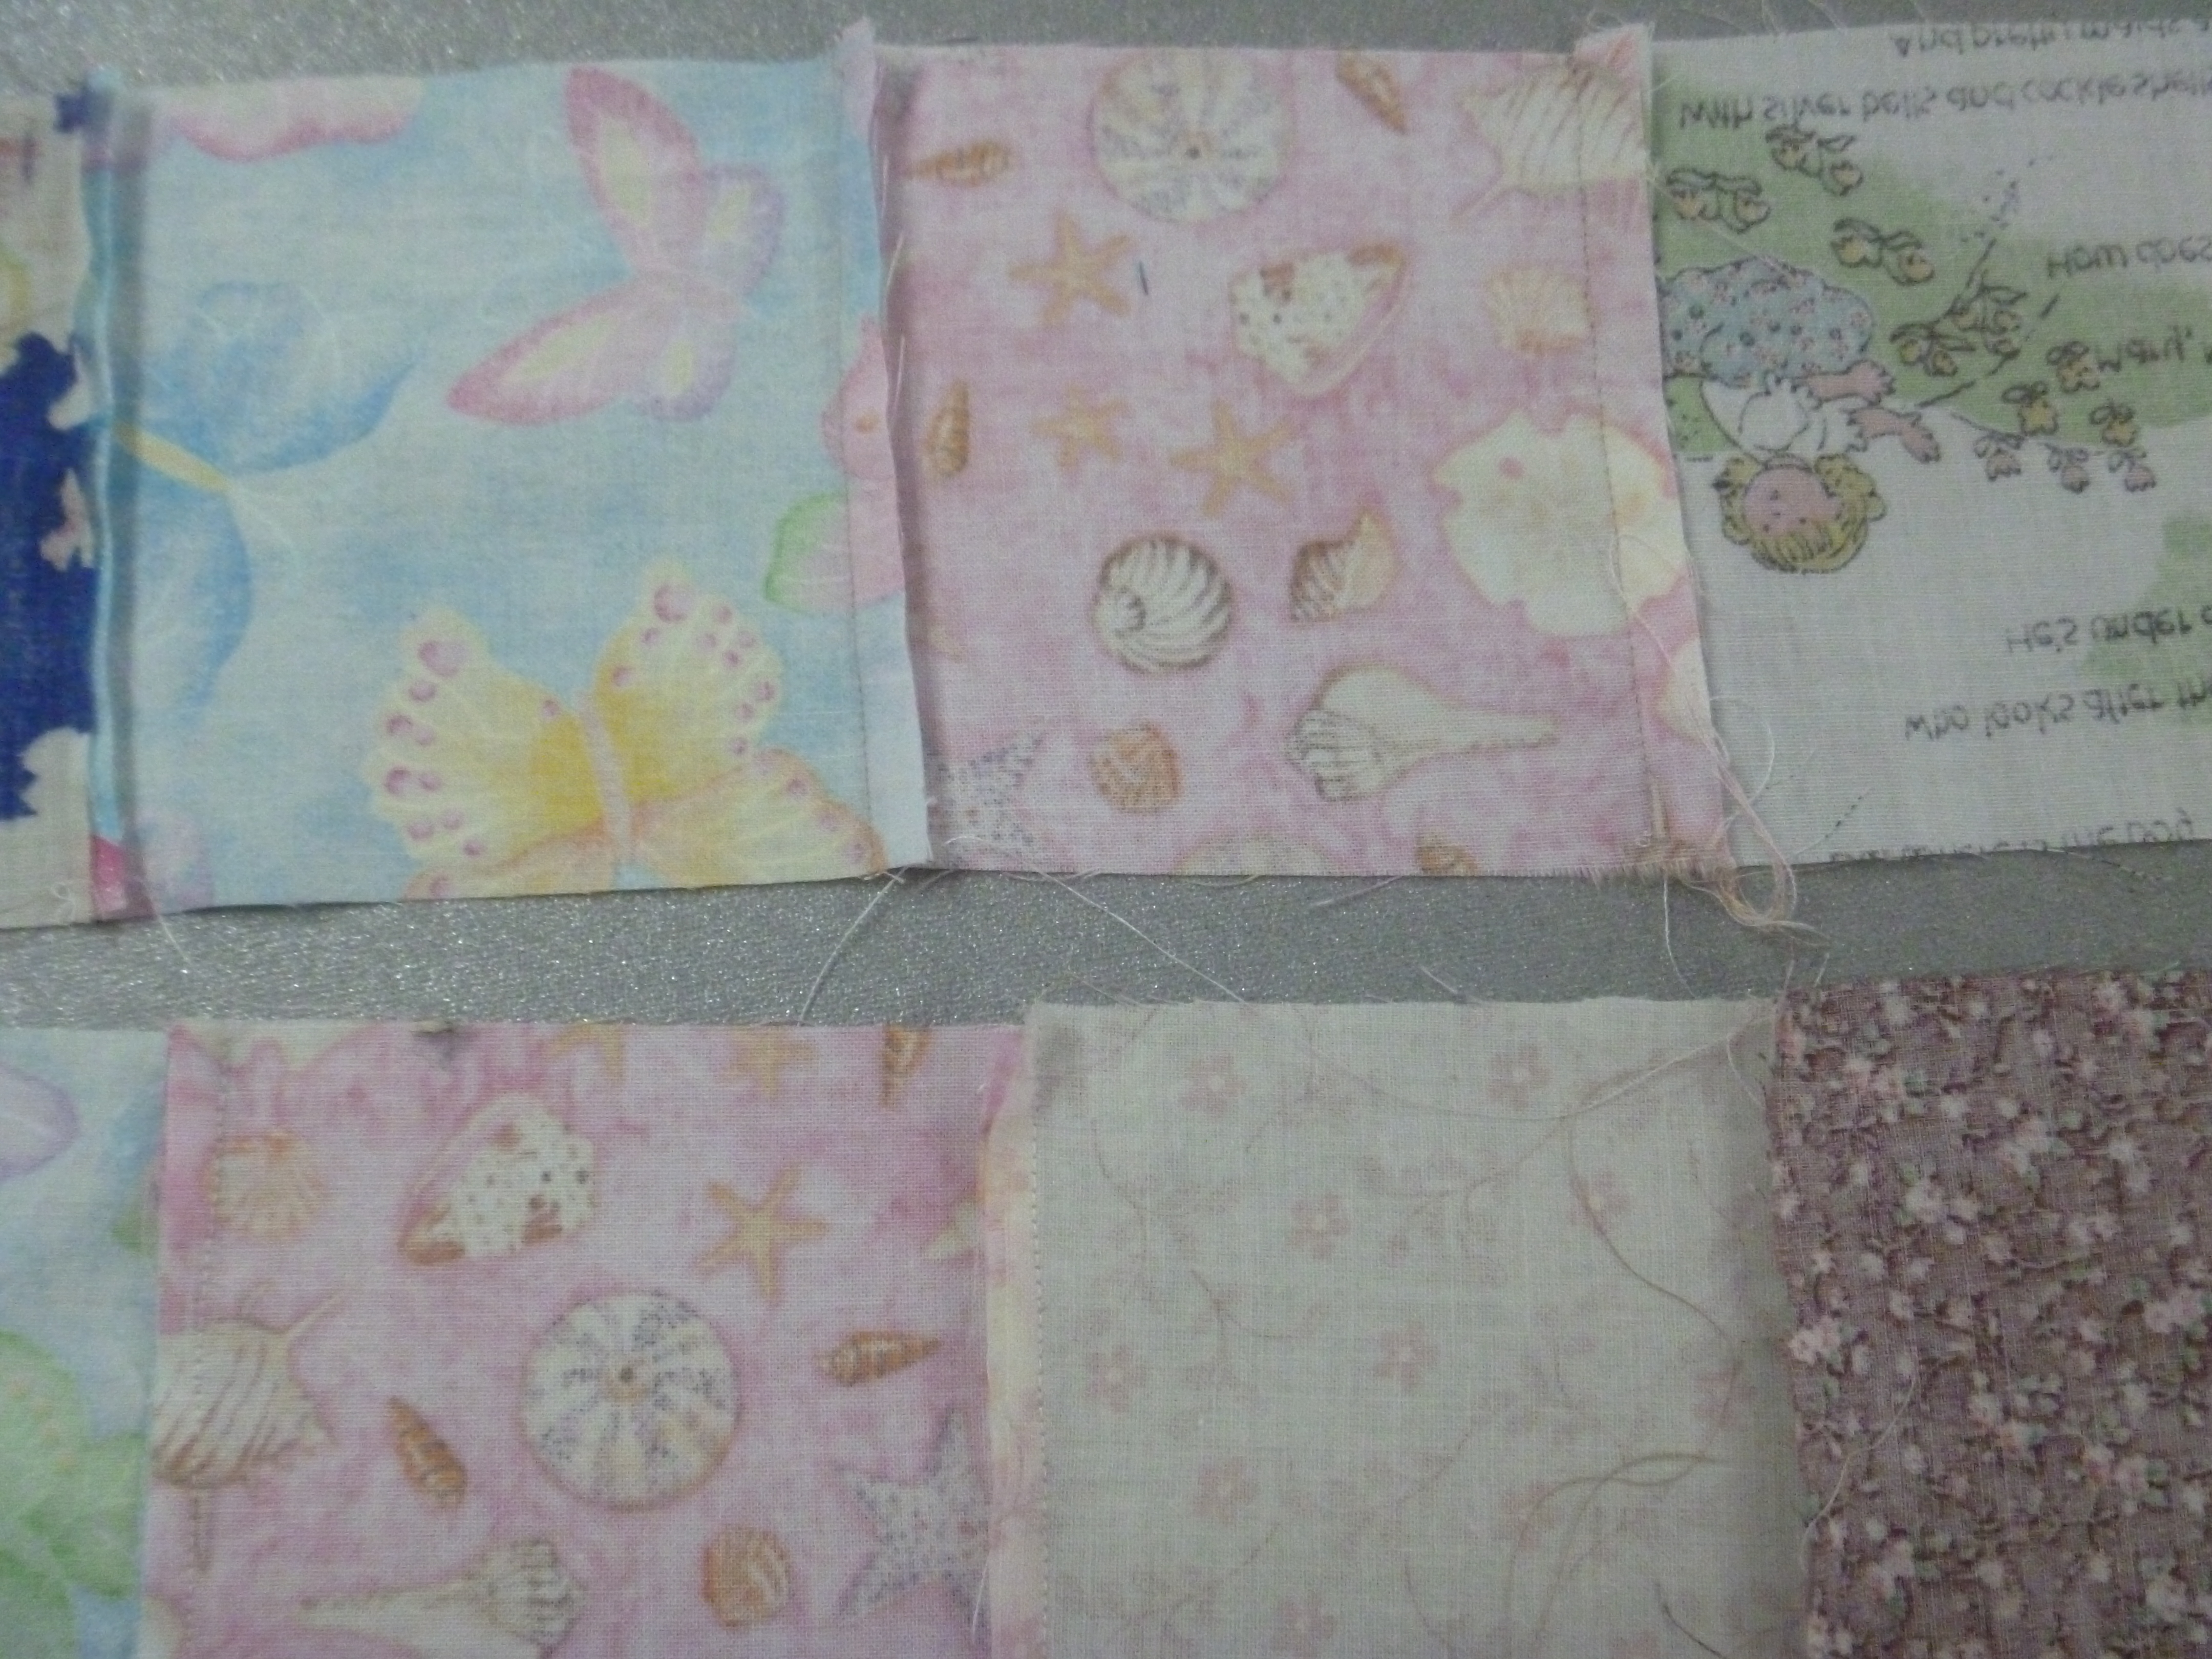
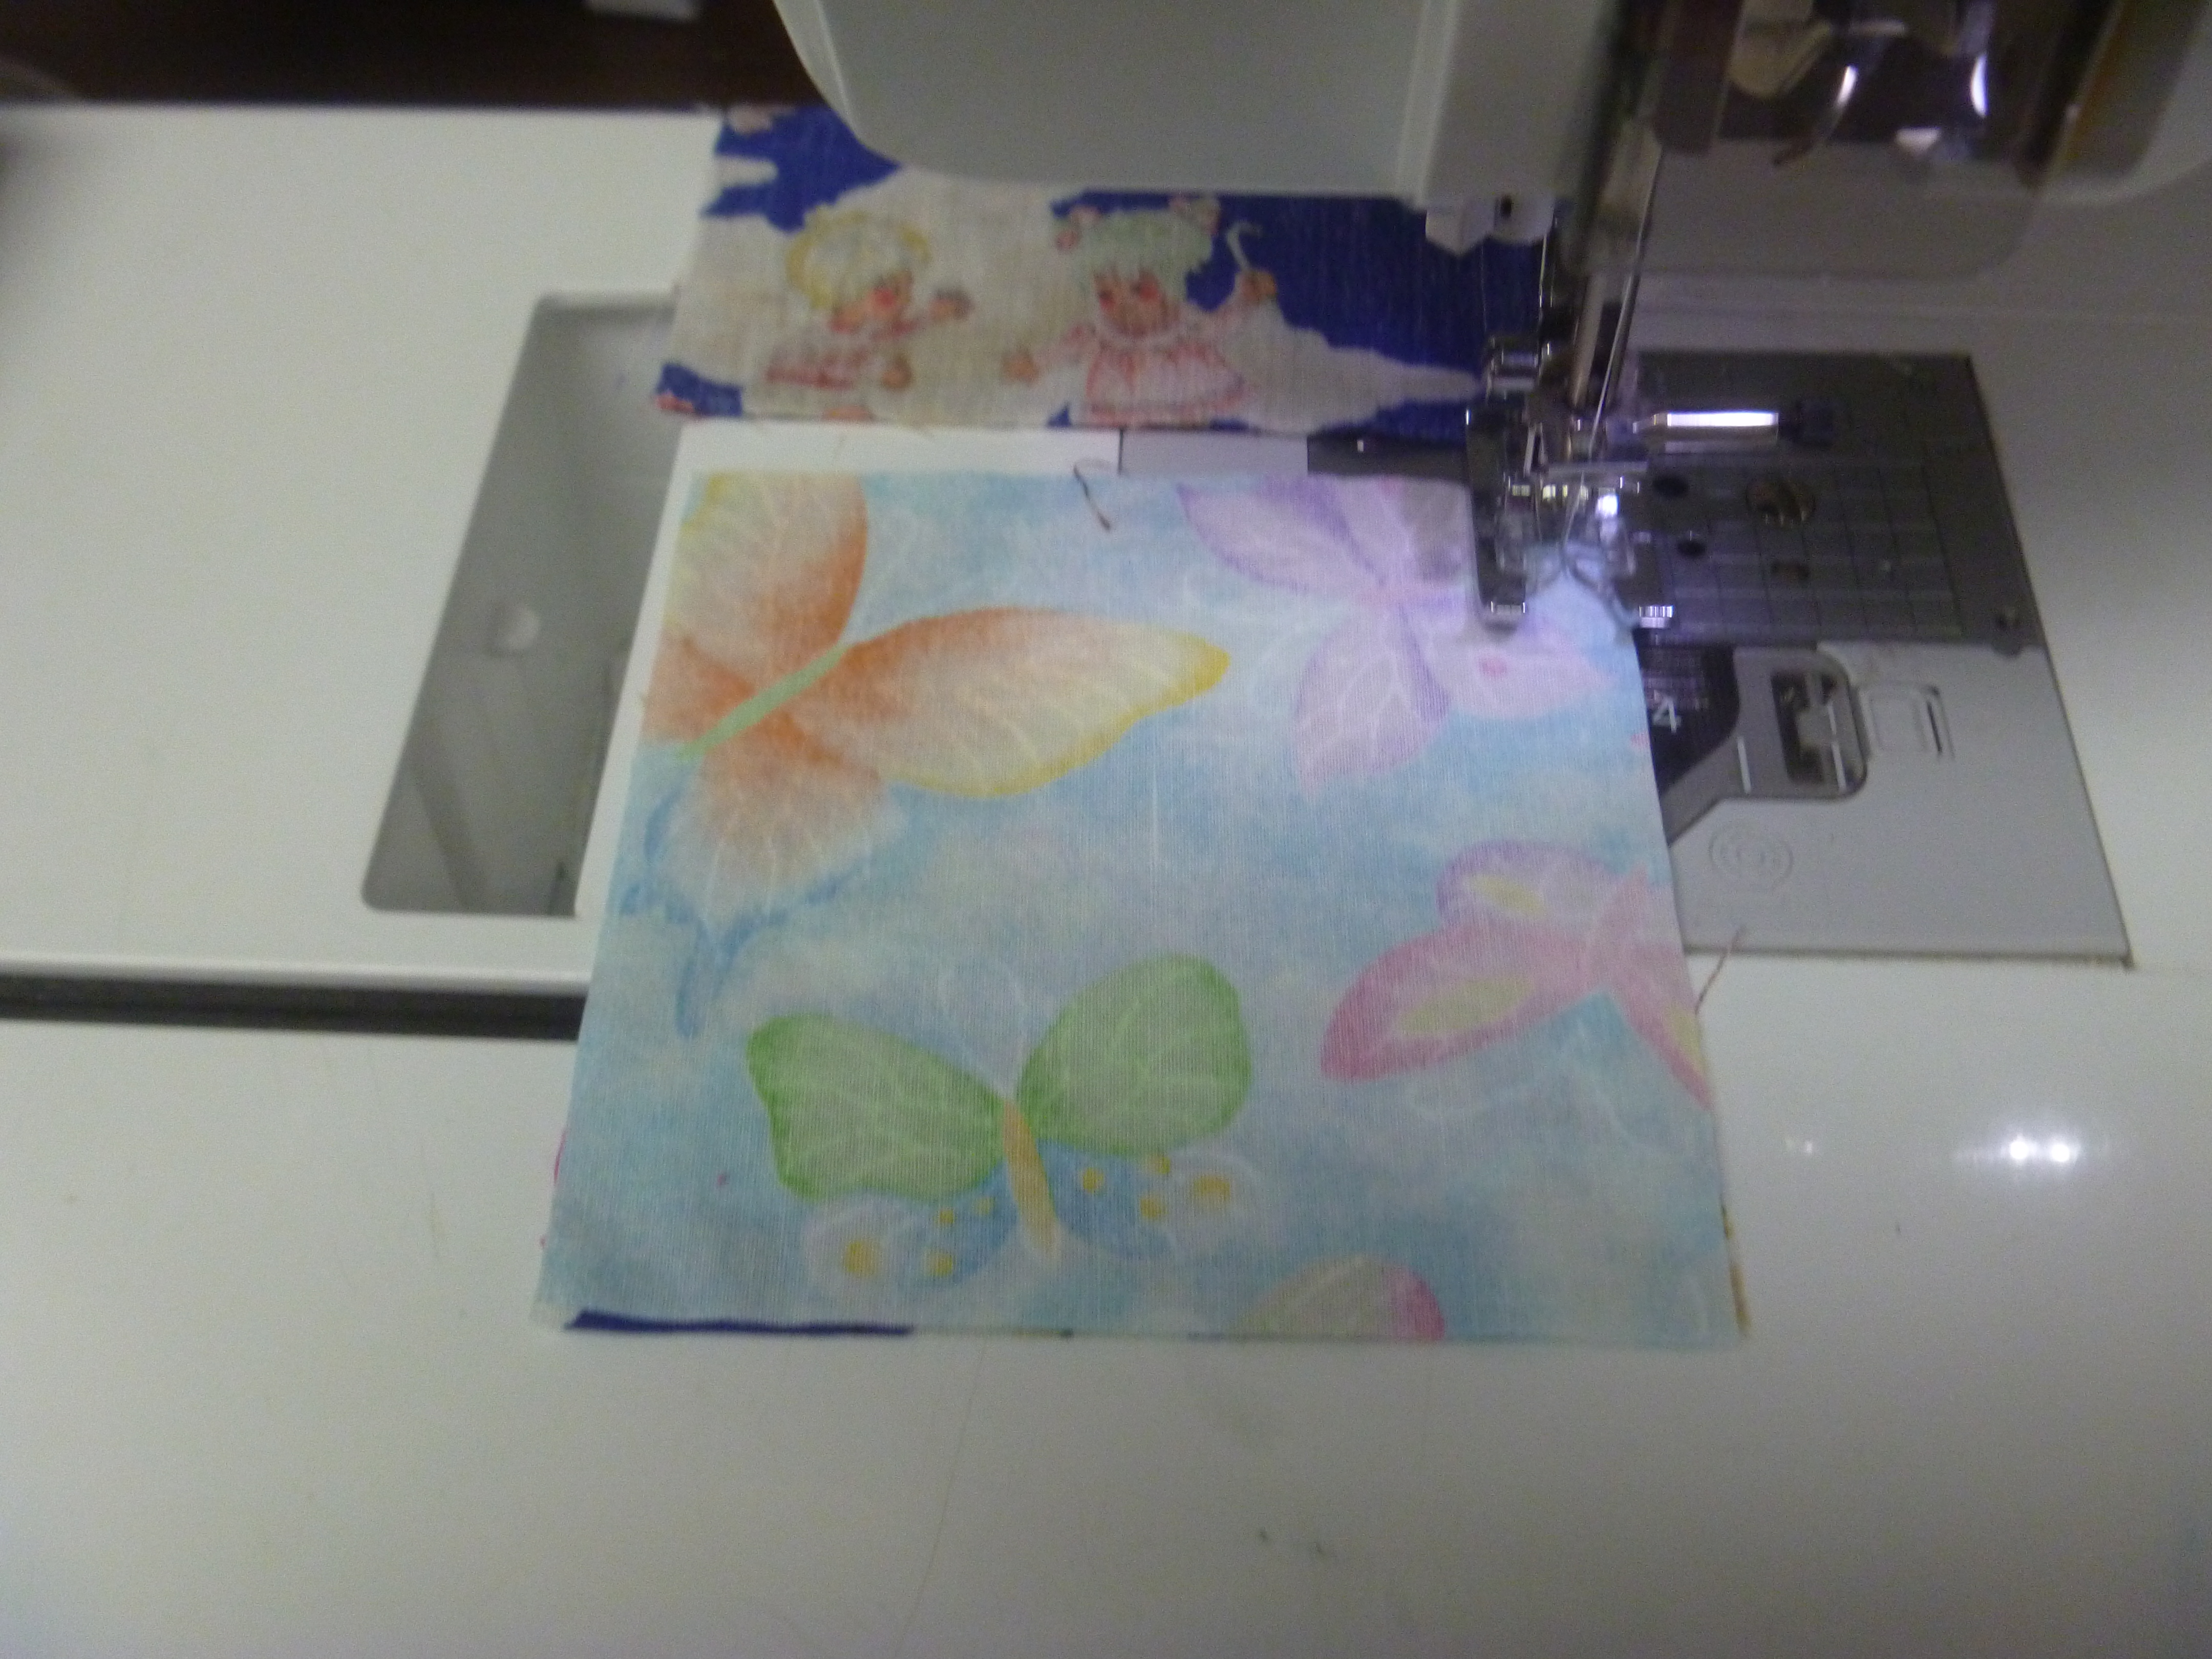
We want to “nest” the seams. Nesting is something you can feel. Put one seam left and the seam to the right as you gently pull them together, you can feel it lock. This is exactly what you want. Unless you are a seasoned seamstress, you may want to pin at each intersection. Sew the bottom of row 1 to the top of row 2. Sew the bottom of row 3 to the top of row 4 etc. Again row 11 will be left over. This is a great time to press those seams down. Now sew the bottom of row 2 to the top of row 3 and so on until all rows are together. When all the rows are stitched together, press all seams down. In my experience, if a seam intersection is less than 1/8″ of inch off, no one will notice. We are making these to be used and abused by an infant or small child. When you quilt through the layers that often obscures any tiny errors. It is more important that your seams are all flat on the back side.
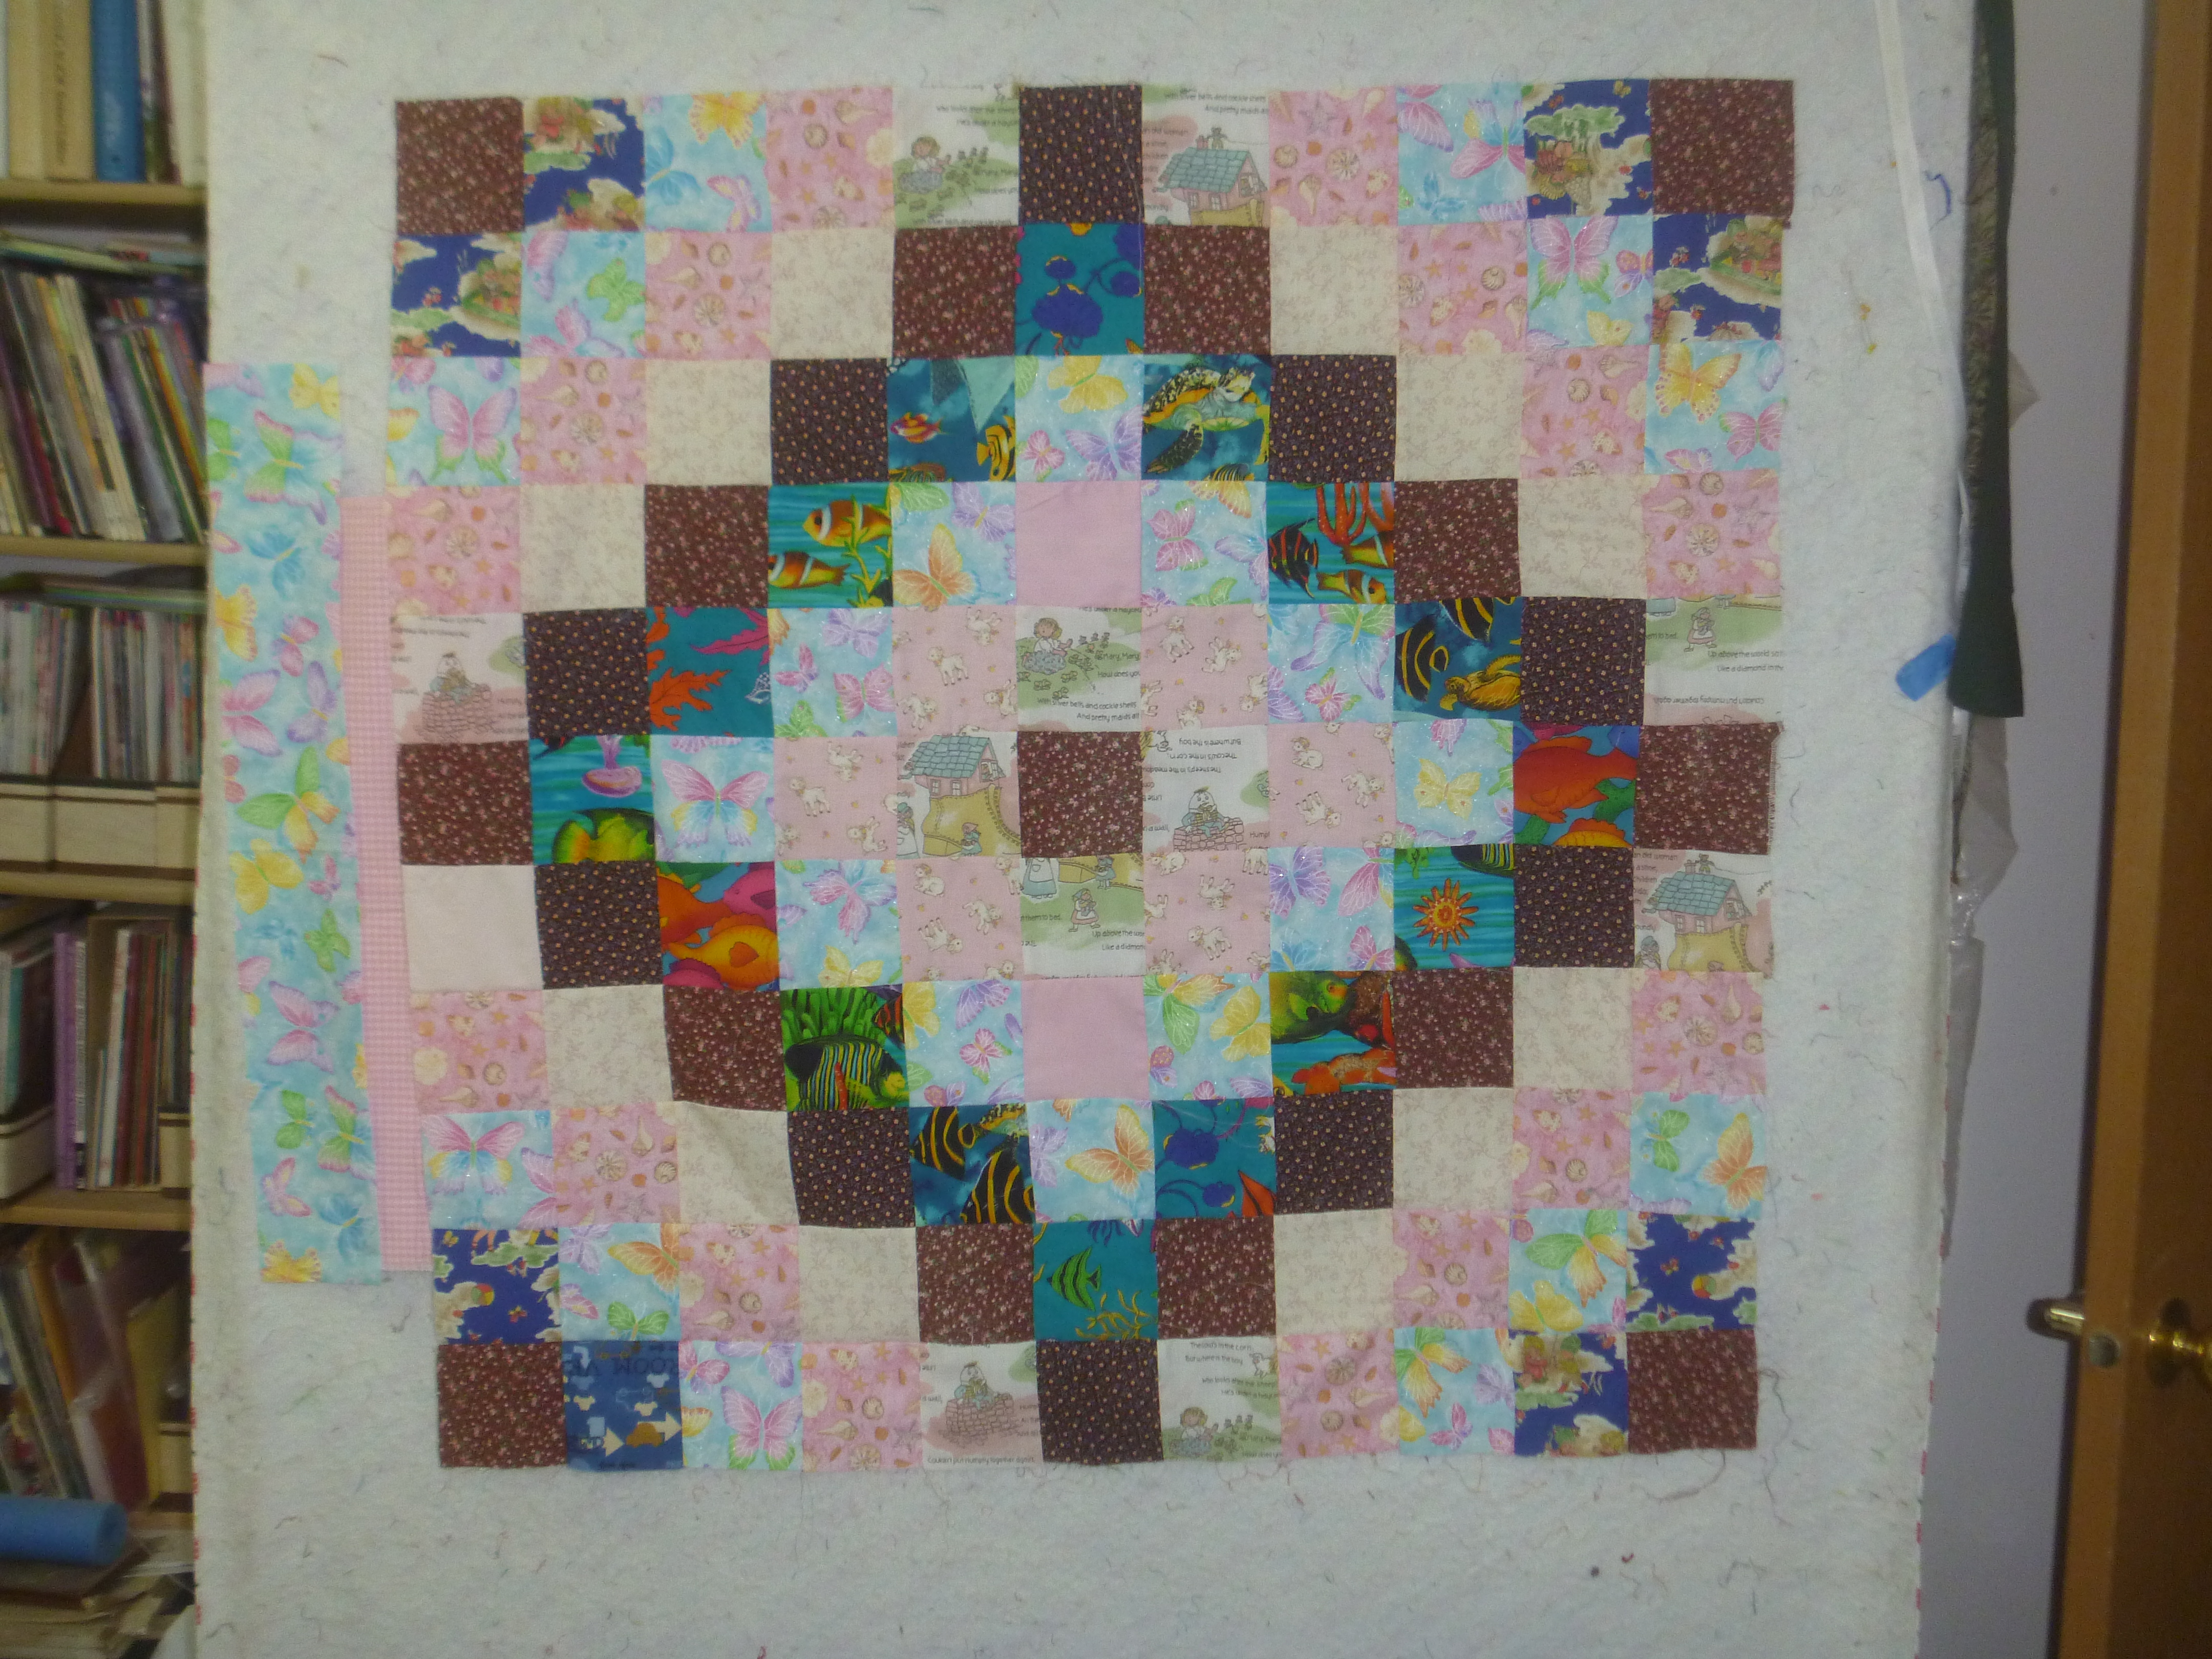
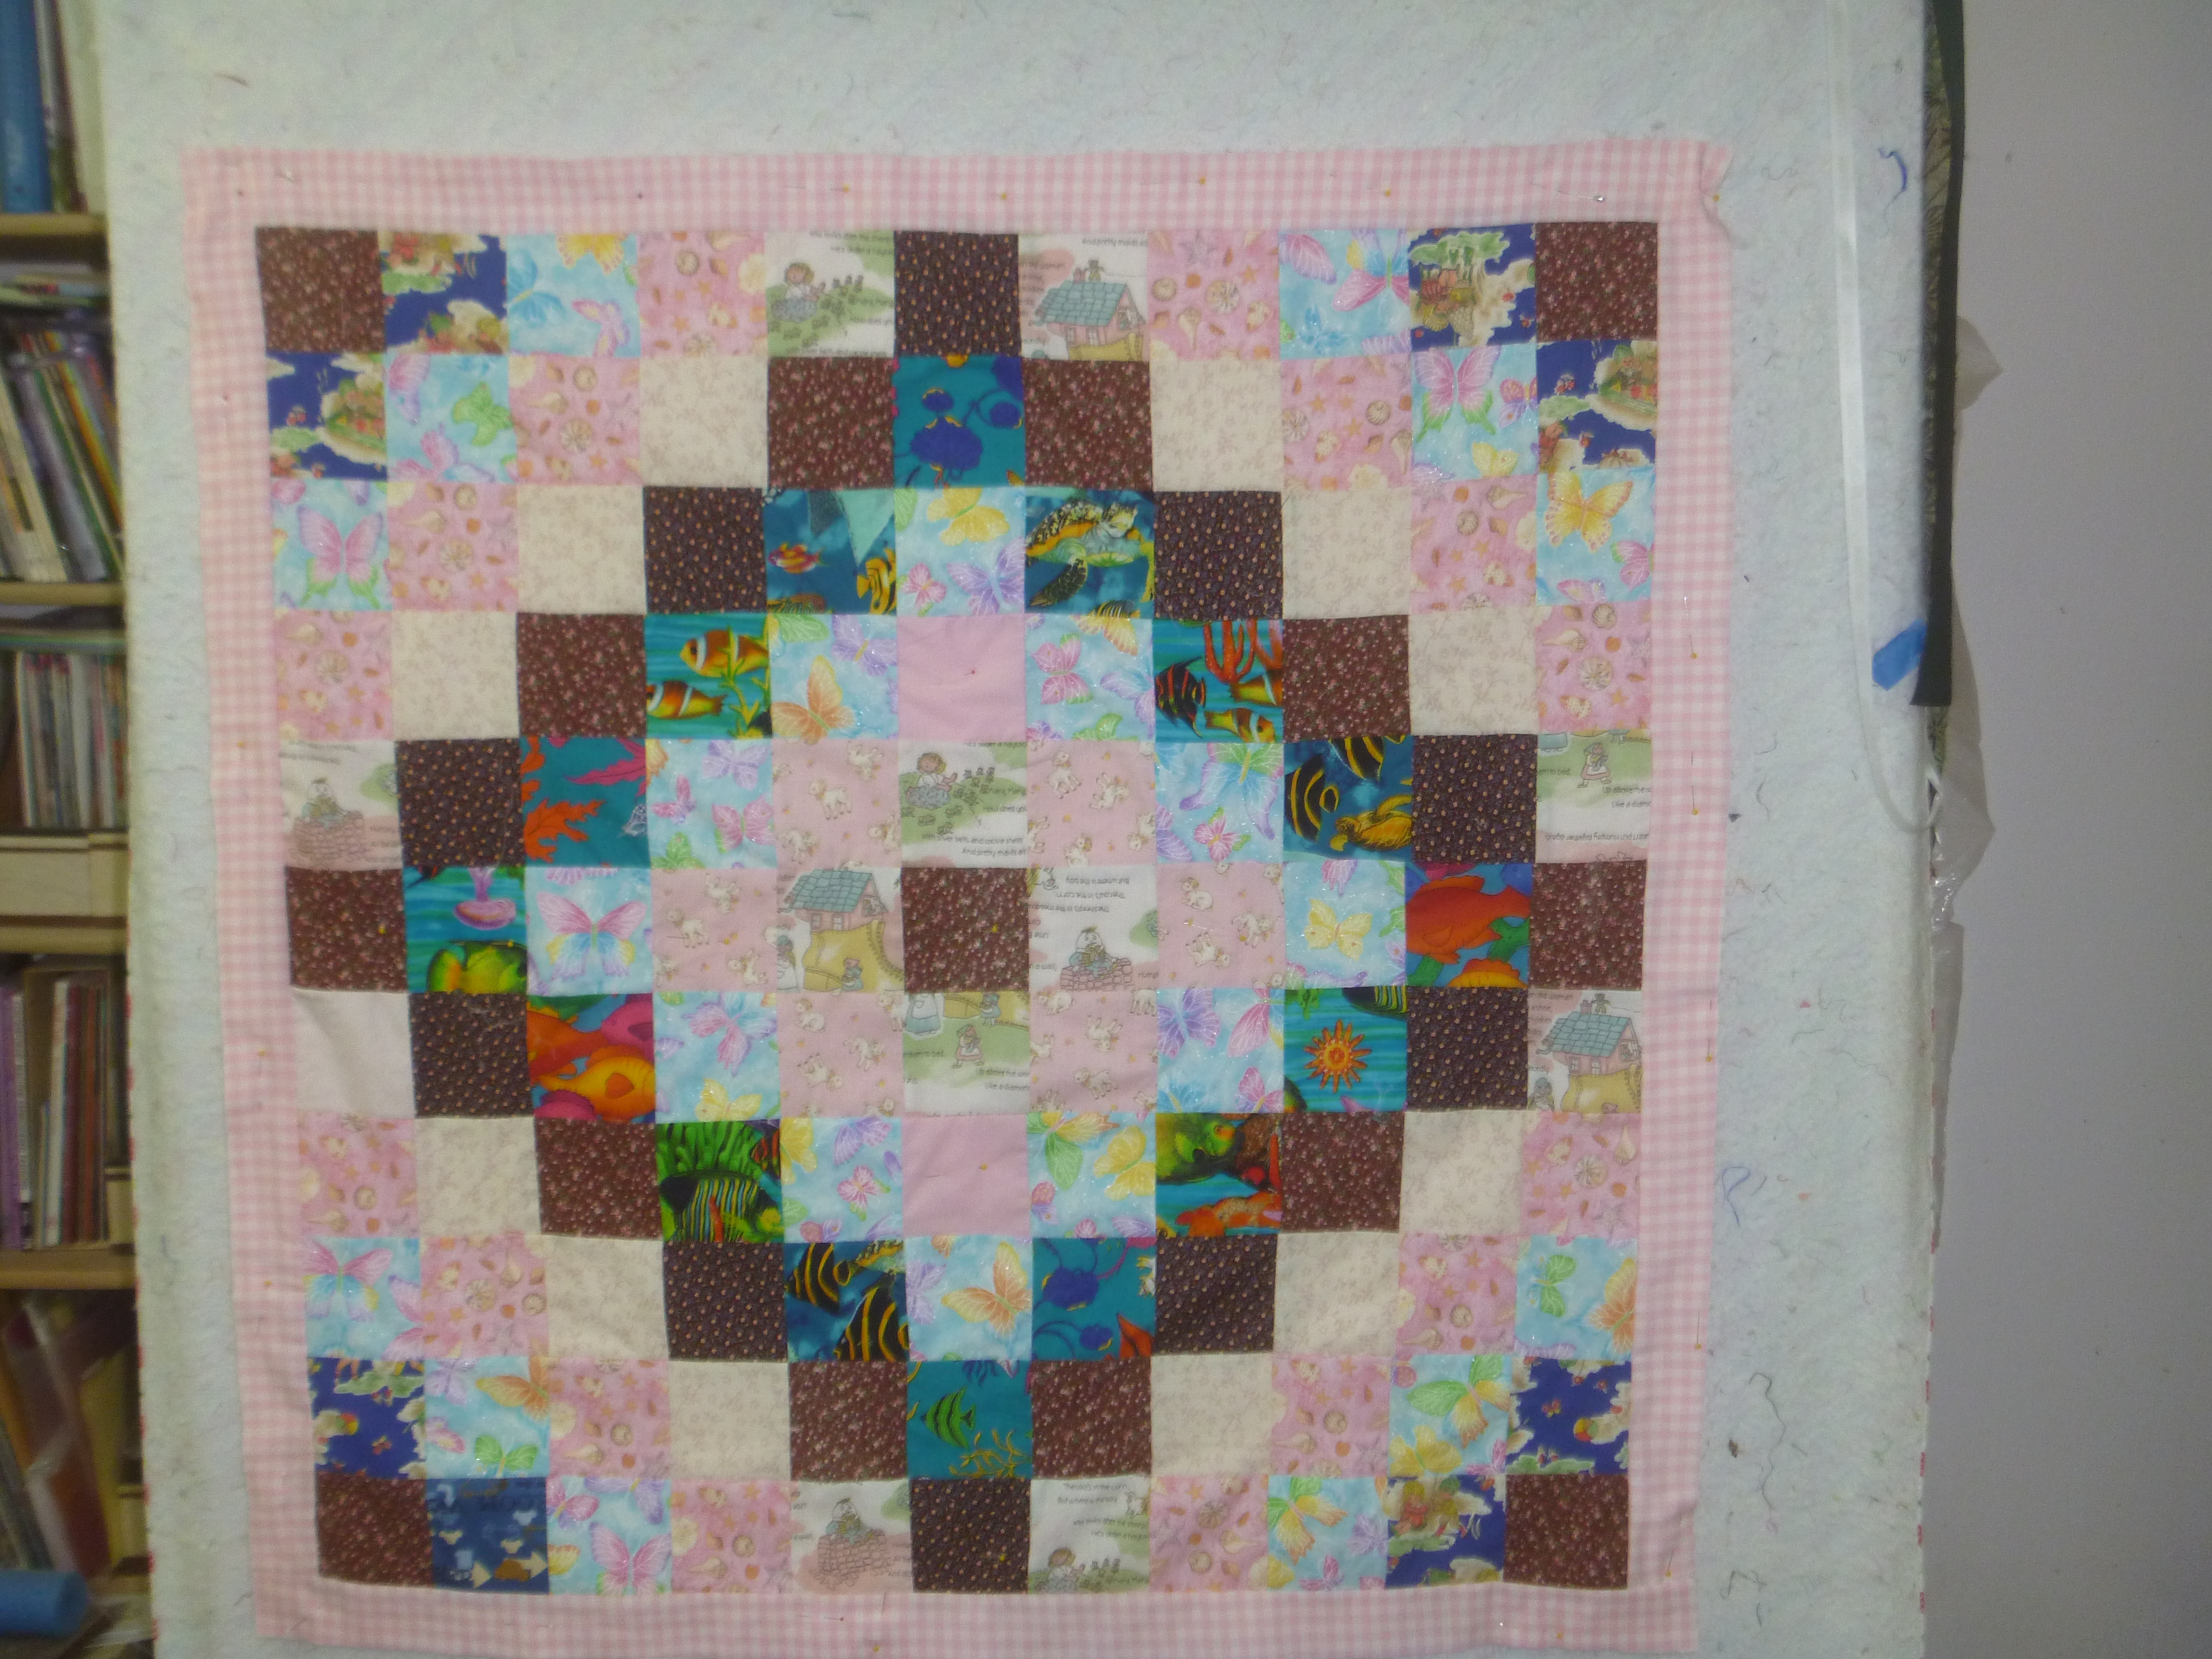
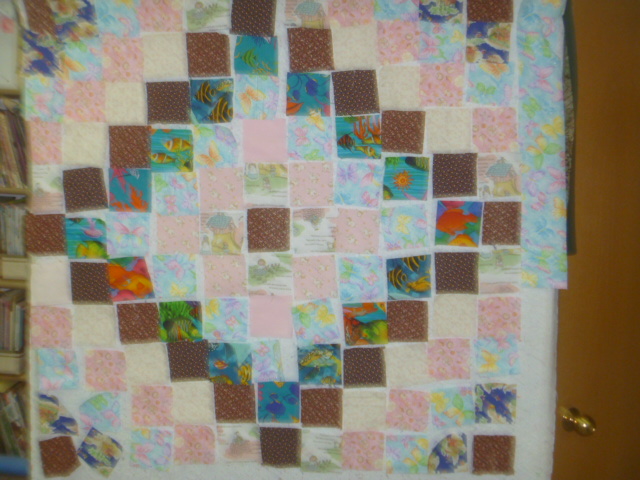
Here I have finished the center and am ready to put the borders on. So far I have tried several borders, but am not happy with any of them. I may just use a plain color for the outer border. I will let it hang there for a few days until I decide what to do.
Baby quilt rows
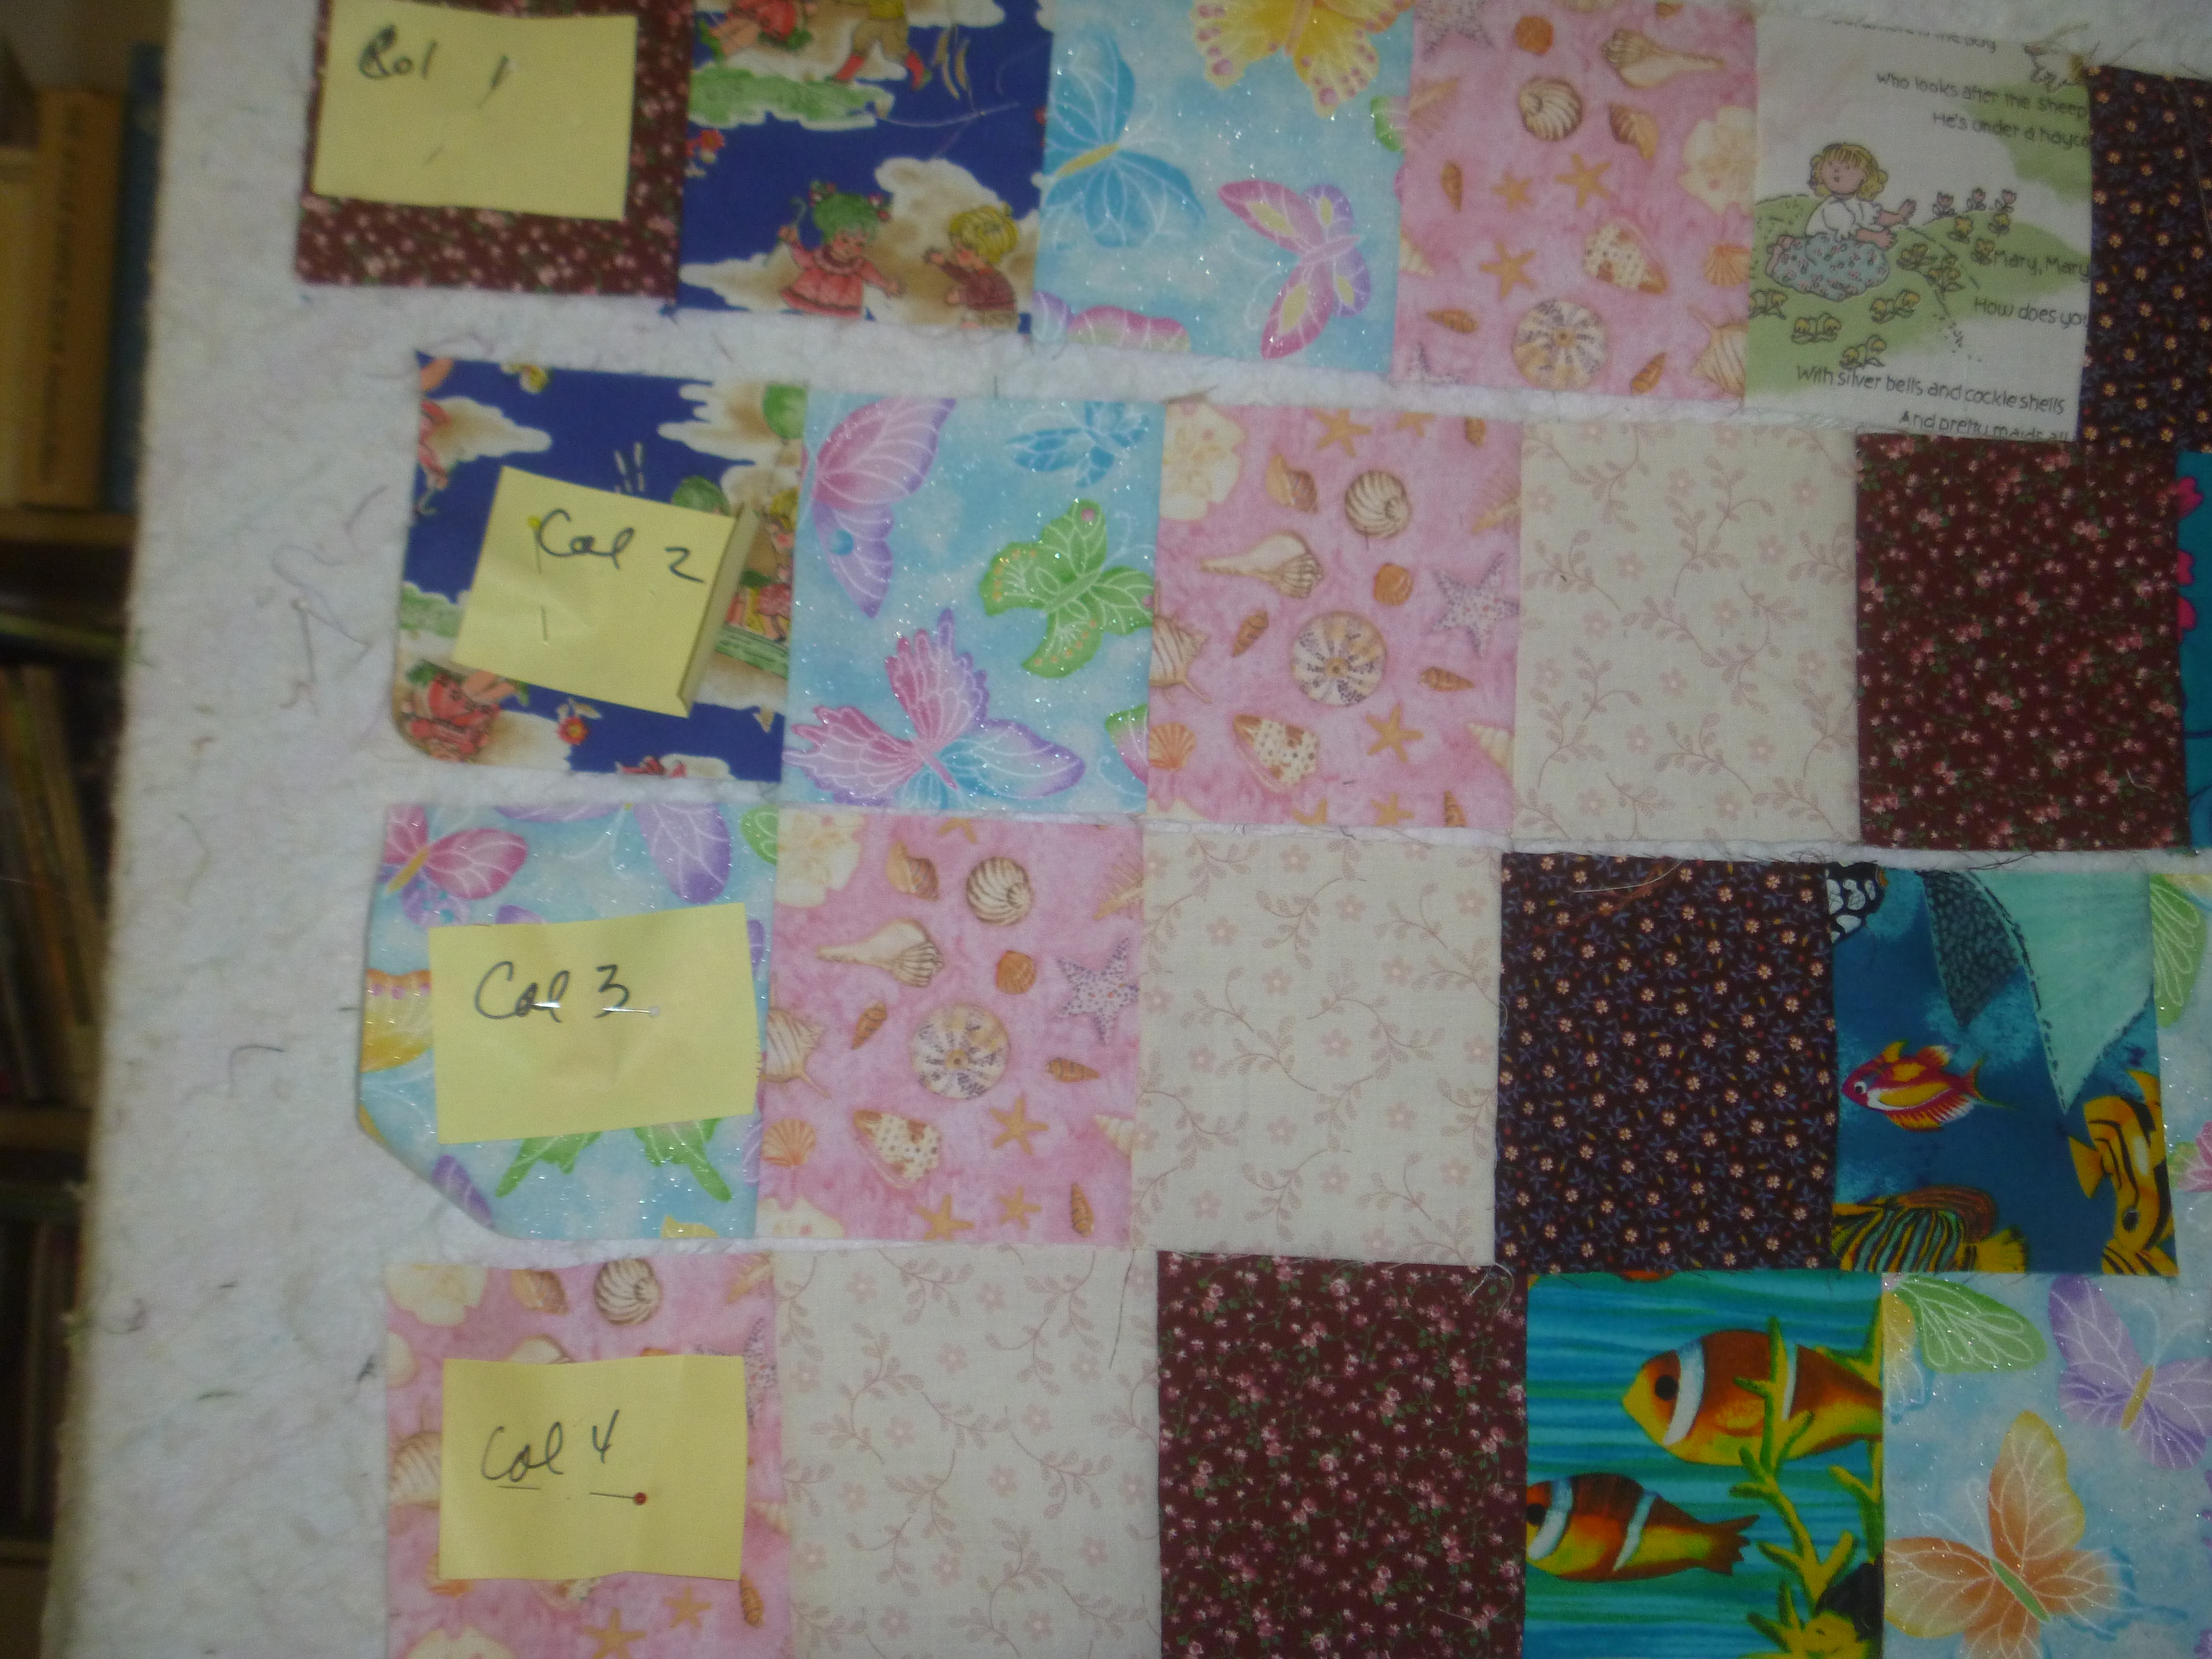
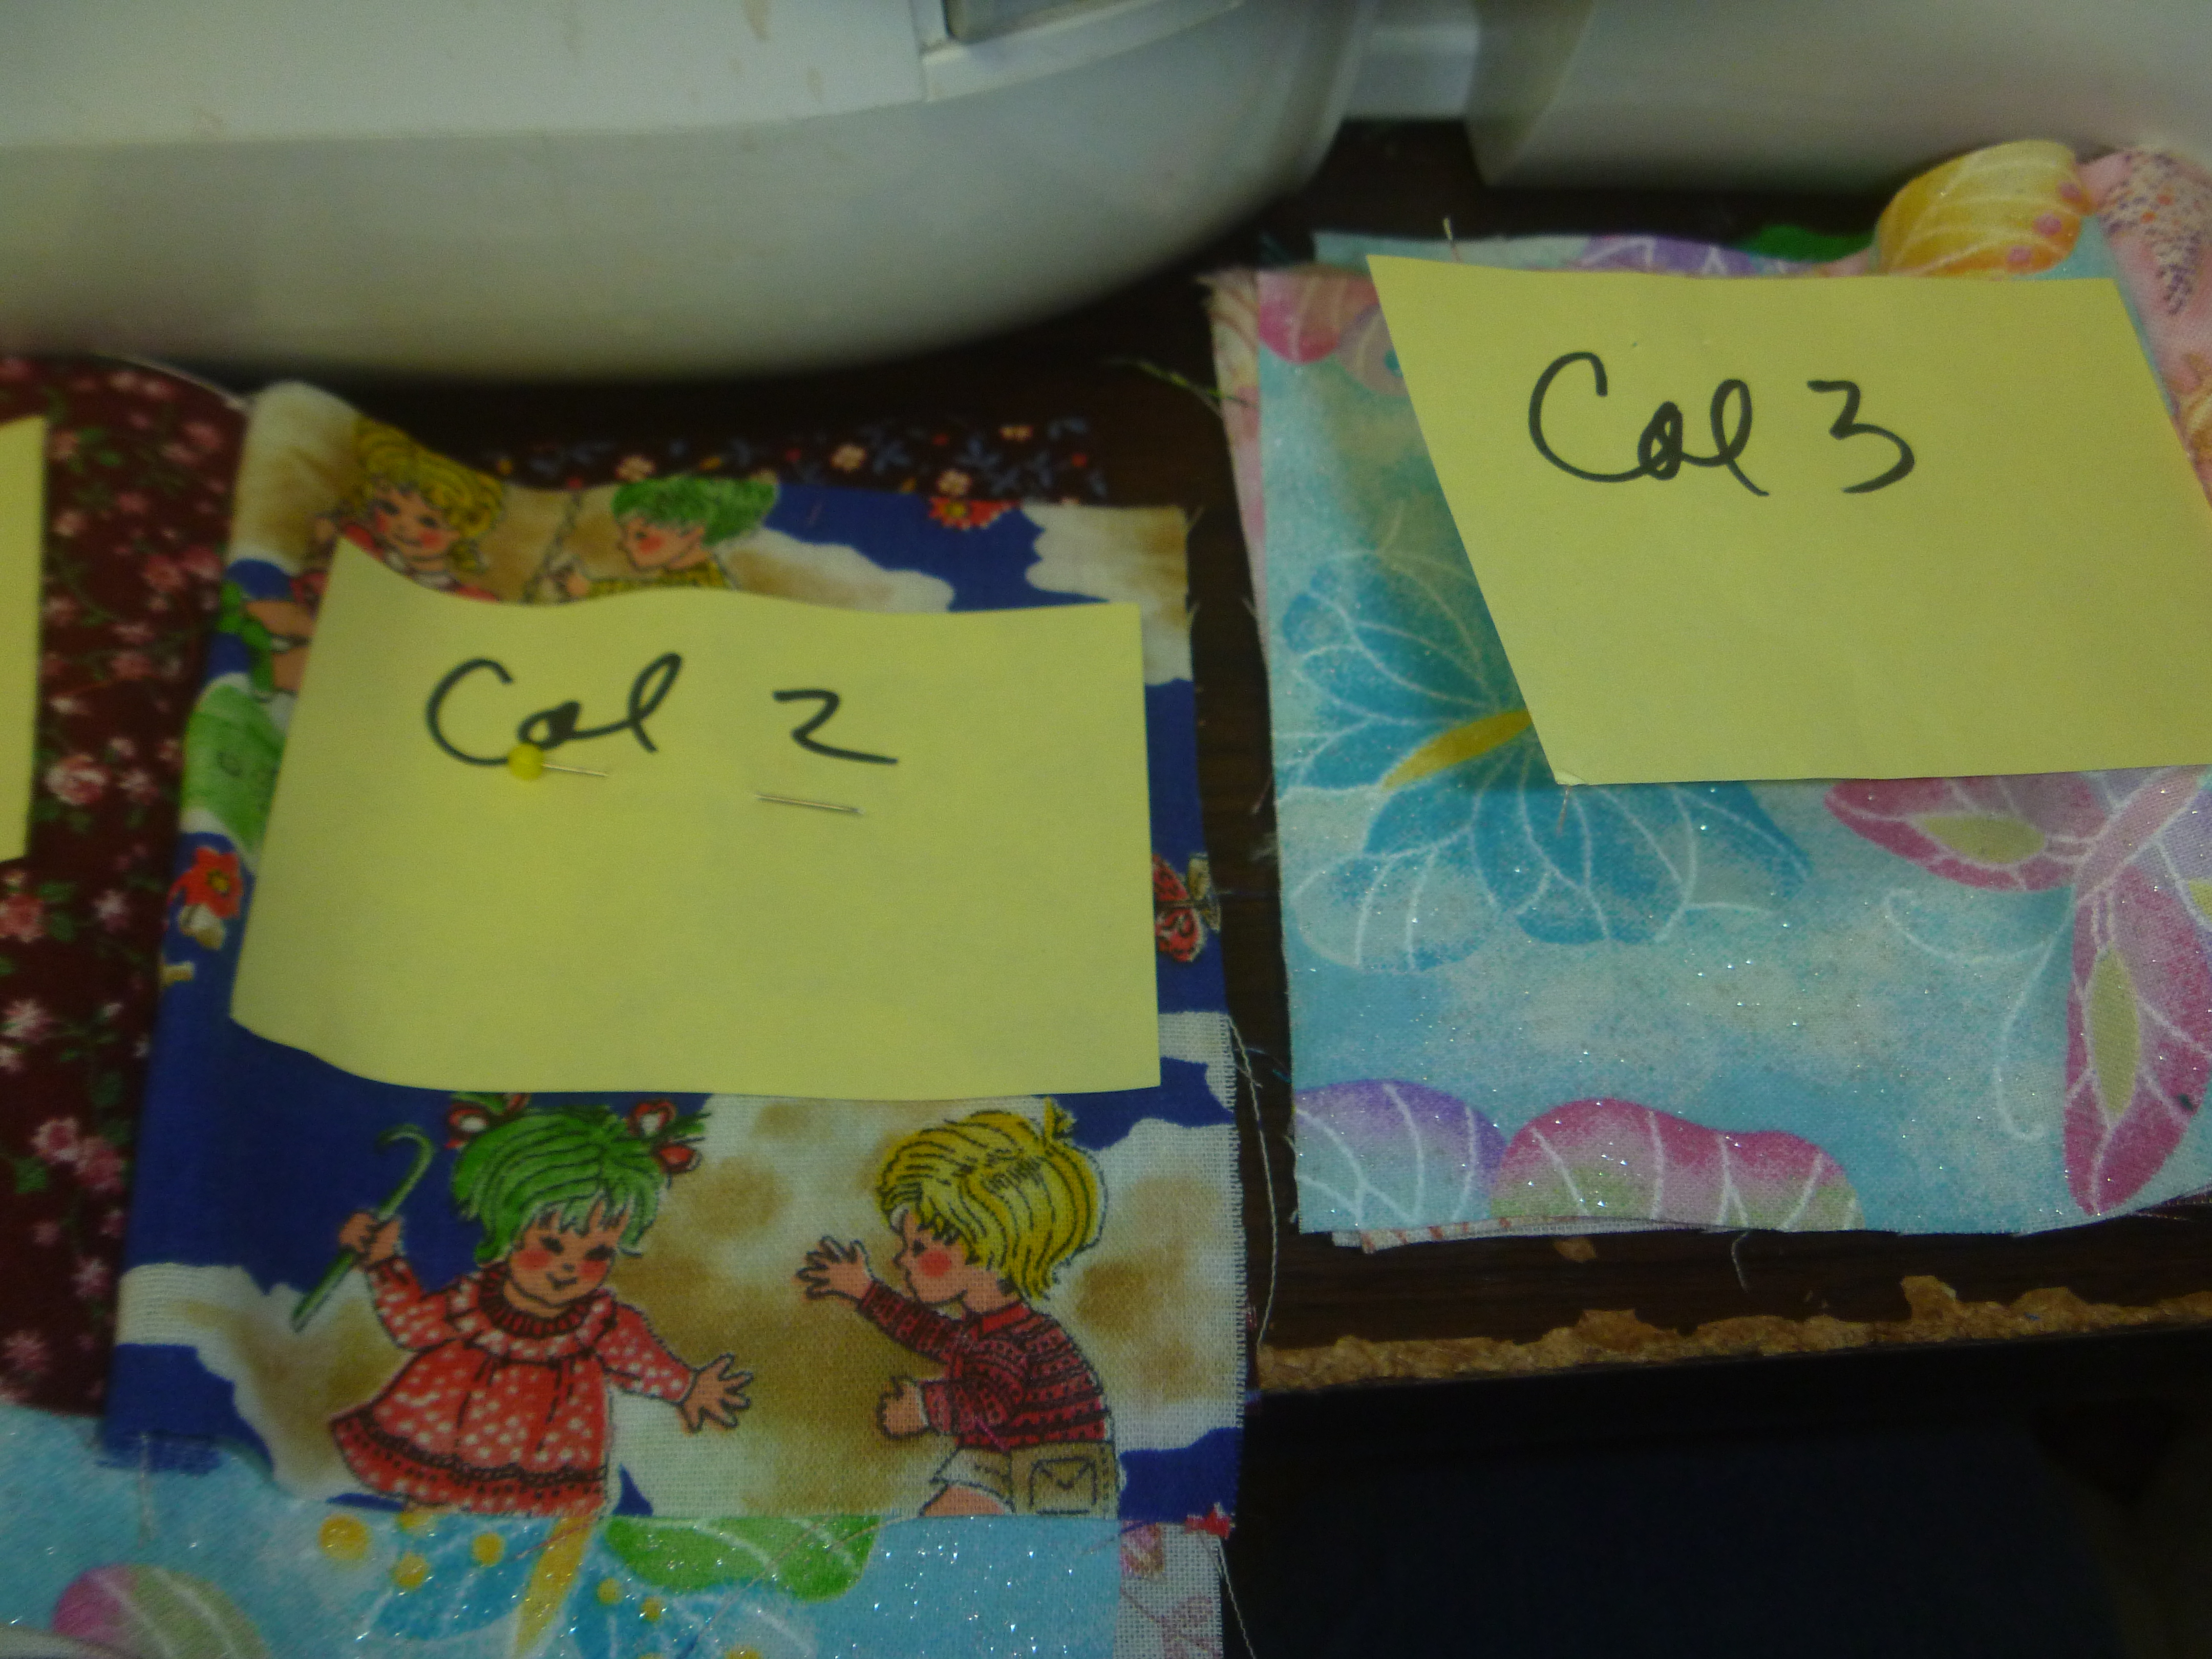
We are starting now to sew this quilt together. Label each of the top blocks with a consecutive number. I suggest pinning it on as you need to visit it several times. A perfect 1/4″ is always nice, but in this case since they are all squares, having the same size seam whether it be a tad less or a tad more is more important.
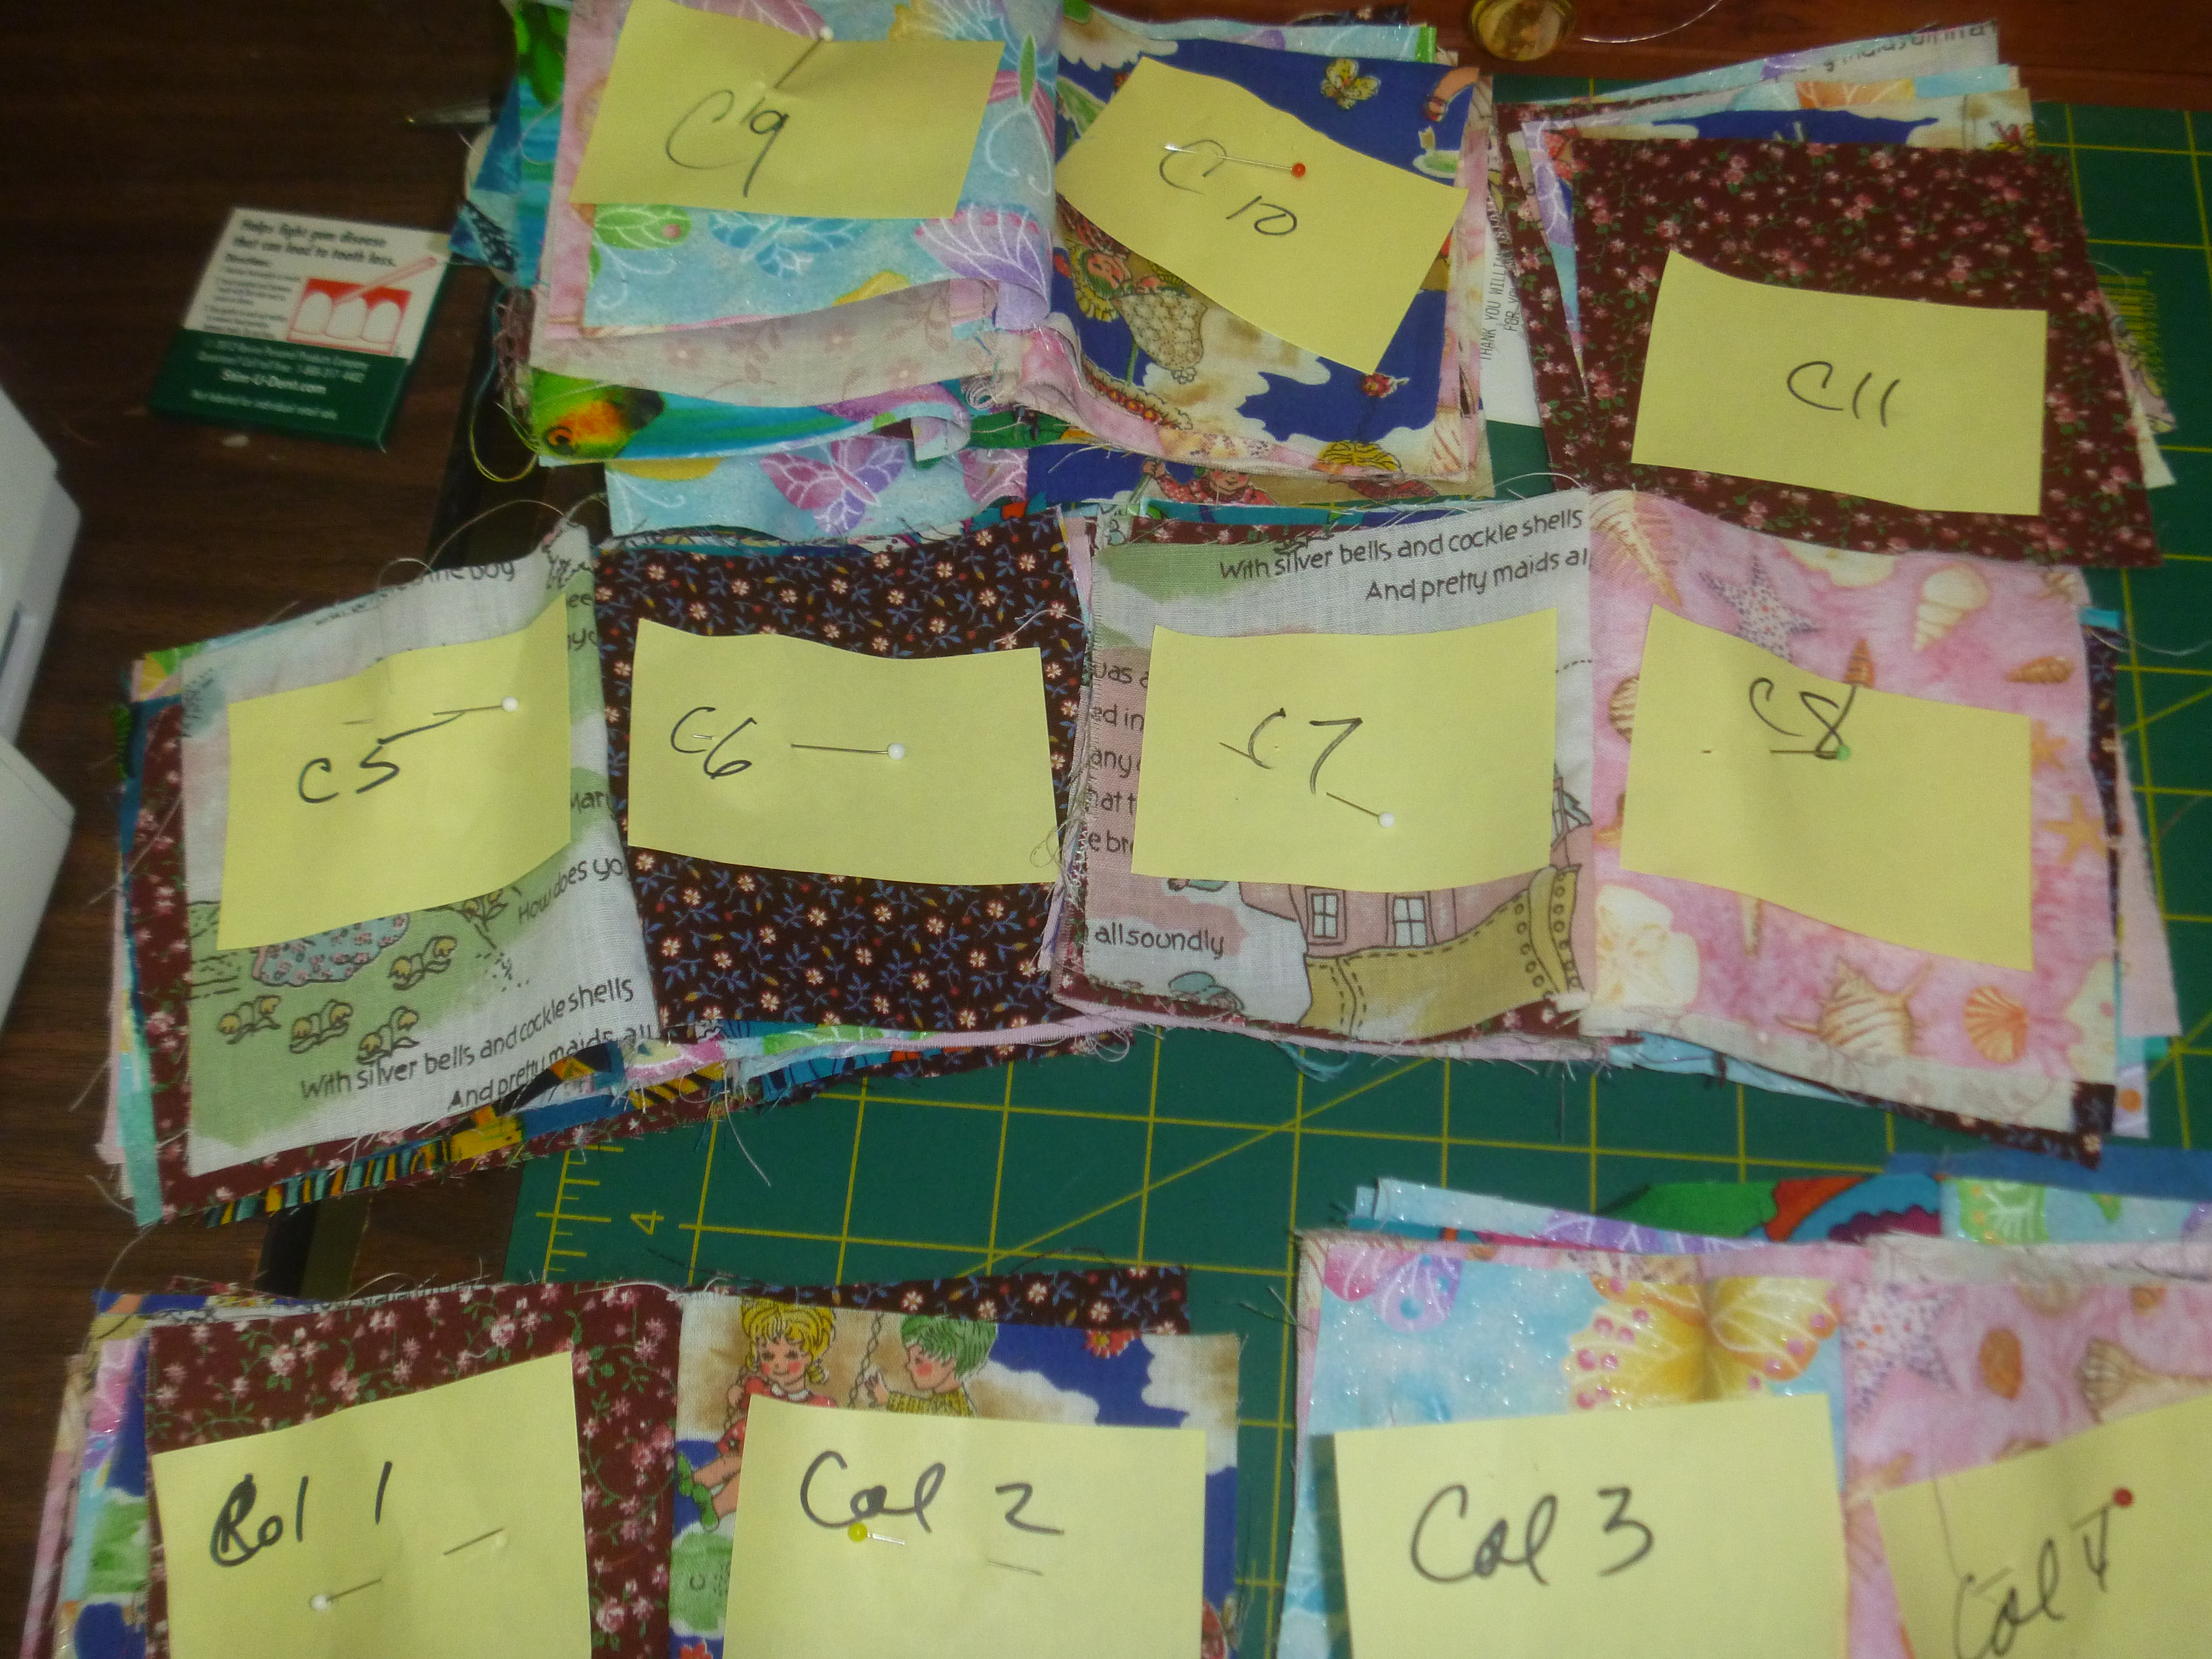
Starting at the top of row one, pick up each block on the way down. You will now have a pile of #1. Do this for each of the numbers you created.
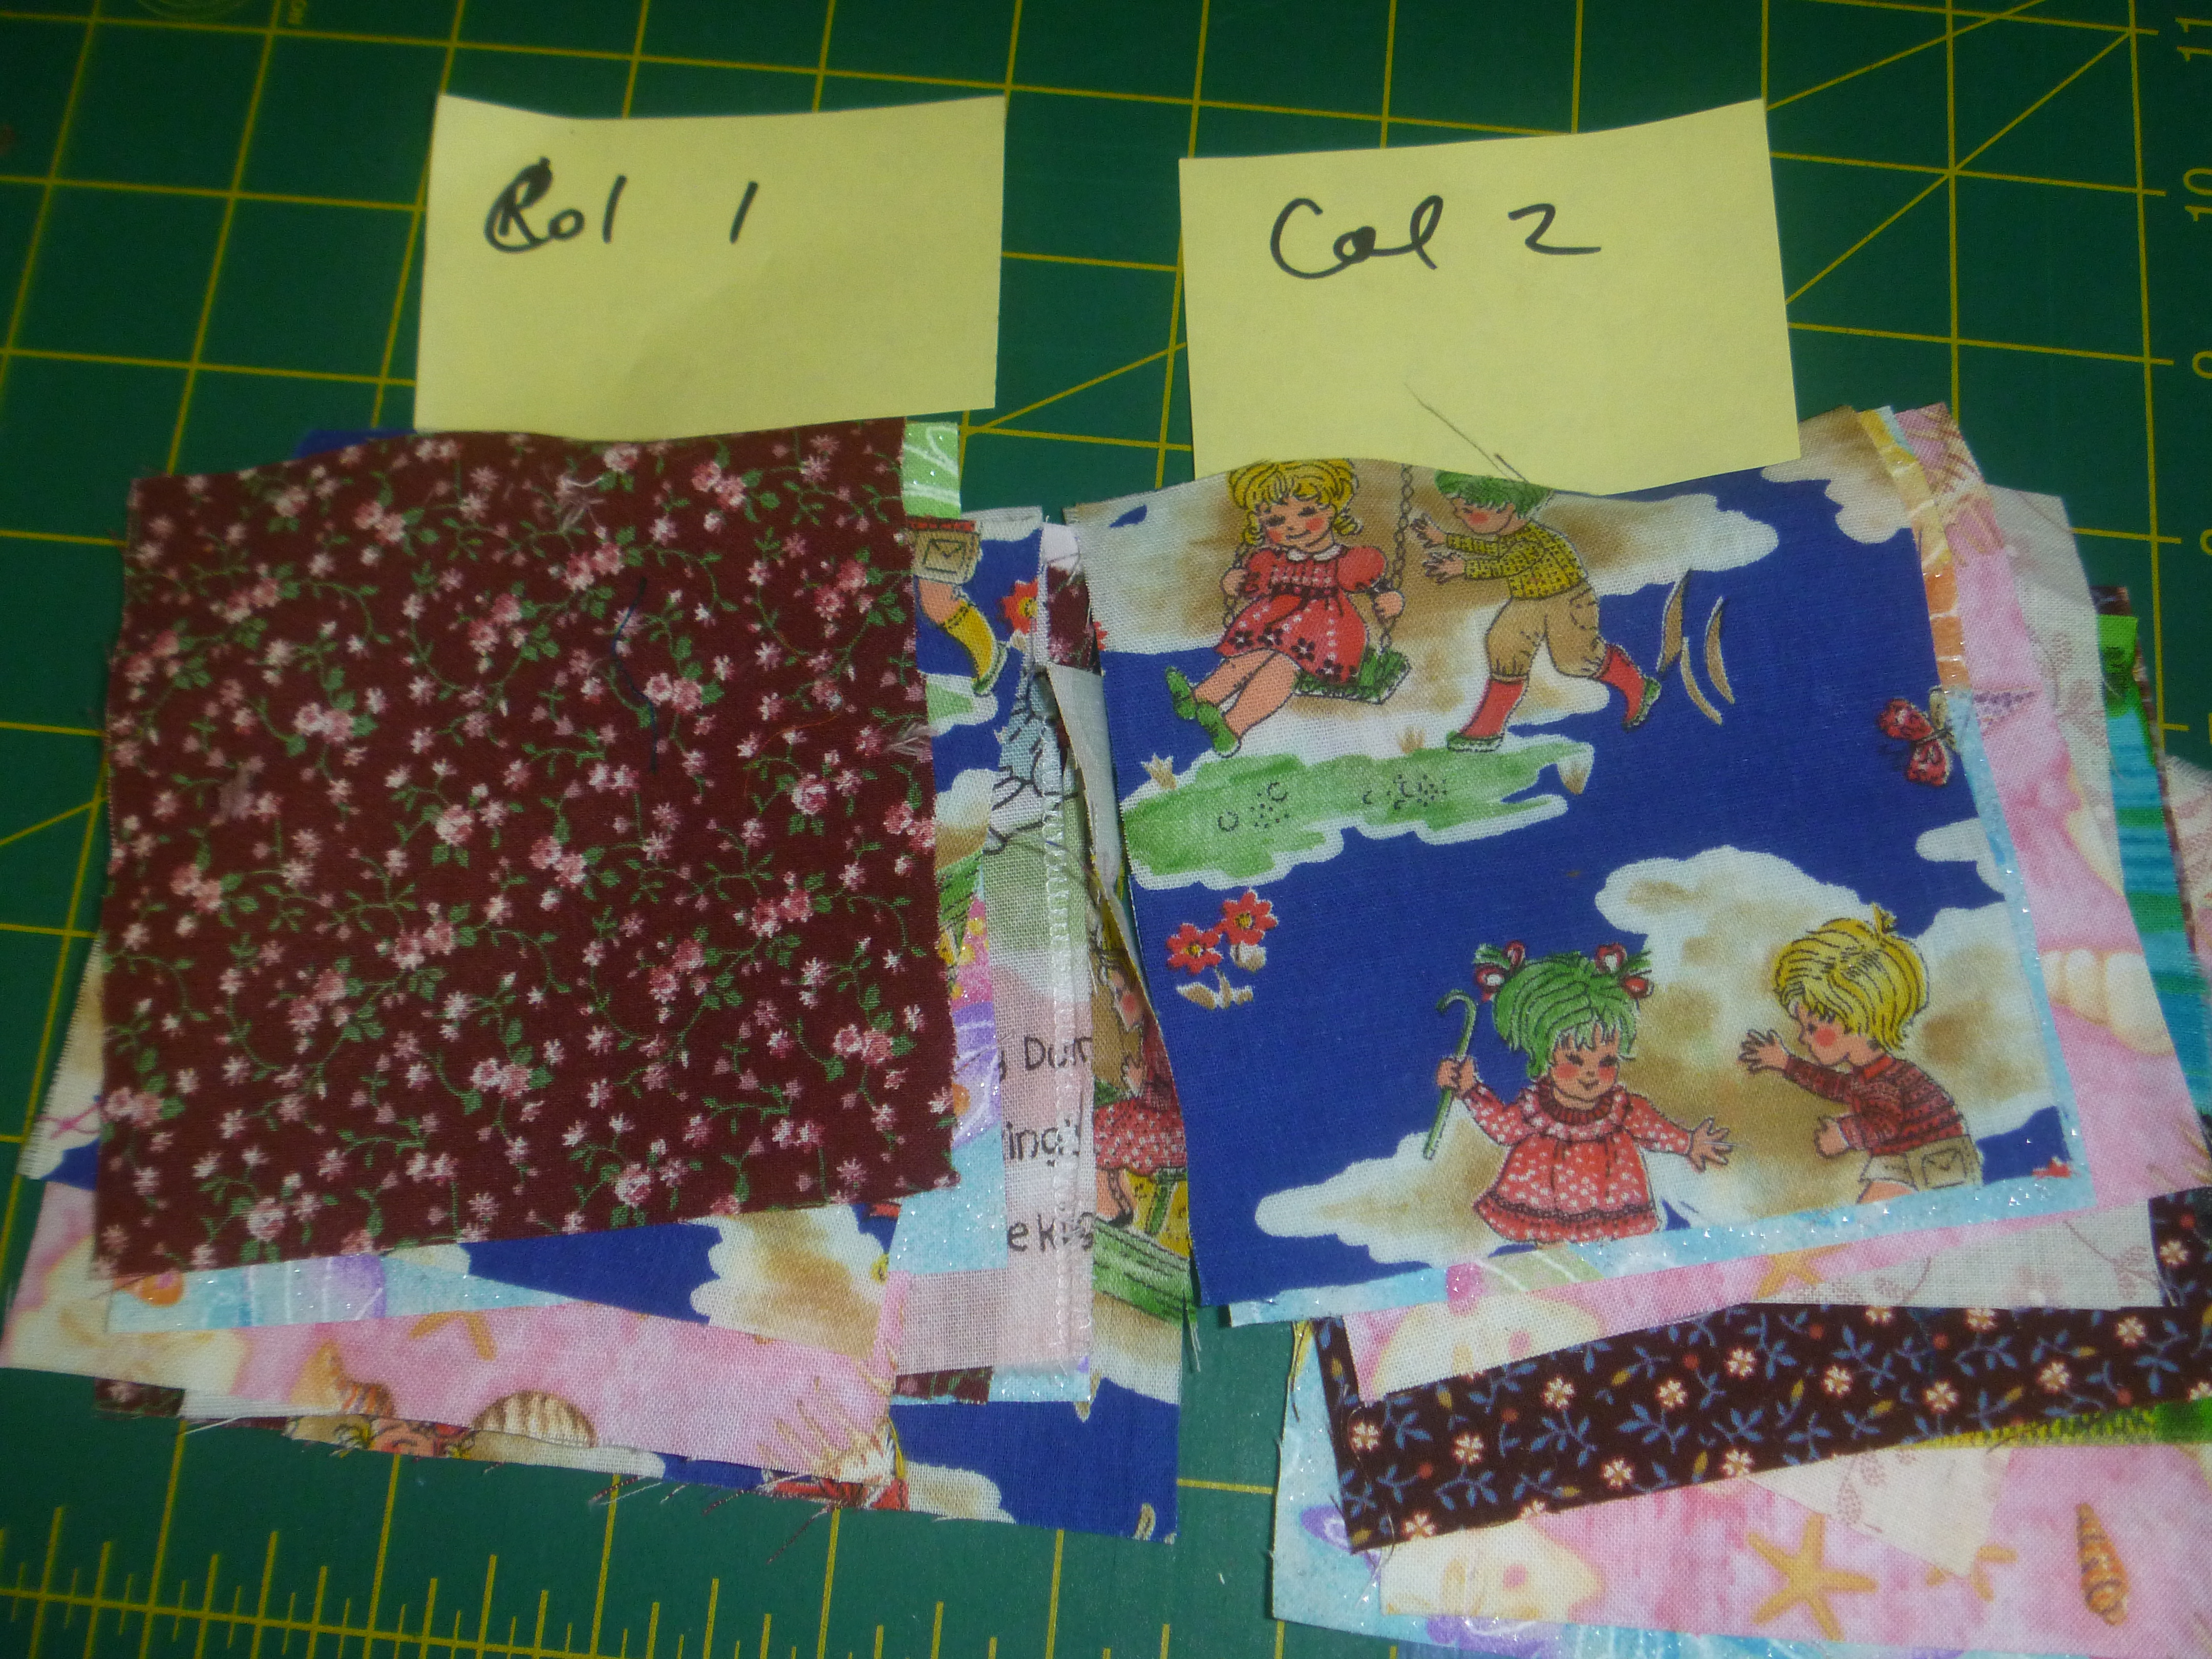
Lay column one and column 2 side by side in front of you. ALWAYS pick them up the same way, in my case, I lay #2 block on top of block #1 and sew down the right side. Be consistent so you know where you are. When these are all sewn together, keeping them in the same order, cut them apart.
I chain sew them and then lay them out to cut them apart. Do this with columns 3 and 4, sewing them together. Repeat for columns 5 and 6, then 7 and 8, then 9 and 10. You will not use row 11 just yet.
Now sew columns (1+2) to (3+4) Again cut apart keeping in the original order. Each group will have 4 blocks. Sew columns (5+6) to (7+8) and columns 9+10 to the block #11. This is a good time to put them back on the design wall to be sure you still have them in the correct order. If you are happy with them, you can finish putting the three groups together and take off the labels.
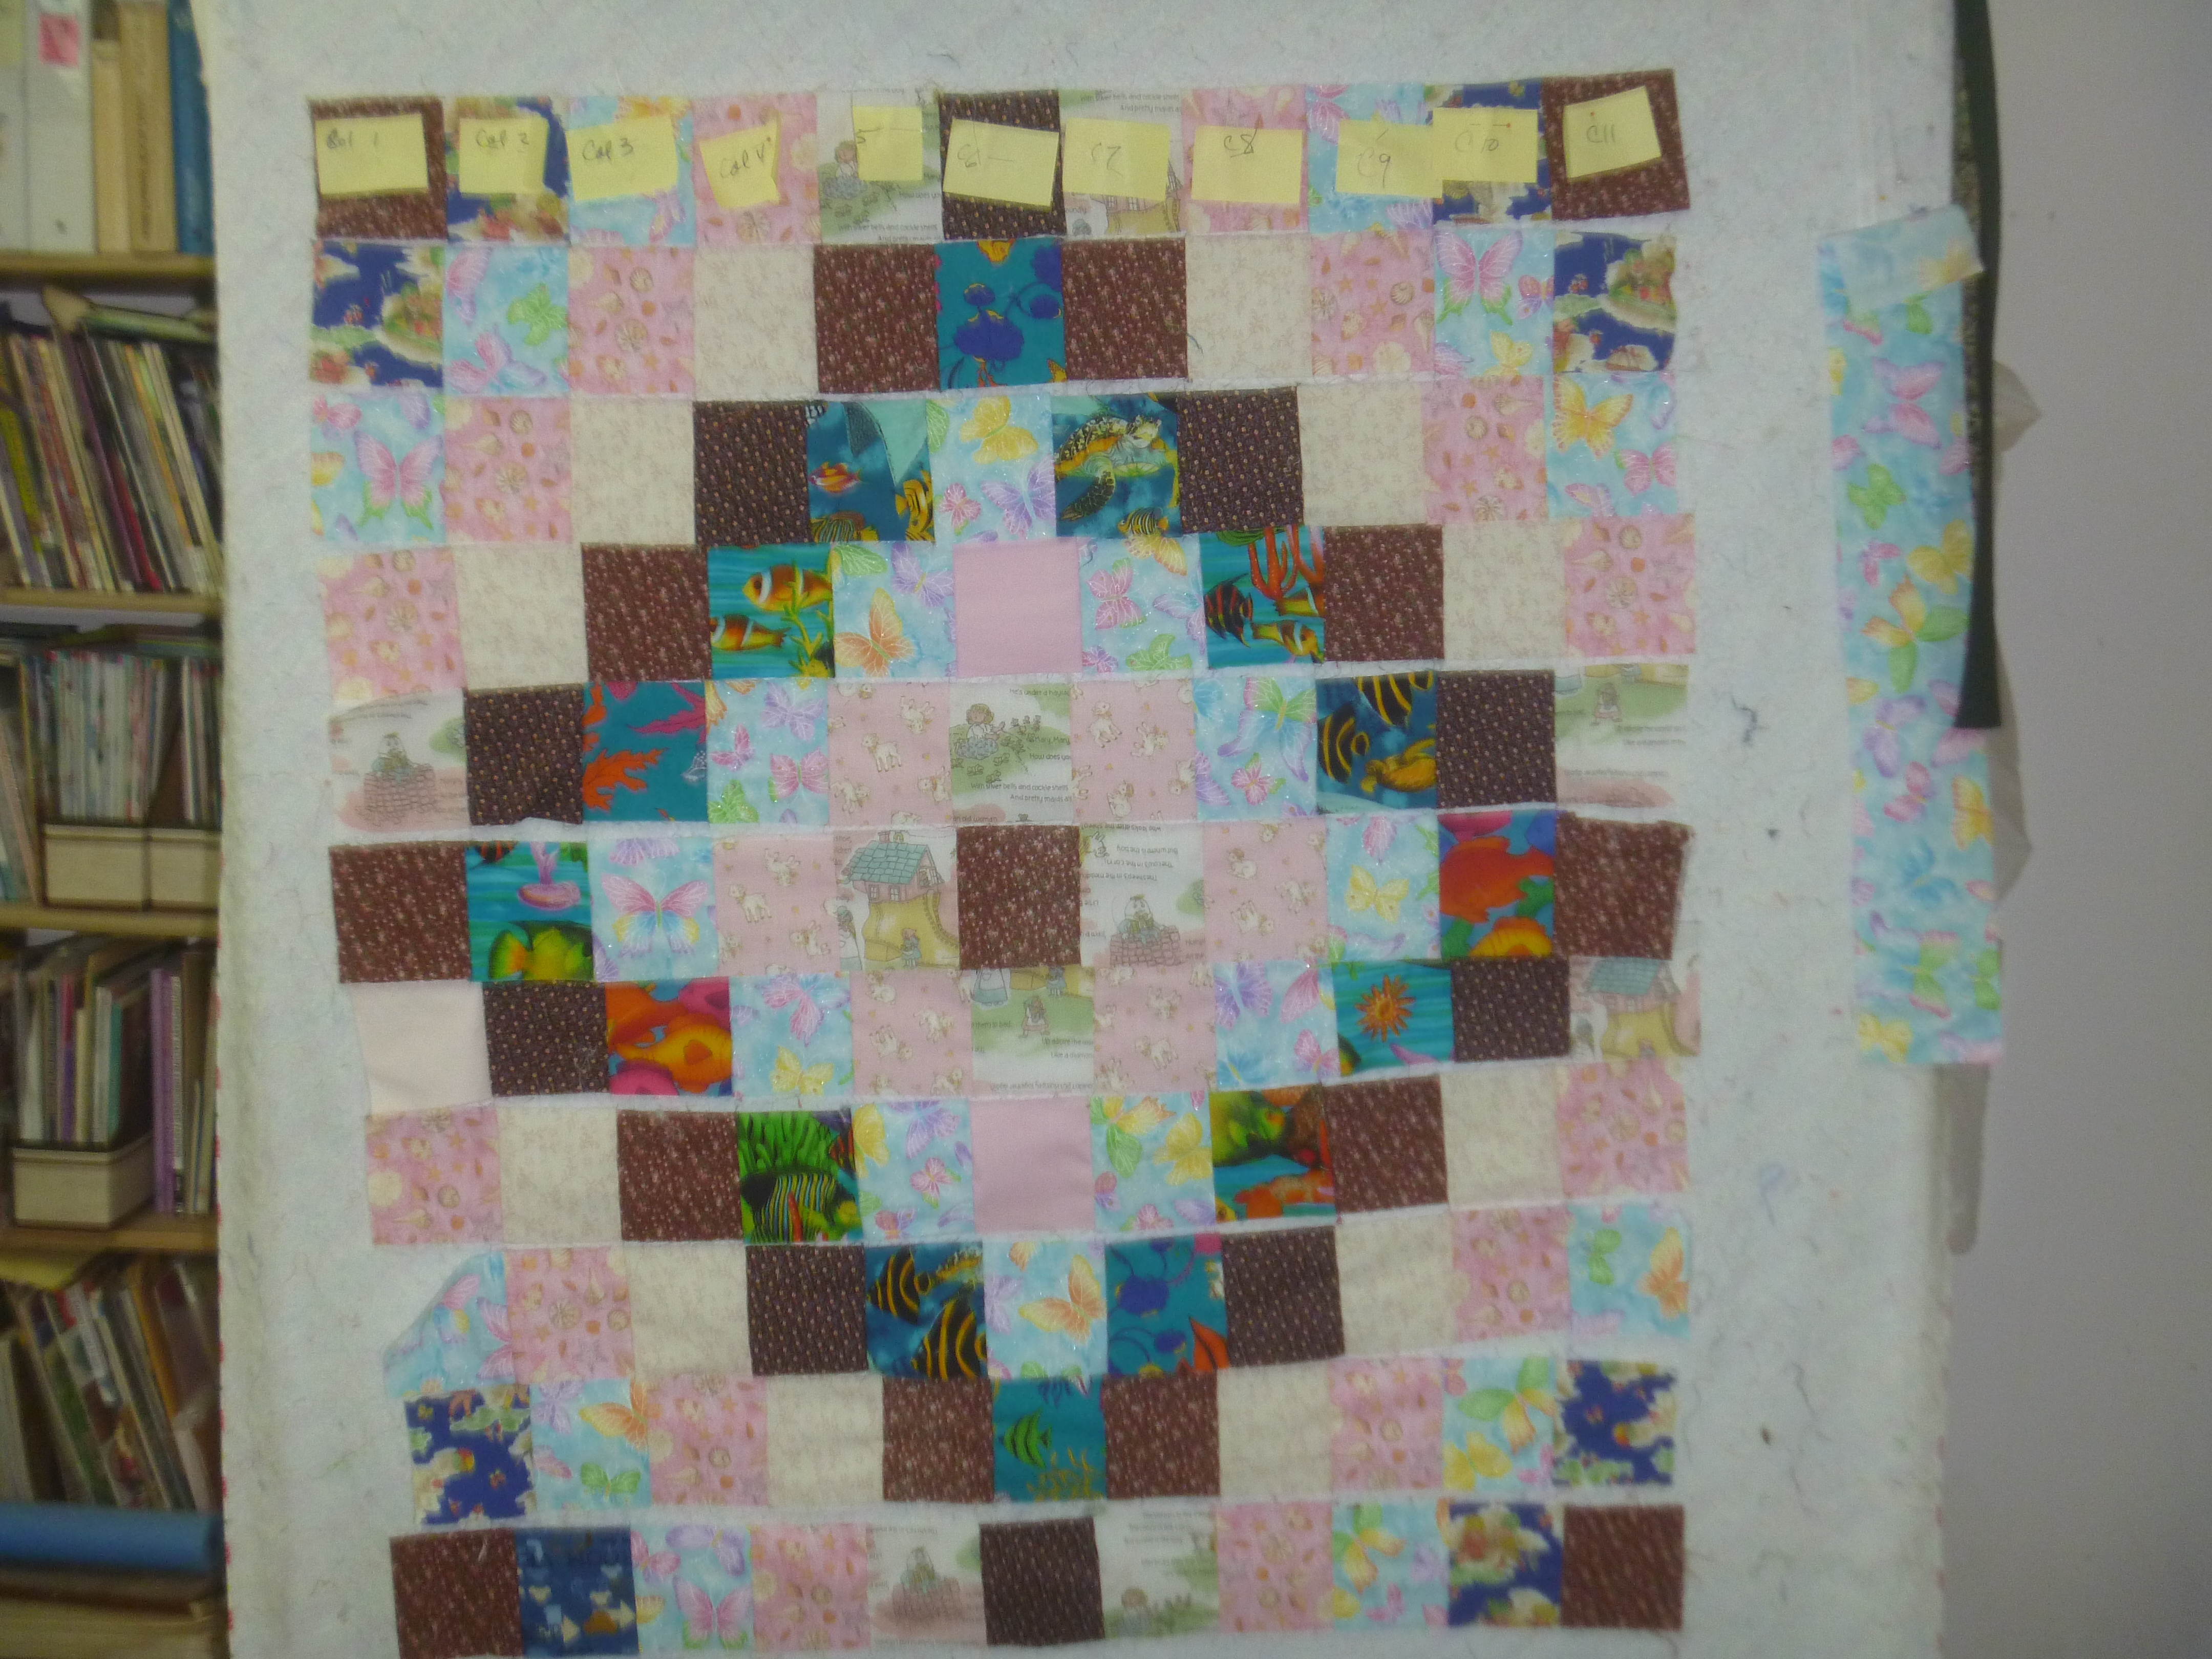
They will look like this. Tomorrow, we will talk about pressing and sewing these rows together.
Hello Canada!

Leaving Washington State, USA, and entering British Columbia, Canada through the Peace Arch entrance.
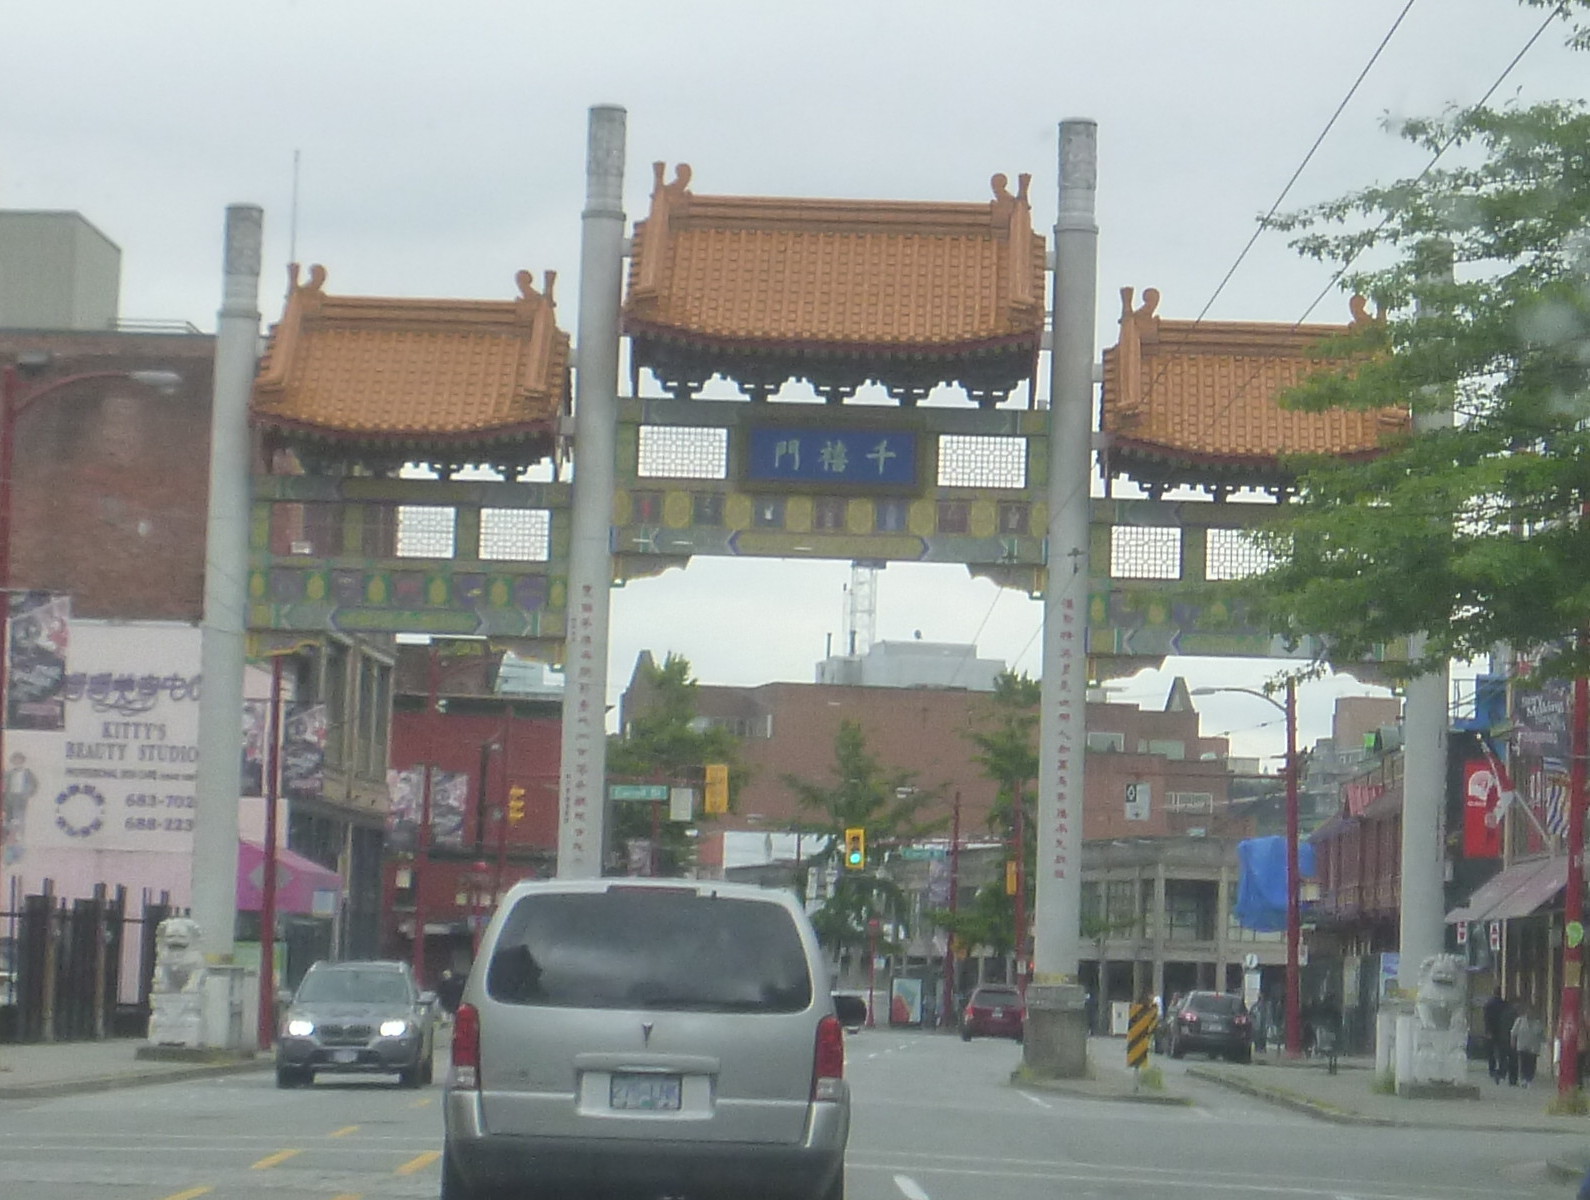
Entering Chinatown, Vancouver. which is the largest Chinatown in Canada.

This clock and the replicated gas lights are in the original downtown Vancouver. Also notice the beautiful hanging baskets.

Here Casey is beside a tour bus with lots of “people” painted on the side.

Casey really wanted to visit this store near the large market and then she was done. And it was time to head home.
Round and round baby quilt and Design wall
For the design wall, I buy the large flannel backed plastic tablecloths after a holiday on sale for 99 cents. I’ve had this one up for at least 3 years. It is ready to be changed – perhaps after Christmas this year.

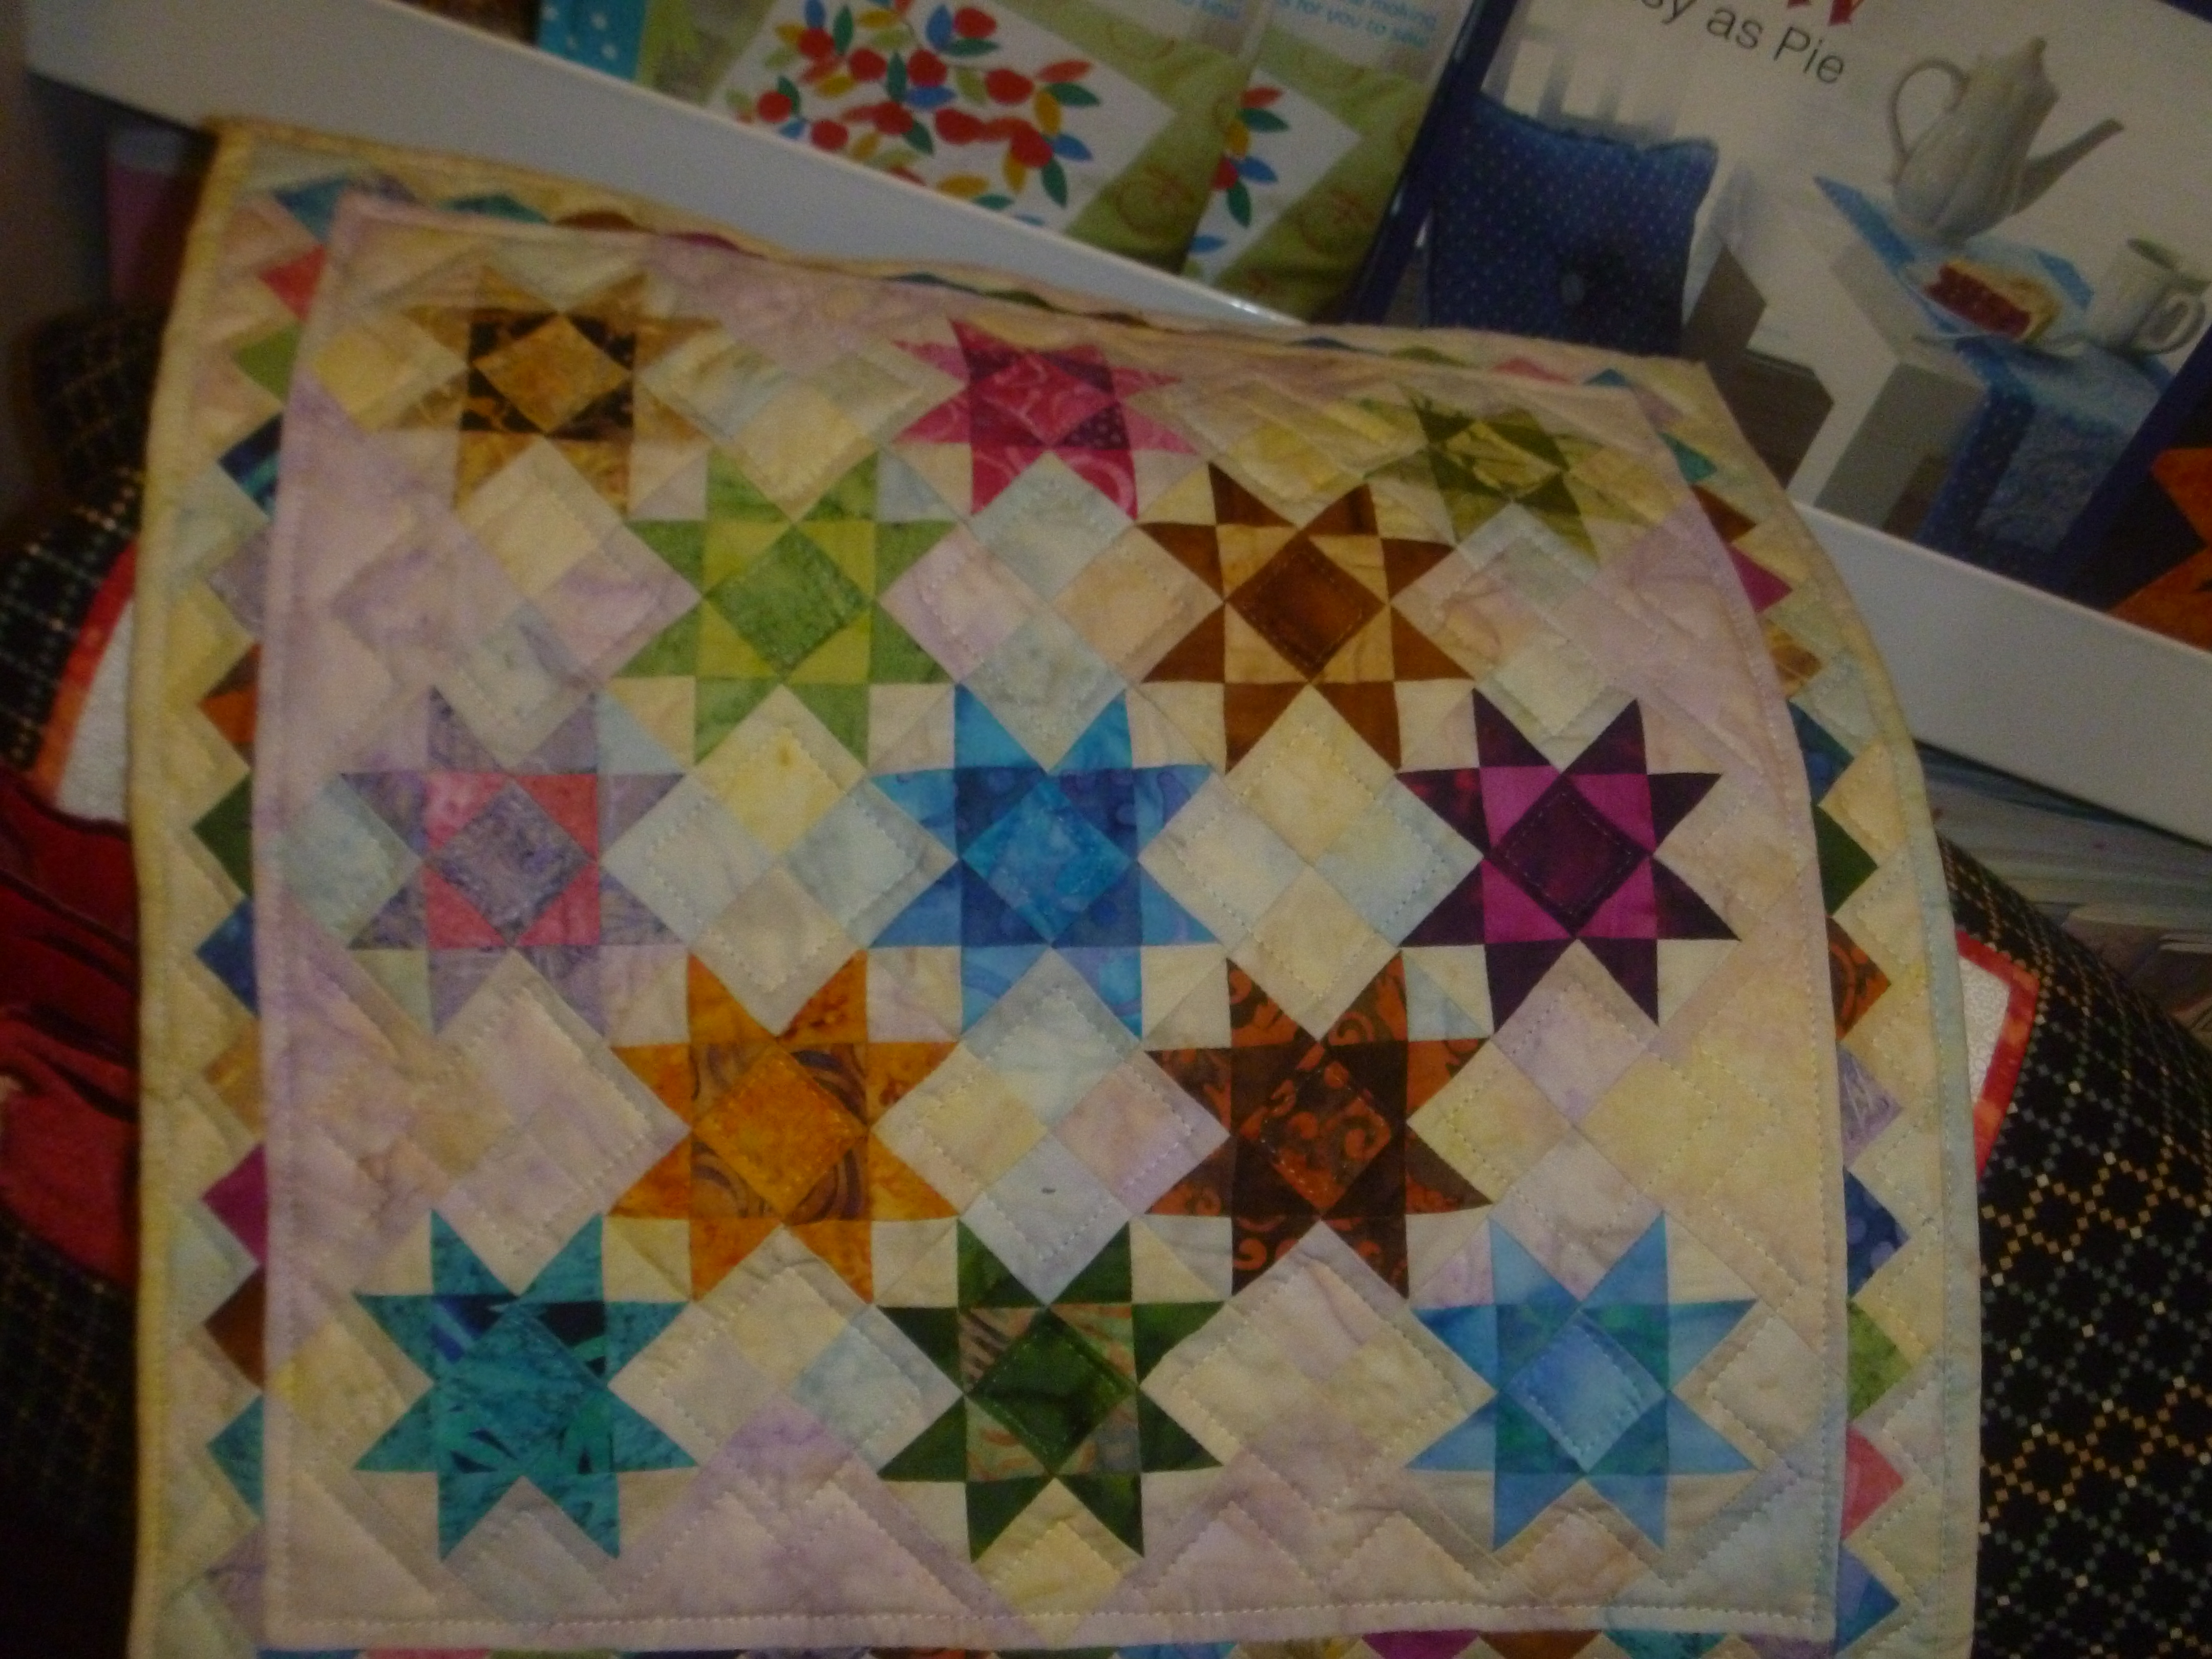
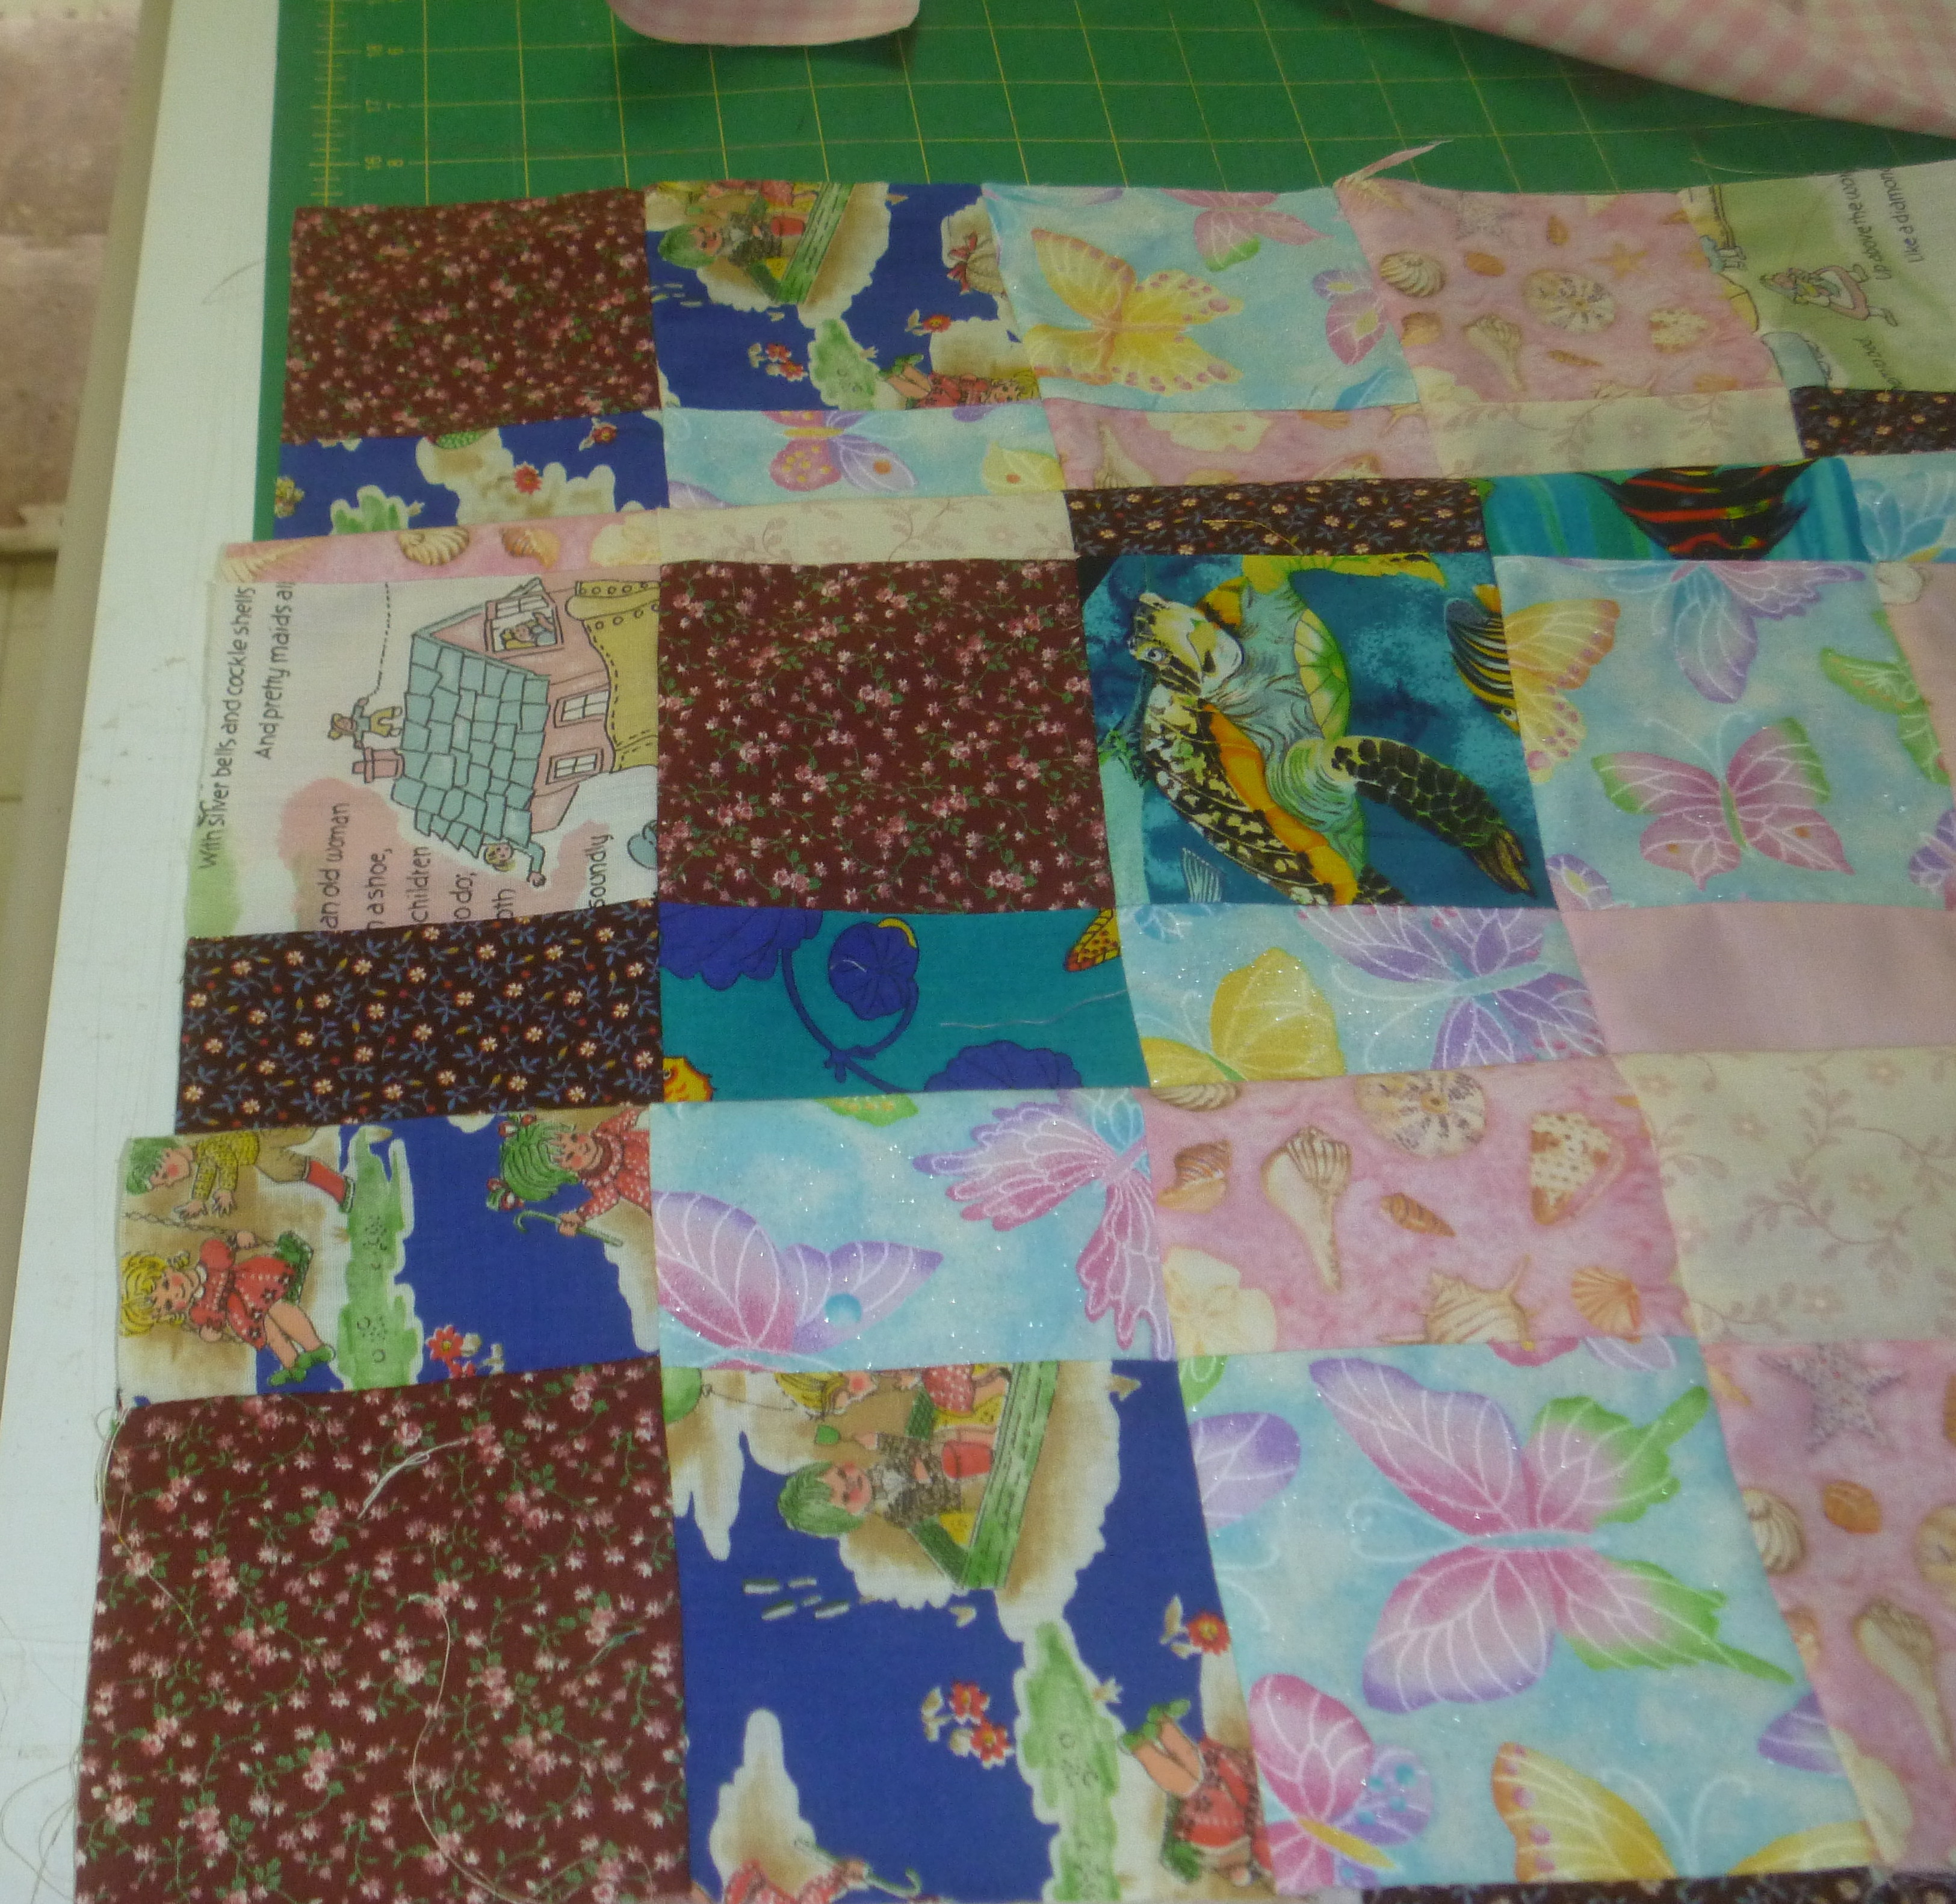
Here is an idea for a baby quilt that I like. When I have fabric scraps that aren’t enough to save for a larger quilt, I often cut them into 2.5 or 4″ blocks and put them aside. When I made this I had a many blues. This time I tried to use up pinks
Now I want to use up 4″ pink pieces. If you look carefully, I don’t always have enough of one piece of fabric, so I go with a very similar tone. By putting them on the design wall, I can see where I might need to make changes and where one is upside down etc. and sometimes I do need to get a fat quarter at the store to fill in a color gap. In this case I used a fat quarter for the darker pinks and I have some butterfly yardage that I couldn’t resist. So I’ll go with this on this quilt. See how easy that is. I’ll show you how I put it together at a later date. I still need to choose an inner border, but I’m off to a family gathering.