Category Archive: Sewing

2014
10/06

Category:
Life
quilts
Sewing

COMMENTS:
Comments Closed

4th “I Spy” quilt top finished

We started by doing some garage cleaning.   It is absolutely amazing what a garage can collect.   Now we have more collection room, ut no photos of that mess.

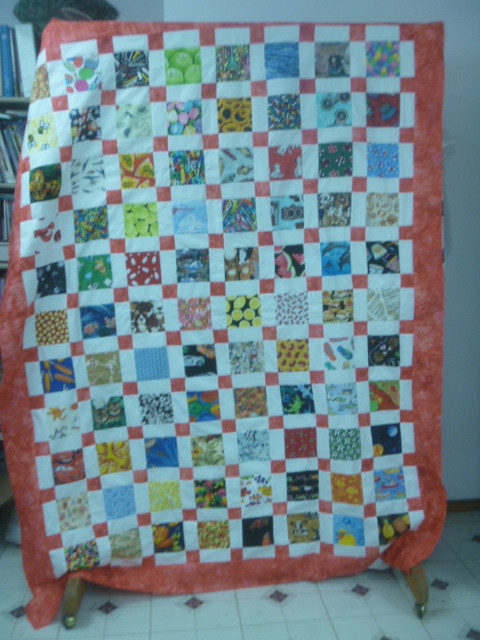
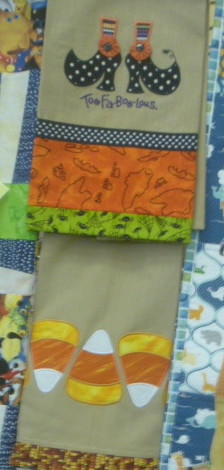
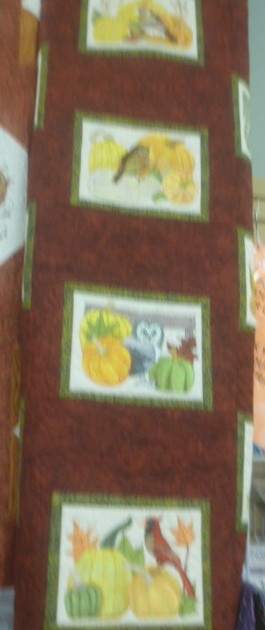
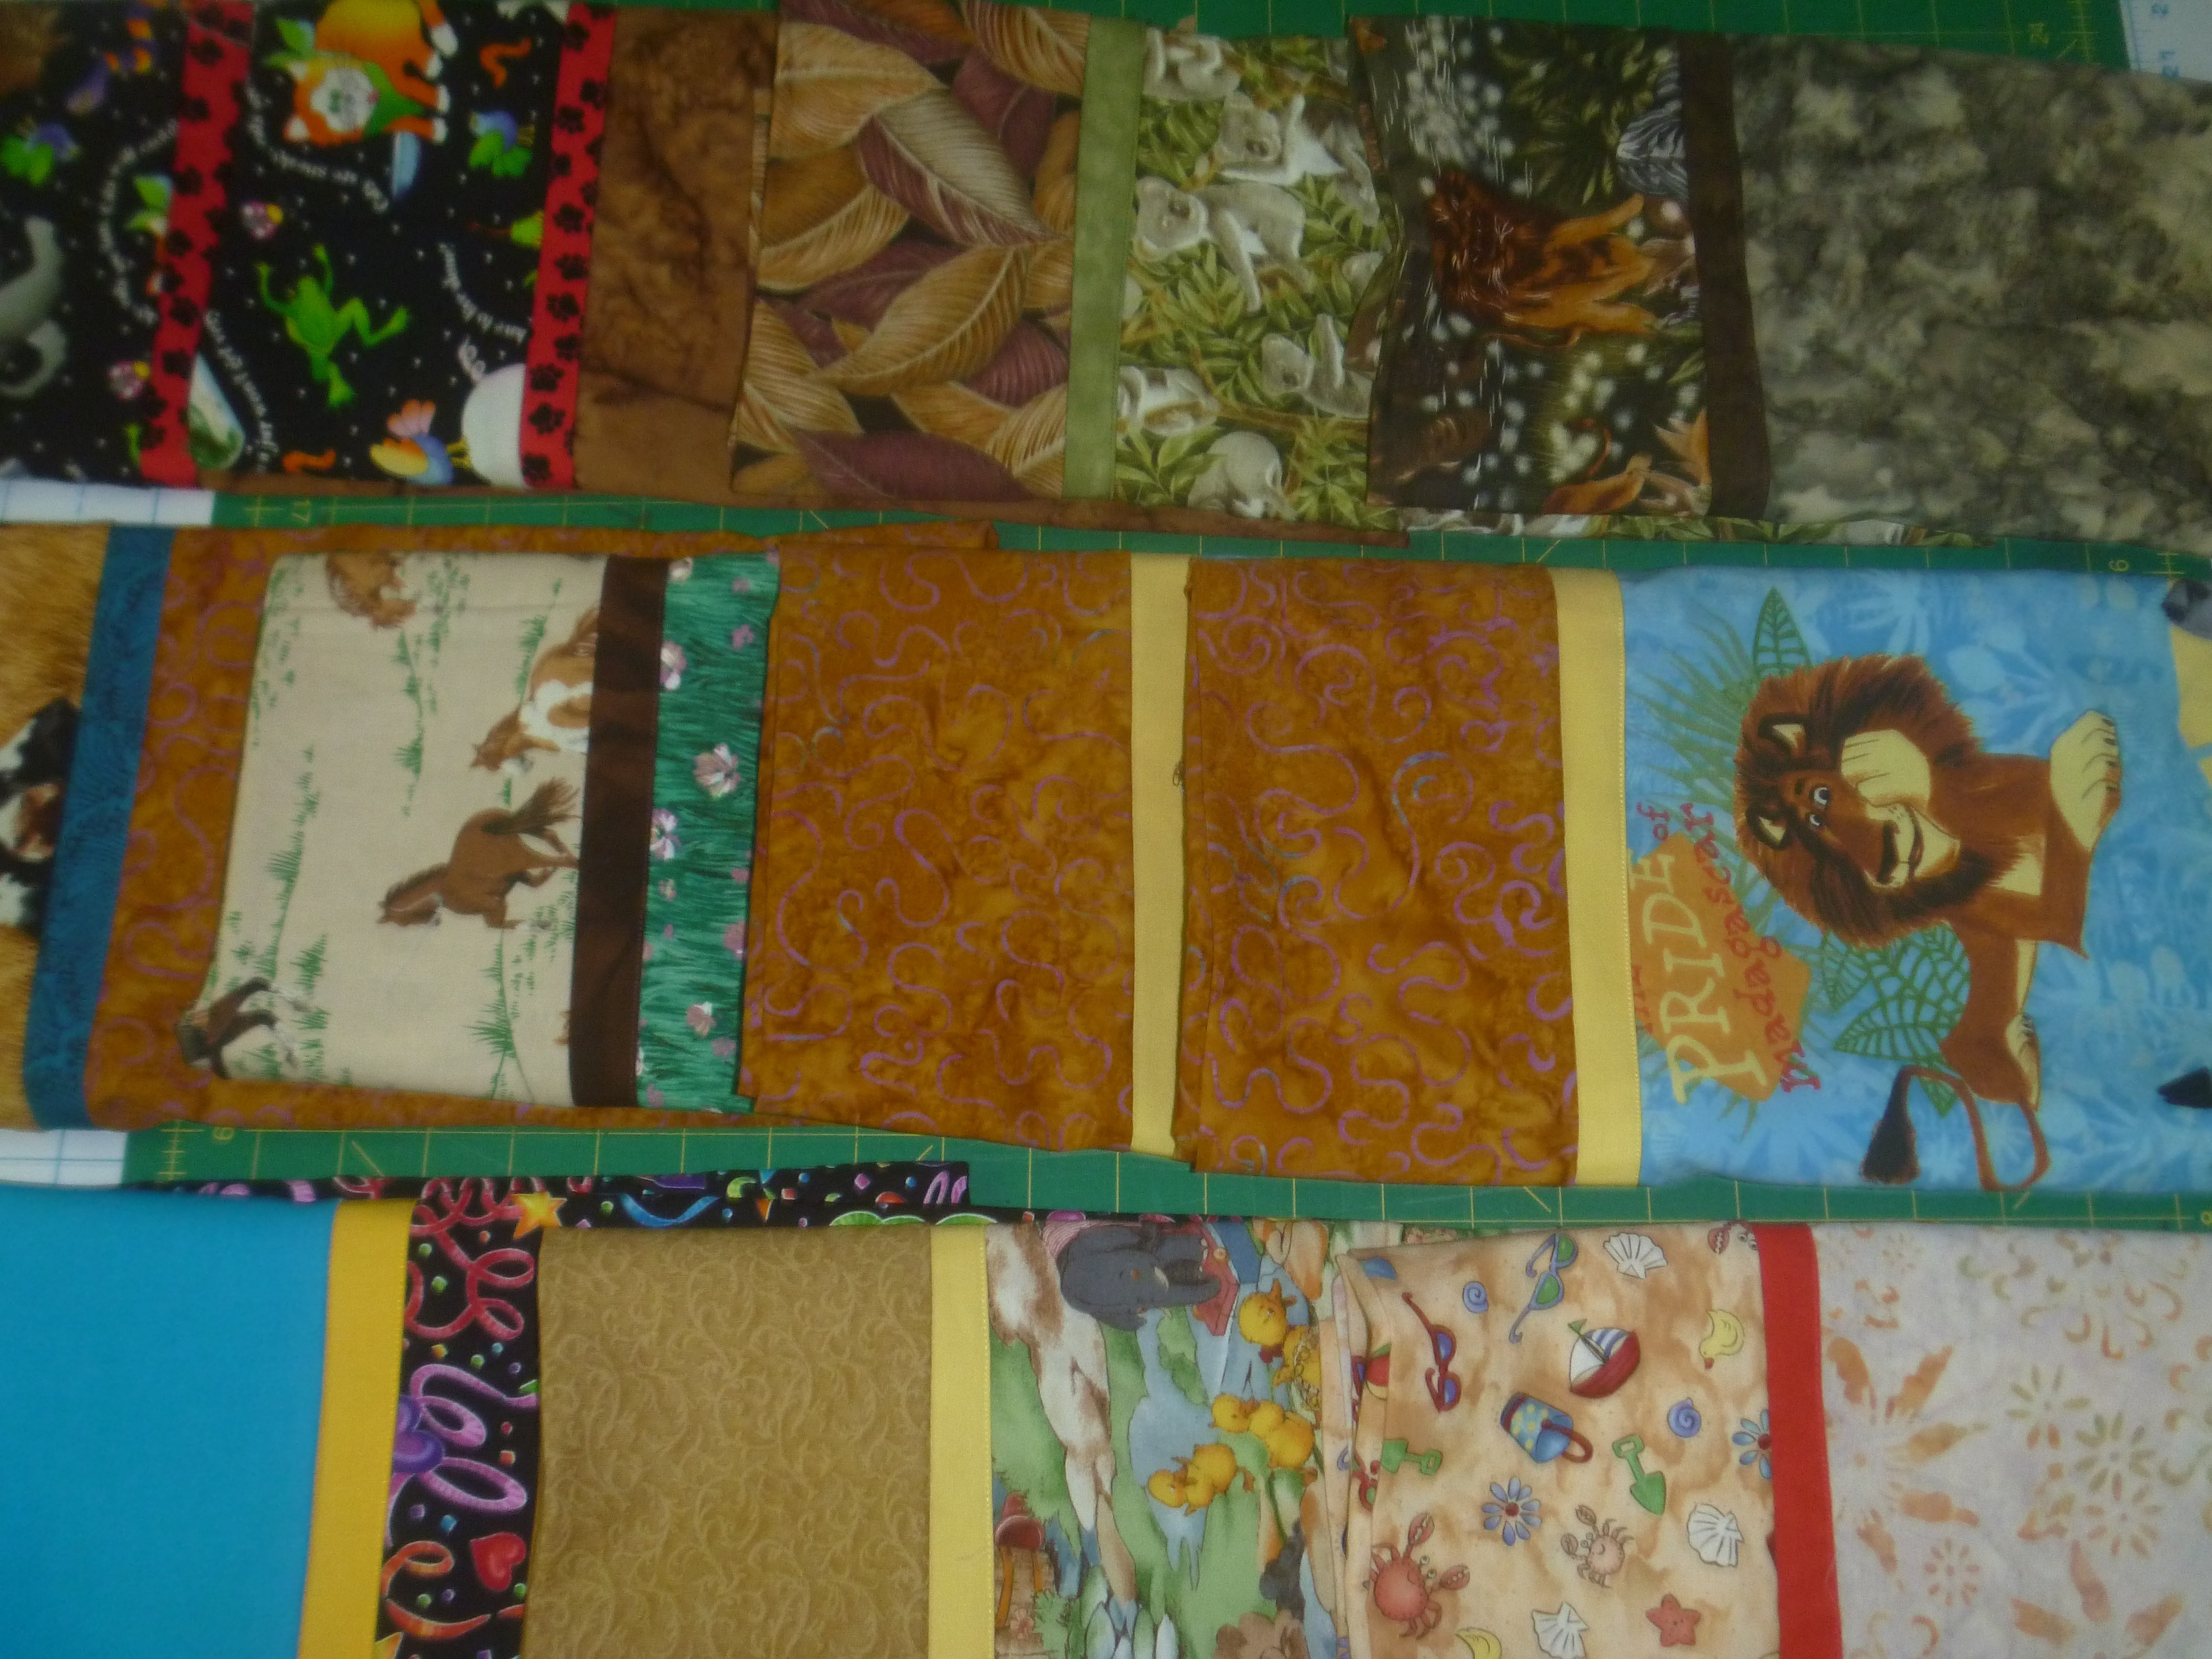
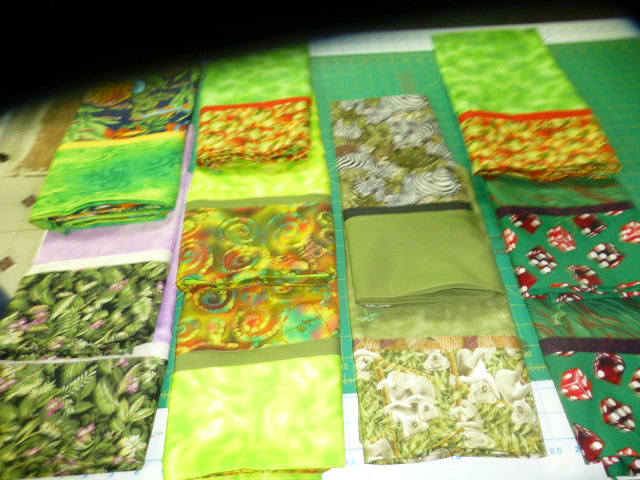
Are you  tired of these “I spy” quilt tops?    Thank you for your patience .  This is the fourth one and  I am through making this pattern top and ready to move on to something different.    I finished this one today and am going to watch a video for the rest of the evening.

P1020369 dylan's quilt top

2014
10/05

Category:
Garden
Life
quilts
Sewing

COMMENTS:
2 Comments »

The end of a beautiful day

We cleaned what we wanted out of the garden beds. Now the areas between the beds will be finished by the hoof stock and chickens this week, then we will put cardboard on the beds for the winter,   That is the end of the gardens except for the greenhouse.   I think I’ll just put the garlic in pots for the winter.

P1020366 cleared garden beds

In addition to the gardens, I canned another 10 pints of tomato sauce and did a good amount of sewing.    Another red “I Spy” quilt top is finished and now hanging in  the waiting to be quilted closet.  It is amazing what can be accomplished when the car doesn’t move out of the garage.

P1020367 Christian I spy

2014
10/02

Category:
Garden
Sewing

COMMENTS:
2 Comments »

100 Pillowcases

All 100 pillowcases for children’s hospital are finished.   I tucked the last threads in tonight after this photo.   These are the last 15 that I finished today.    Because it takes me this long, I know to start early.   I like to get them to the hospital by Thanksgiving and we still have purple hats to do.

P1020345 last pillowcases

Now I will treat  myself to making something totally different, work on the quilts, start a new pair of socks, do some spinning,  or maybe I should put the gardens to bed first.

I did work in the greenhouse for two hours today.  I’m thinking I would like to make several spots bare, then add slug bait and fertilizer and put cardboard over that  to keep the weeds down so it will be all ready to go in early spring.  It would be so wonderful to just lift whatever cardboard that hasn’t disintegrated and start planting.  However I’m still in the thinking process on that.

2014
09/17

Category:
quilts
Sewing

COMMENTS:
Comments Closed

September’s Sew Fun Infomercial

Gail had many items to show us today -enough to make it difficult to know where to start.   So we’ll start with the books.   The first was “Adorable Animal Applique”   in which there are absolutely the cutest little animals  in three themes and suggestions as to how to use them.   The themes:  jungle, underwater, and cute monsters.  There were bibs, blankets, bannersP1020282pillowcases, and other items, using raw edge appilique.

P1020281

P1020280

Another book was called “Kimberbell Halloween, which as the name implies was very Halloween oriented with various projects.  These are two wall hangings and a bag.

P1020288

P1020284

P1020289

From  Smith Street design, there were CDs with applique designs for greeting cards.   Simple and easy to make.

P1020276sew fun=

P1020277

She brought in some red glasses through which it was interesting to look at fabric.   They turned the colors into darks, medium and light.   Some of them really surprised me.

P1020278

Pearly  Gates does good with mylar and this time, they sent samples of leaves and autumn designs.   Both of these were made into quilts.

P1020286

I believe this quilt is from “Table Please, part 2” but may be from above.

P1020287

Isn’t’ this a cute Bitty Buddy waste can to take to  class for your trimmings?

P1020279

There were other items there without photos, such as a reading light, ruler cutting combo, other patterns, one of which was the BQ series.   I have made and love the first one of this series, though I’m not as impressed with the next three.   But I’m sure others love them.

P1020290

Not to leave out clothing here is a Simply Elegant Tee which has several lengths of shirt and of sleeve

P1020290

and a Little Something Jacket (with the tee under)

P1020291


2014
09/08

Category:
Foods
Life
Sewing

COMMENTS:
Comments Closed

Pillowcases and canning

There are only another 10 pillowcases finished.

P1020198 10 pillowcases

However, most of the canning is now done.   I am still waiting on more tomatoes to ripen to make salsa and will be doing some jam again soon.  Today’s efforts produced 20 pints of split pea soup, 10 pints of lentils, and some jam.

2014
08/15

Category:
Life
Sewing

COMMENTS:
Comments Closed

Pillowcases – 25 more

In between housecleaning—which was screaming,  laundry and picking out more tiles for the tub surround, I did grab enough time to finish 25 more pillowcases that I had started yesterday.   This brings the total to 40.   I think I’ll go back to knitting  before I do more of these.  Perhaps I can finish the Widsith socks.  There’s always hope.

P1000535 15 pillowcases

The tub surround is done, now to do the front side of the tub and the curb tiles around the floor – but first I have to decide how tall I want them.   Then it needs grouting and sealing and the towel bar and the shower curtain bar and we’ll be finished.   So I’m thinking we’re in for another week of disruption.    At least it seems that way when it is the Master bath.    How can one tiny bath take so long?     Somehow, when we’re enjoying it, these memories won’t seem so bad.

Have a terrific weekend.


2014
08/12

Category:
Sewing

COMMENTS:
Comments Closed

Pillowcase Recap

P1000525 7 more pillowcases

Only finished 7 today.   However I did topstitch the accent piece on about 50.   So next time I’m ready, they will be ready to go.

Recapping how to make a pillowcase.

2″ accent piece width of fabric (wof)

9″ piece for the band – wof

27″ piece for the case. wof     If you find are buying a new print, try finding one where the pattern will go around the pillow.   Because I was using what I had on hand for these (and they are for kids)  I used whatever I thought they might like, even if it went lengthwise.

This is a bit different than the first time I gave instructions because that was before I was topstitching the accent down.

  1. I prewash the fabrics before cutting so I know how it will behave when in use.

  2. Press accent piece in half = raw edges even

  3. Top stitch accent piece to case, raw edges even   (know which side you want next to the band)

  4. Lay the band down right side up (again check if you want it to go a certain way)

  5. Put accent piece with case on it, right side down.

  6. Roll up case inside the band and pull band over like a burrito

  7.   PIN away from the edge is you are serging, otherwise you can pin the normal way.

  8. Sew/serge the band on

  9. Pull insides out and press.

  10. Sew/serge up side and top

  11. Take a large needle and pull starting thread up through the thread on side


2014
08/10

Category:
quilts
Sewing

COMMENTS:
2 Comments »

Aurifil Aug BOM

P1000515 Aurfil button block

Isn’t this a cute block designed to look like a button.    It was fun to put together.

 P1000516 Aurifil blocks

All  8 of the Aurifil blocks for this year.   They are being put together to be a Christmas quilt.

 P1000517 bag under serger

This may be a bit tricky to see  because I have a pillowcase in the works.   But it hit me, that some of you may not realize that you don’t need anything fancier than a store bag to catch the scraps the serger removes.

 P1000518 imperfection

Check some store pillowcases.   They aren’t always perfect either.   So if my trim is a bit off on the side, I let it go.  It’s a PILLOWCASE.

 P1000519 tonites finishes

I did grab enough time to get 7 more done today to bring my total to 18.    See, bit by bit, it happens and it really doesn’t take that long.    It does help that my husband pulls the stuffing out of the burrito so the band is right side out.

This morning I did spend about an hour spinning, but it will be awhile yet, before I have more to show.  Spinning is slow, but relaxing.    Now off to get the rest of the steps done tonight.   15,000 daily takes me 1 1/2 – 2 hours plus my normal walking around.   However, it does reduce the muffin top which I don’t want or need.

2014
08/08

Category:
Sewing

COMMENTS:
2 Comments »

Pillowcases – 11 finished

The first 11 pillowcases are done except to pull the serger thread to the inside of the seam.   Here they are the usual way we stack pillowcases.

P1000514 11 finished

Liz, one of this post’s followers posted in her comment that the accent piece stays better after washing, if topstitched first.    Of course it would, but I have never seen it done.   That’s brilliant!   Thanks so much Liz, these are all being topstitched.   This is easy to accomplish while the pillowcase is still flat out.   I topstitched the ones on which I had already stitched the cuff.

P1000502 contrast sewn down

Then on the ones I have not stitched the cuff, I’m going to topstitch the accent piece on to the body of the pillowcase BEFORE I attach all the pieces in the burrito roll.   This way nothing will slip.  It can be a bit of a hassle if the accent piece slips down when you are sewing the pieces all together.

P1000512 topstitching first

So after topstitching, I serged up the side and across the top and then turned them inside out to press.

P1000513 11 finished

Yes they all have some form of green because I started with the green fabrics in my inventory and they can all be serged without changing the thread.  There is a variety from things teens might choose to child ones.

I’d love to see photos of the ones you make.  Your comments encourage me and sometimes make me think.


Today video 2 of the health lecture was released for one week


2014
08/04

Category:
Life
Sewing

COMMENTS:
2 Comments »

Pillowcase

Remember the three pieces we cut for the pillowcases.   We’ll take the 2″ piece and press that right sides together and set aside

P1020139  press trim in half

Then we’ll take the band and lay it right side up on the ironing board or a table

P1020131 PC band

Now lay the body fabric of the case right side up on top of the band with edges meeting

P1020133 PC body

And the small 1″ piece of trim goes on top of that with all edges meeting.

P1020134  PC trim

Now fold the largest piece of fabric so that we can bring the band up and over to meet the edge where we have lined everything up – hot dog style..

P1020135 Bring band around

Making sure that all the edges are even, pin across this side.   If using a serger, pin away from the edge.   Trust me, you don’t want to try to run a serger over a pin.   If using a sewing machine, make it convenient to take the pins out as you come to them.’

P1020136 pinning band

Sew or serge across this long side.

P1020138 hot dog roll

Now put your hand in one side opening and start pulling out the inside of this roll.   Press the band and trim and all we need to do now is sew or serge up the side and across the top (with wrong sides together)

P1020145 pressed

If you have a one way print, you may have to layer this with the trim next to the band and the body good side down on top.P1020140 upside down band