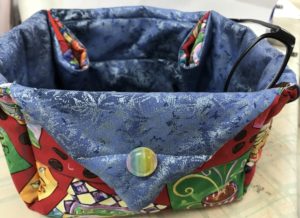
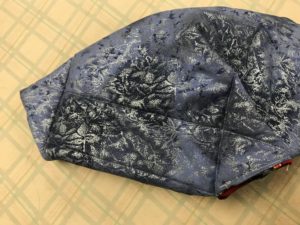
Today I made a fabric basket using Connie’s tutorial (blog: Free motion by the River) which is here. I have also added my own photos so you can see a different look. Above is my finished basket.
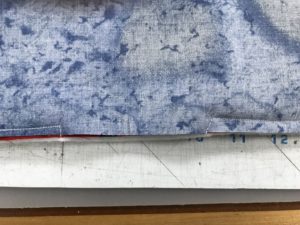
I started with two 17″ pieces of fabric, right sides together and a piece of batting on the bottom. I sewed a 1/4″ seam around them, leaving about 3″ to turn them right sides out.
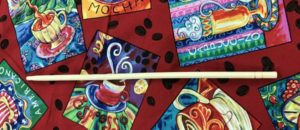
I used a chopstick to poke the corners out and then just sewed across the opening, before quilting the piece.
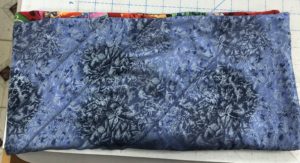
After quilting I put right sides together (the inside of the basket is what you see). Then on the diagonal I marked 3″ from each side and sewed this line.
I refolded the basket so those two seams are together, marked the other two and sewed them.
With all 4 seams sewn, I turned the basket right sides down and using a button stitch, stitched the flaps out. The buttons are just decoration and have no weight on them. The measurement for this basket is 7 x 7 x 4.3″
I will be making more of these for gifts in various sizes. They are so handy and easy to make.
What a cute basket! I hope you had fun making it and thanks for sharing!
So cute and very useful as well! Nice work!