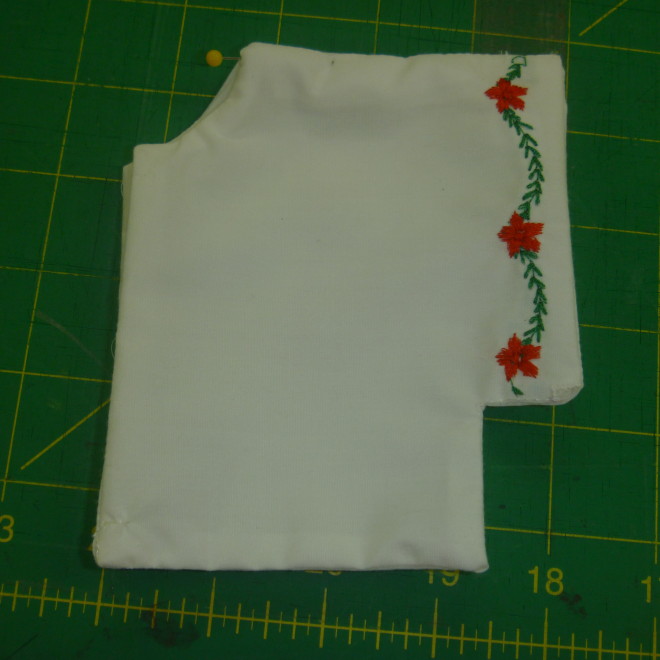
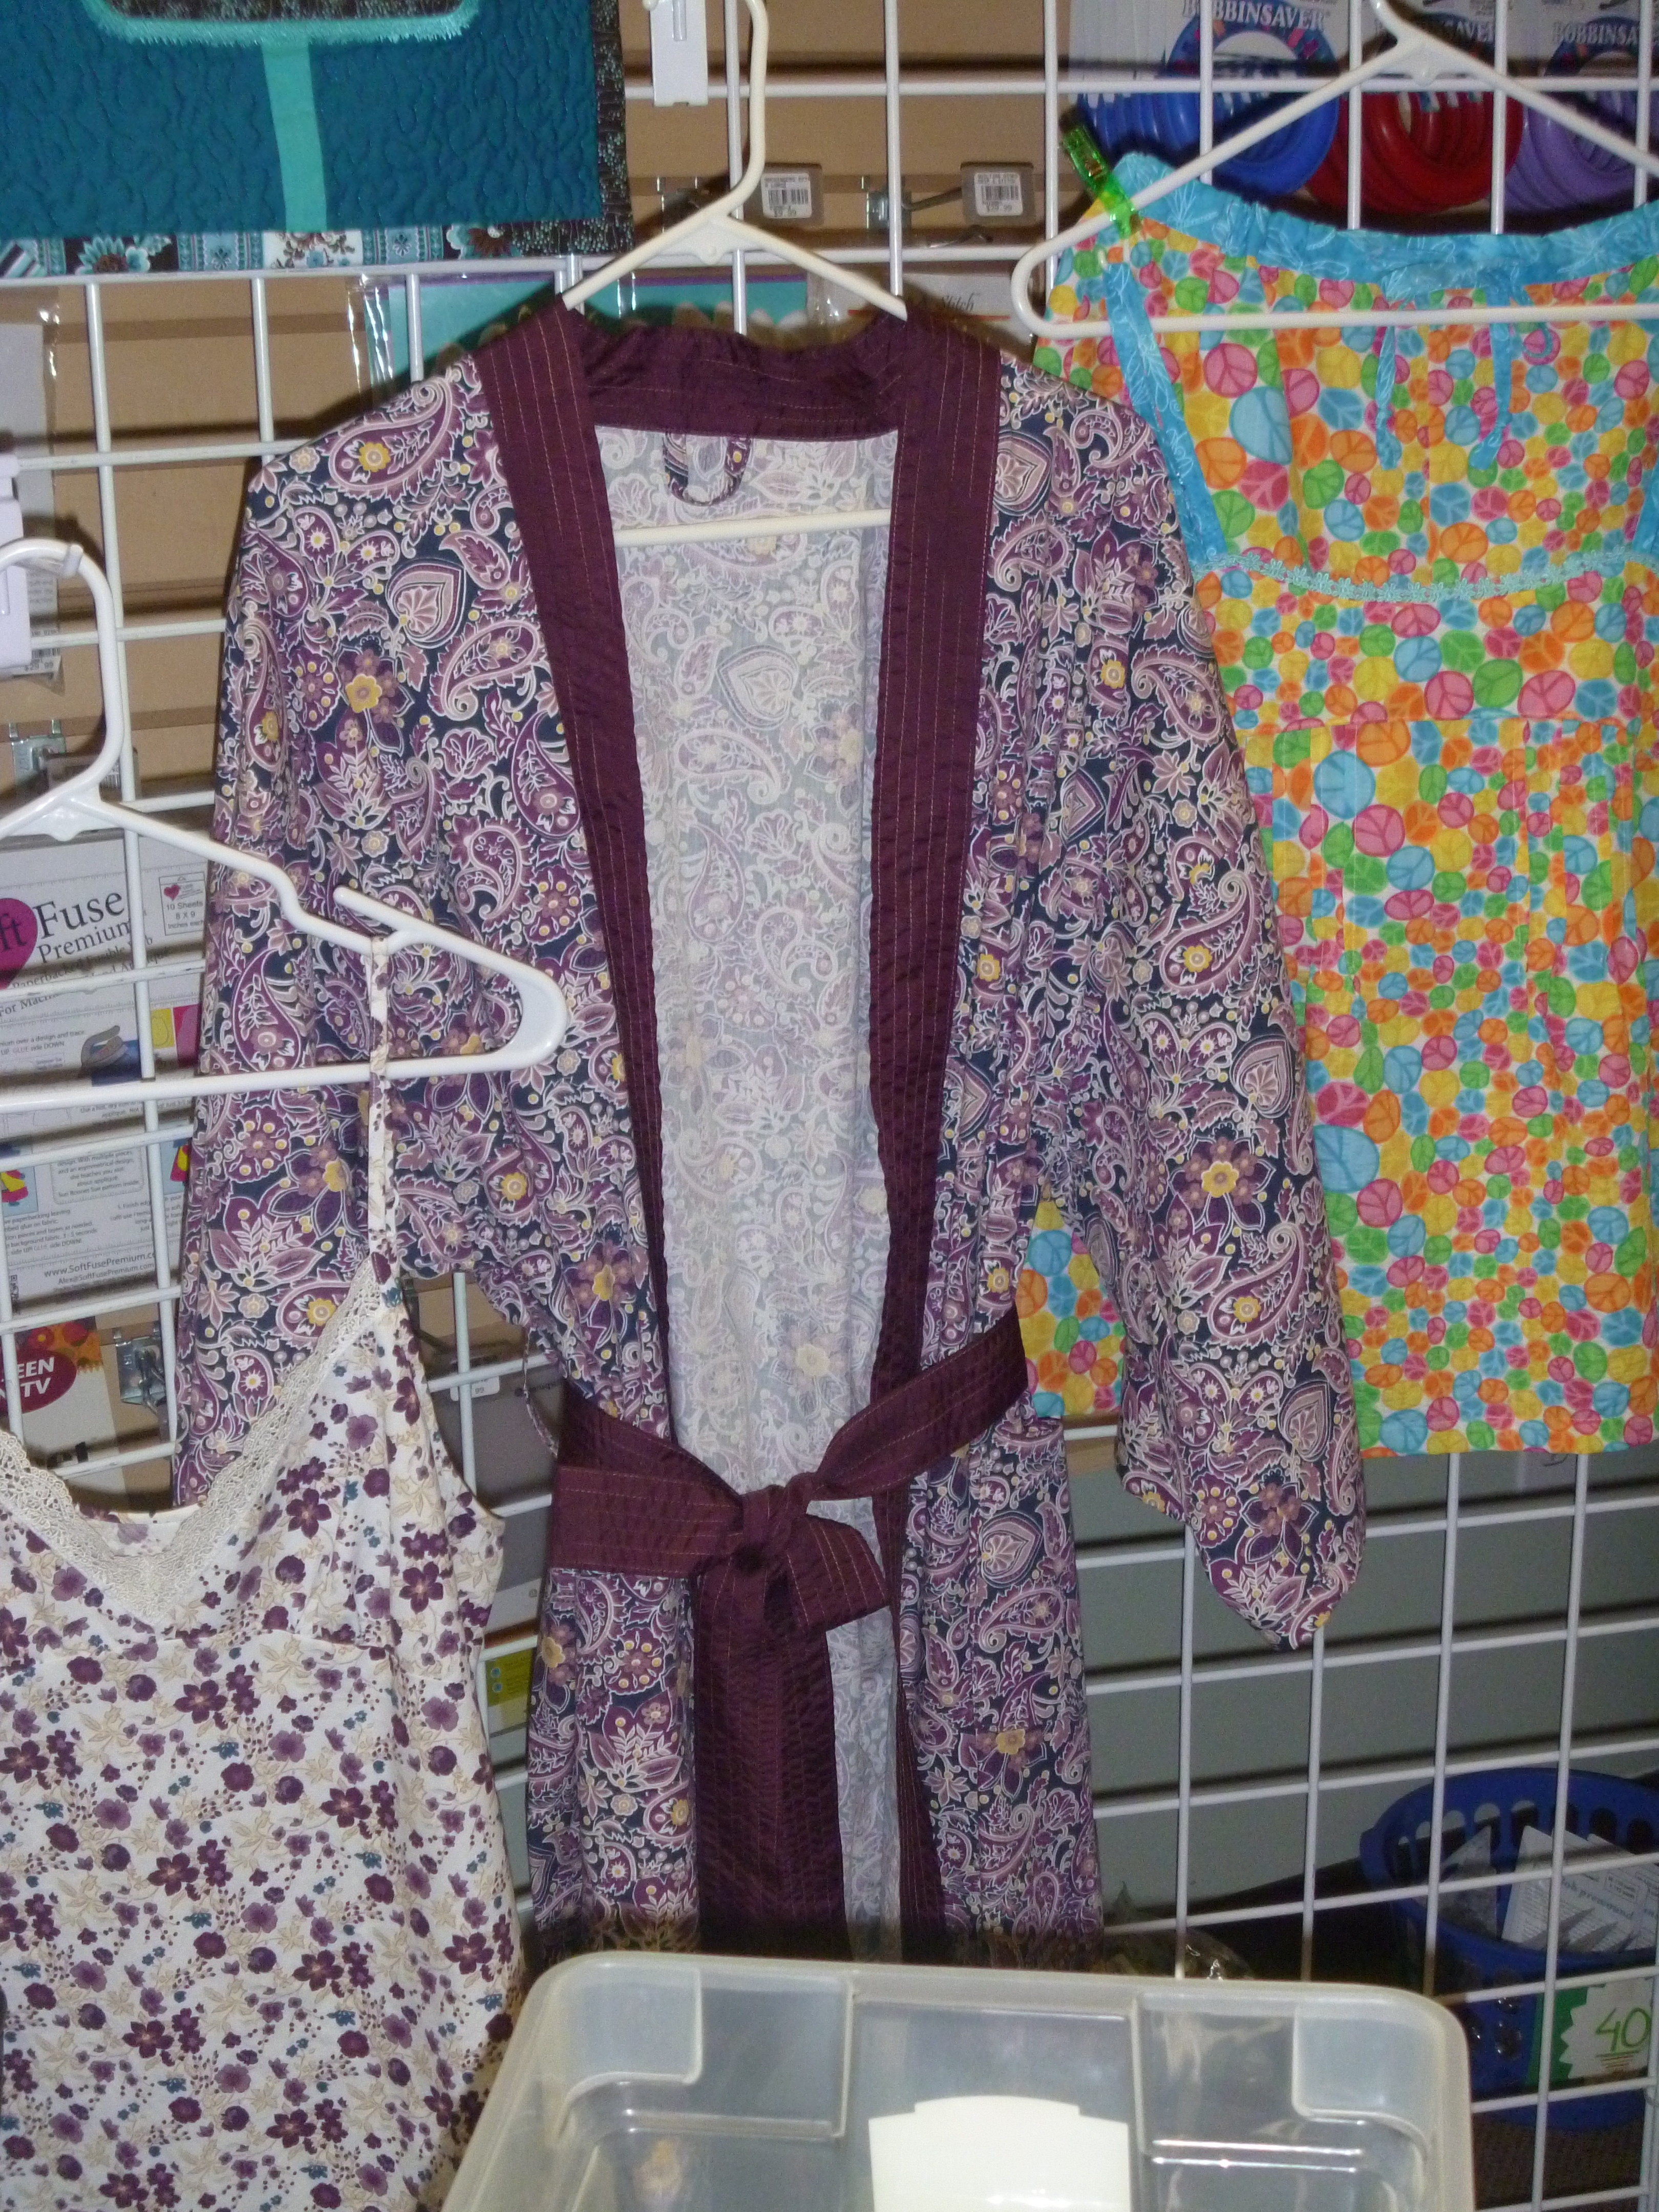
We all have them occasionally – a day where we don’t want to do anything on our list. I have had one of these today – so after retrieving the bird from the vet, instead of doing what I scheduled to do, I volunteered to test some embroidery designs.
Then I did a bit of work on a couple different projects and pulled out another project not even close on my list to start. At this point, I realized this is a short month with the Sew Expo the last two days and I really do need a jacket to where then.
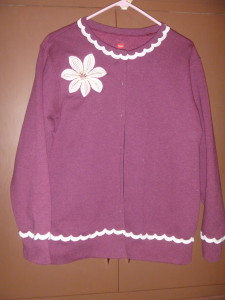
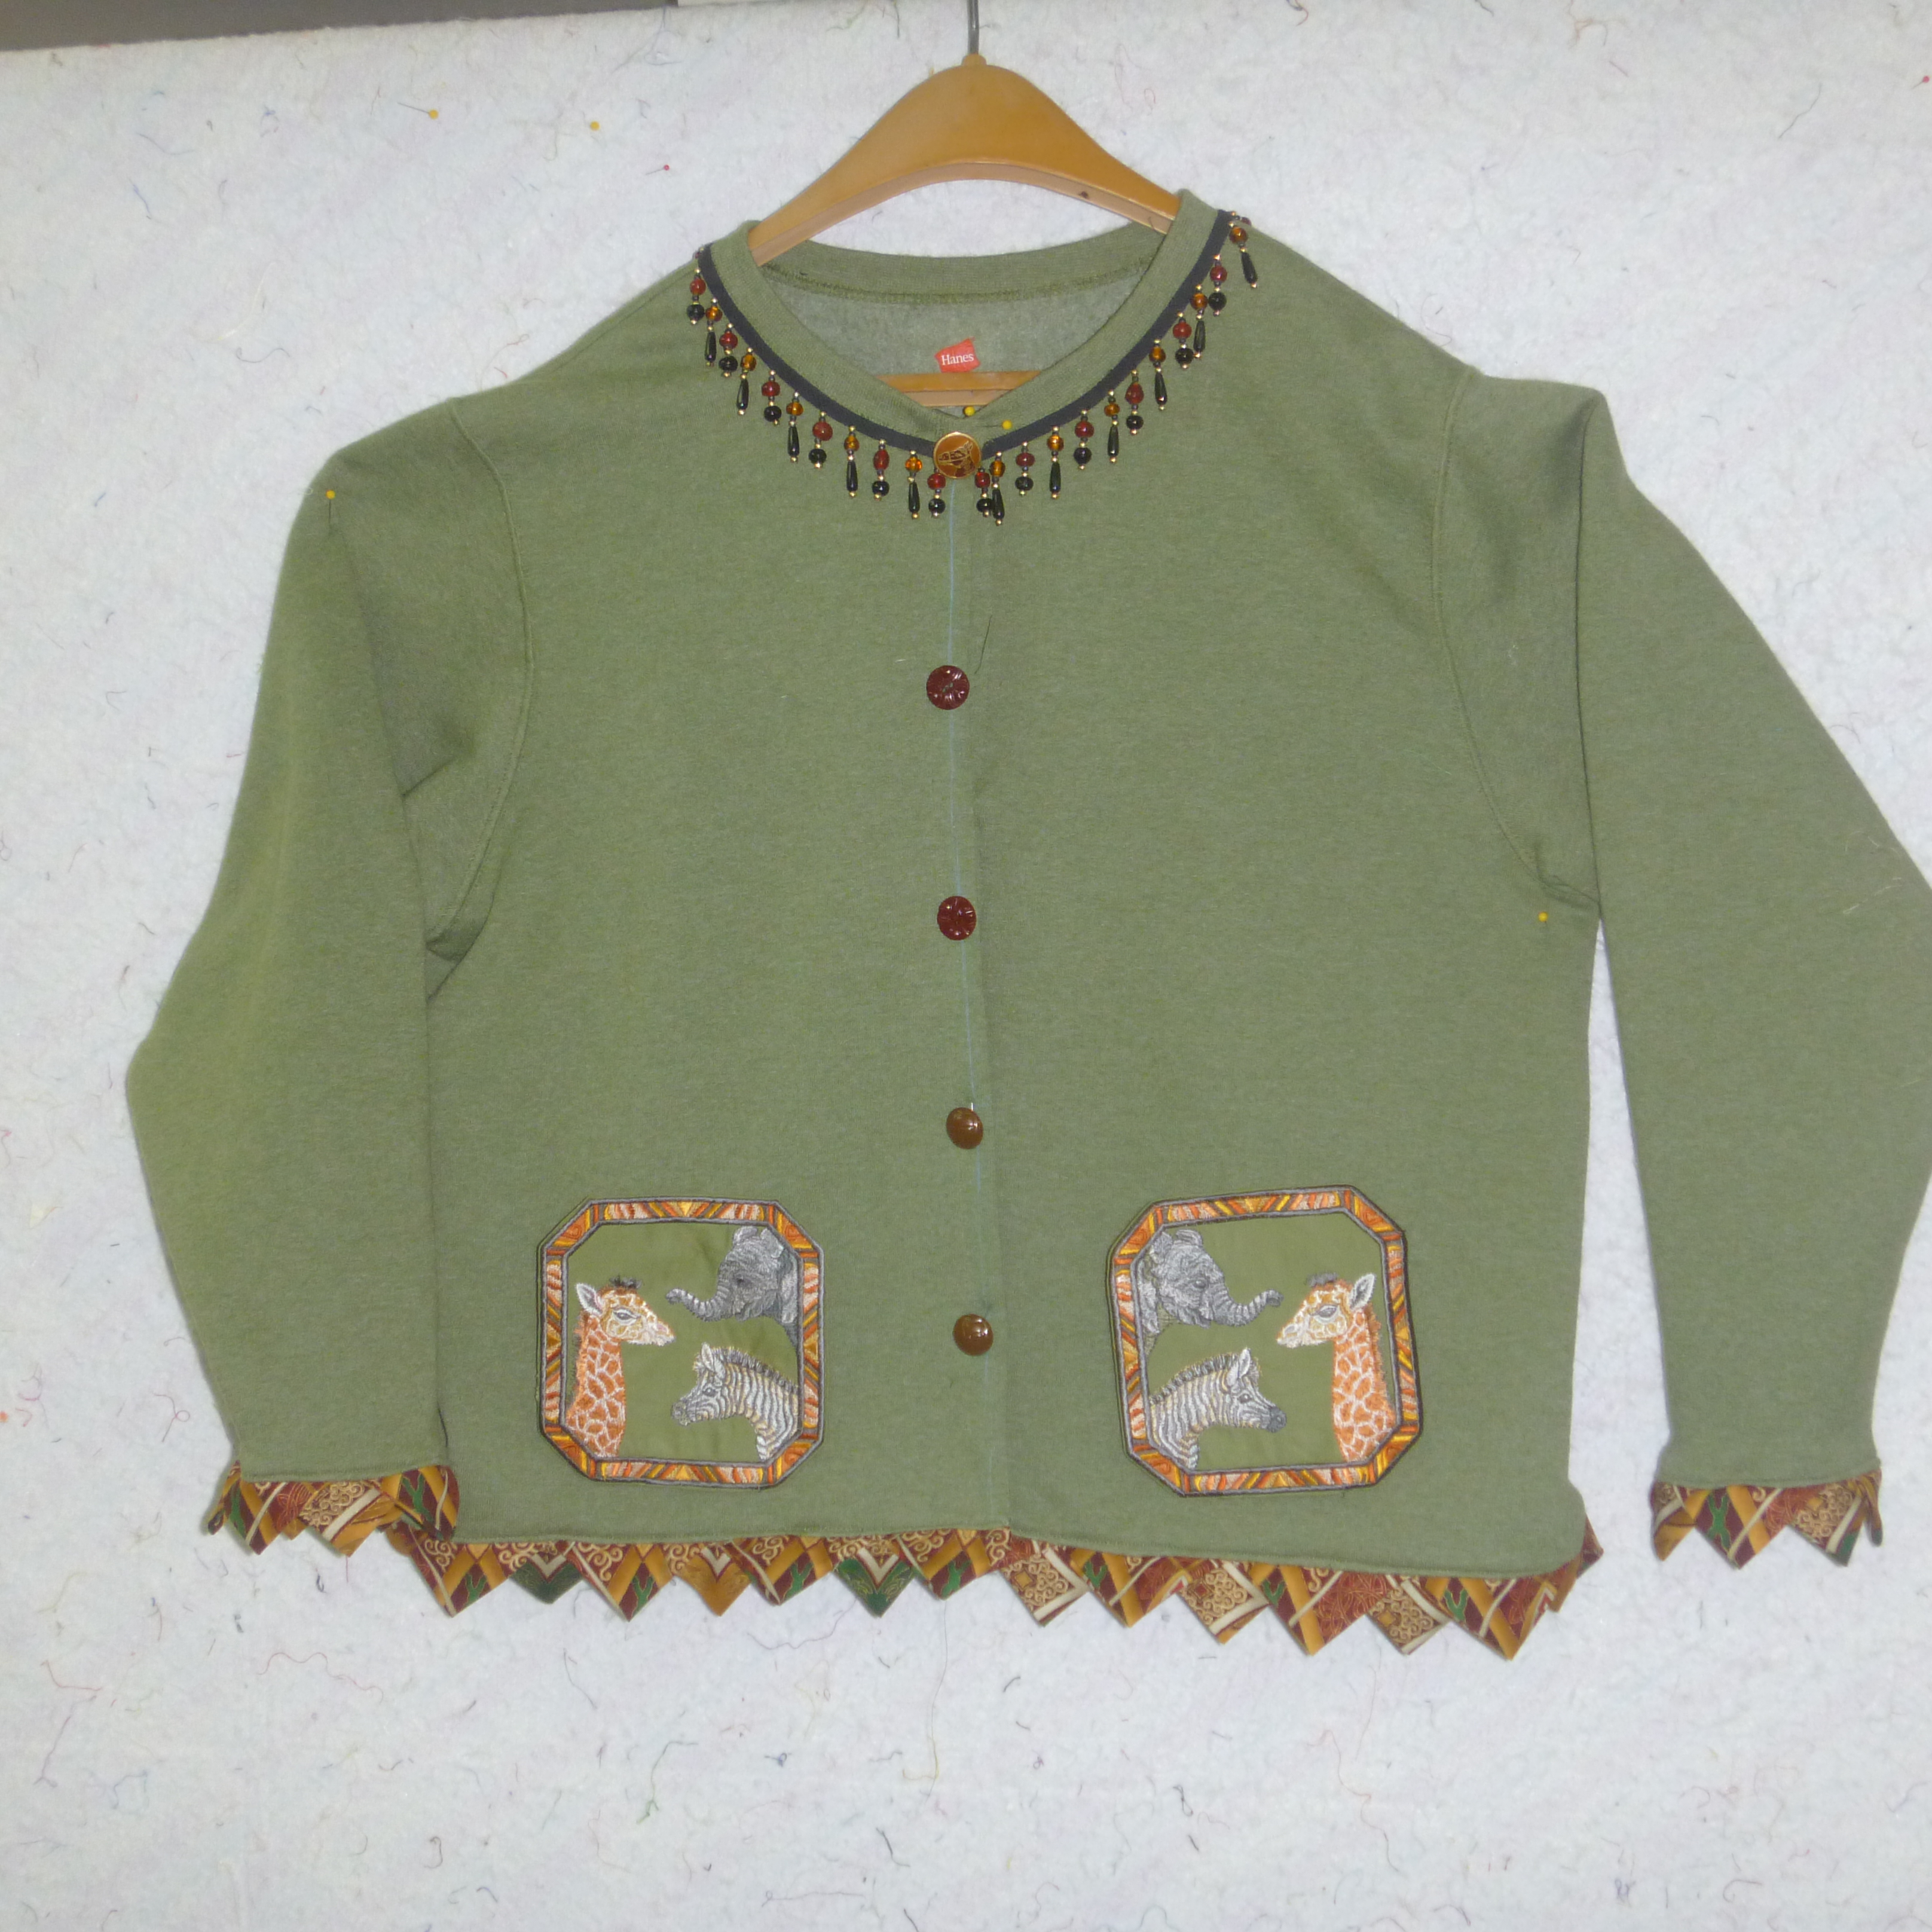
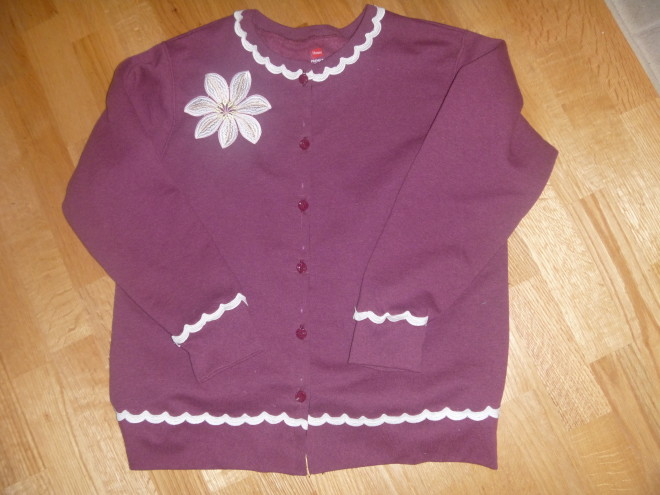
Out came the sweatshirt that I cut up the front last week. I found some trim in one of mother’s boxes and decided on an embroidery design to put on it. (One could use applique if you’d rather) So easy and here is the finished project!
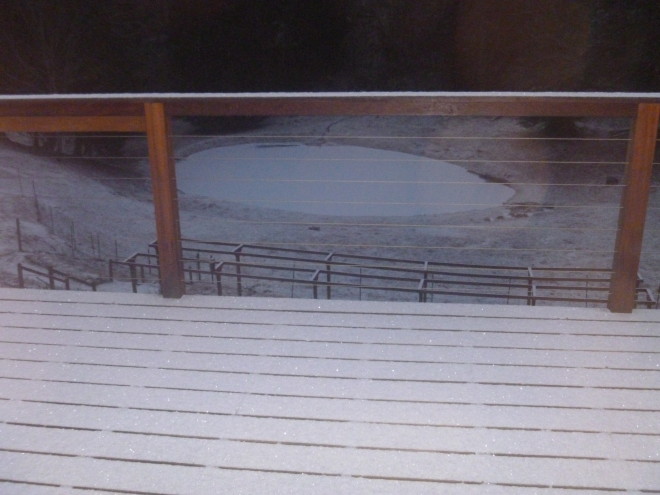
 The sun was attempting to come through the fog as I sit down to write this. The shadows are rather interesting.
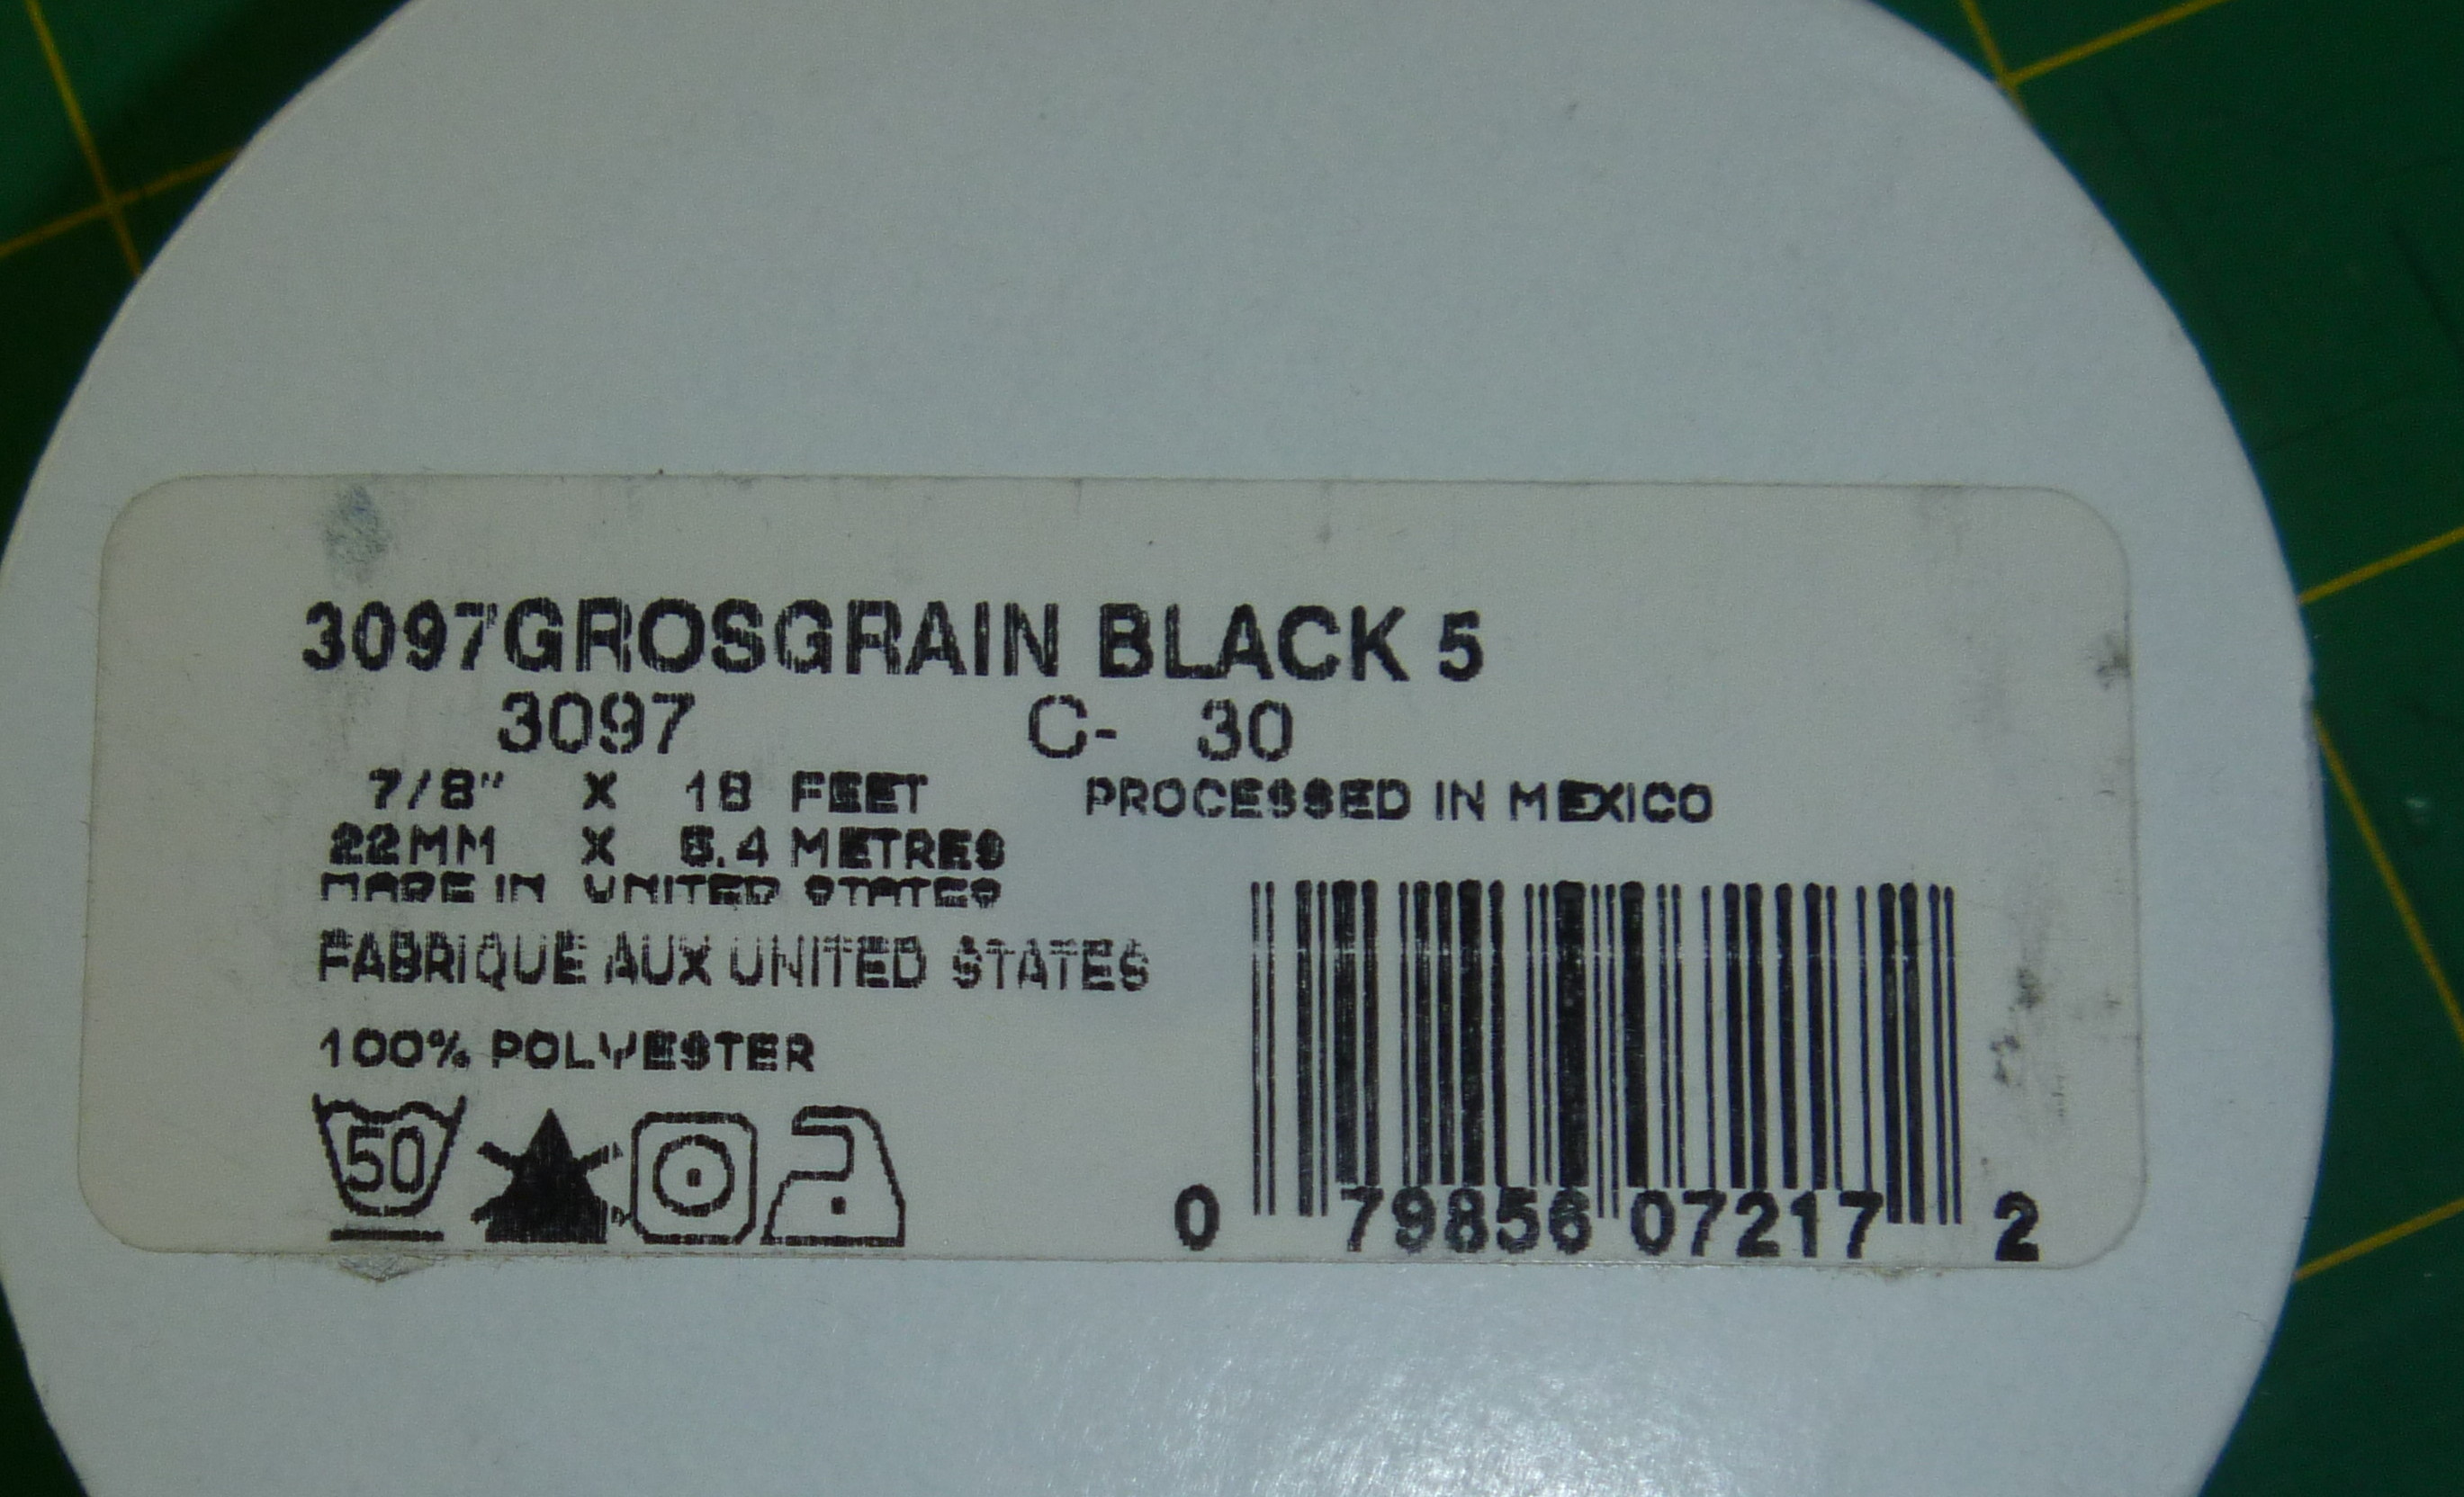
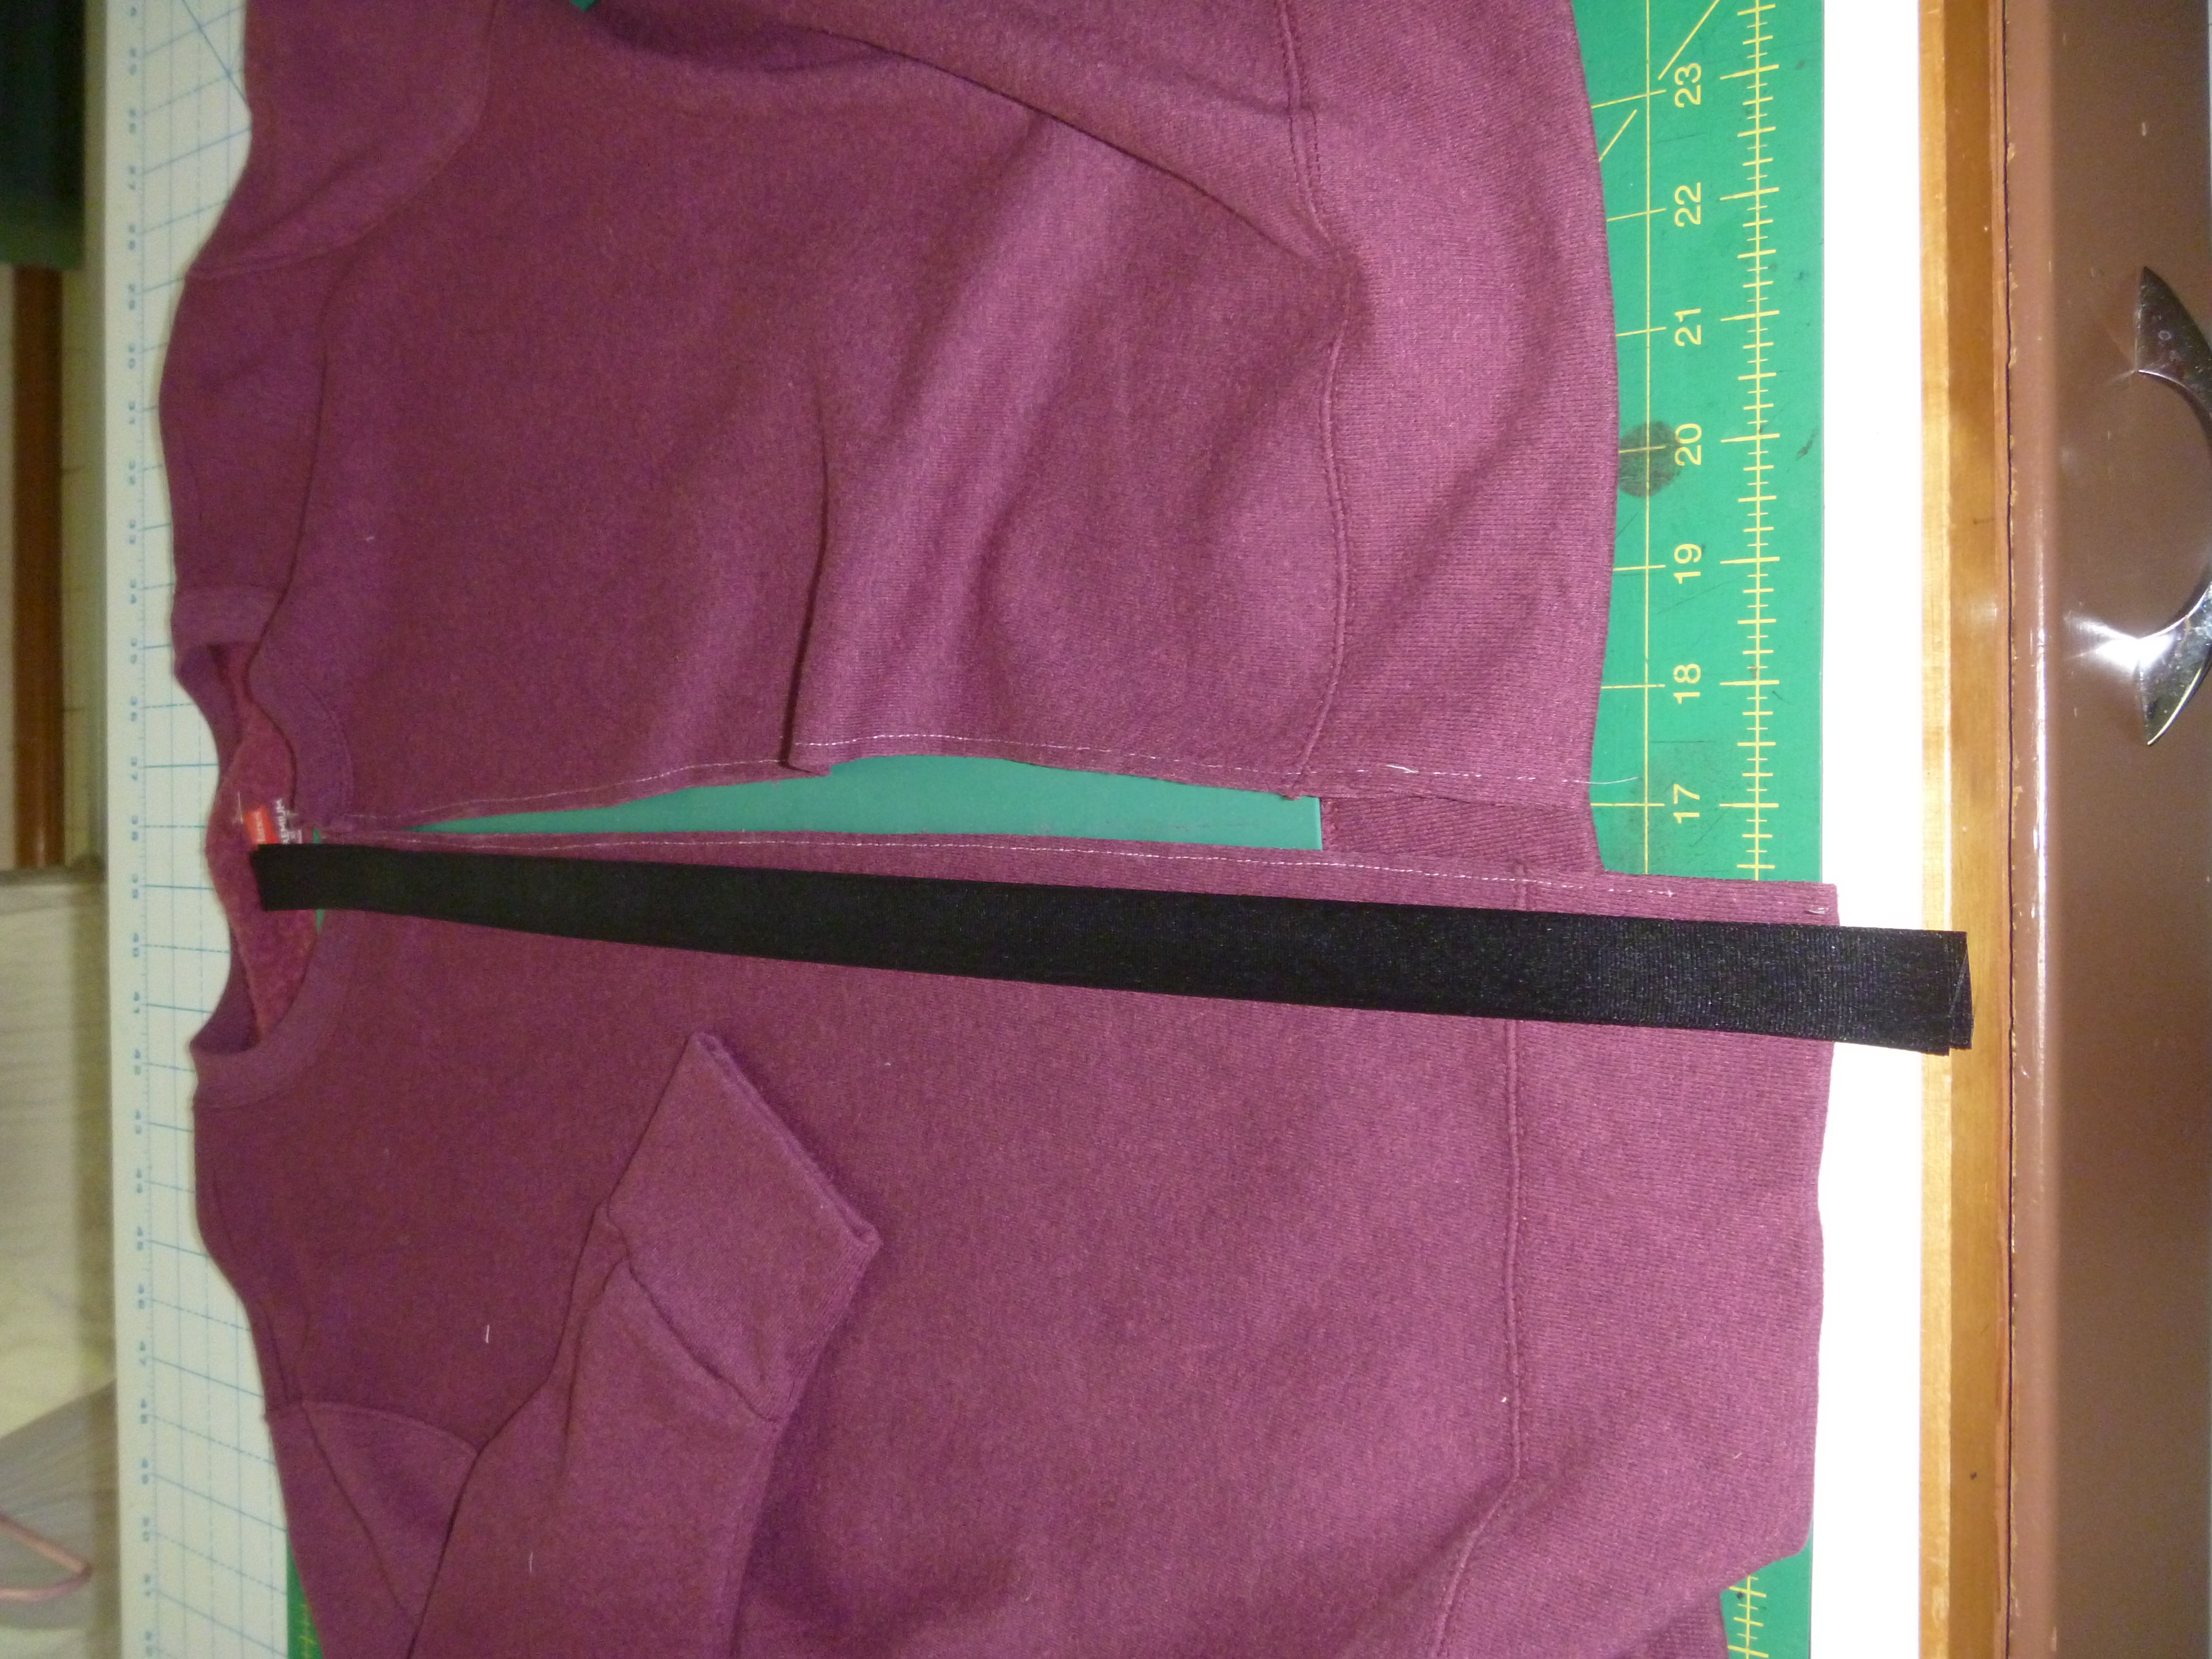
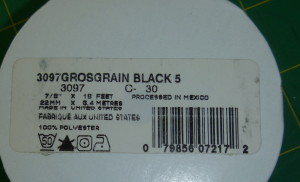
REMODEL: supplies needed: a sweatshirt and 1″ matching grograin ribbon twice the length of the front of the shirt
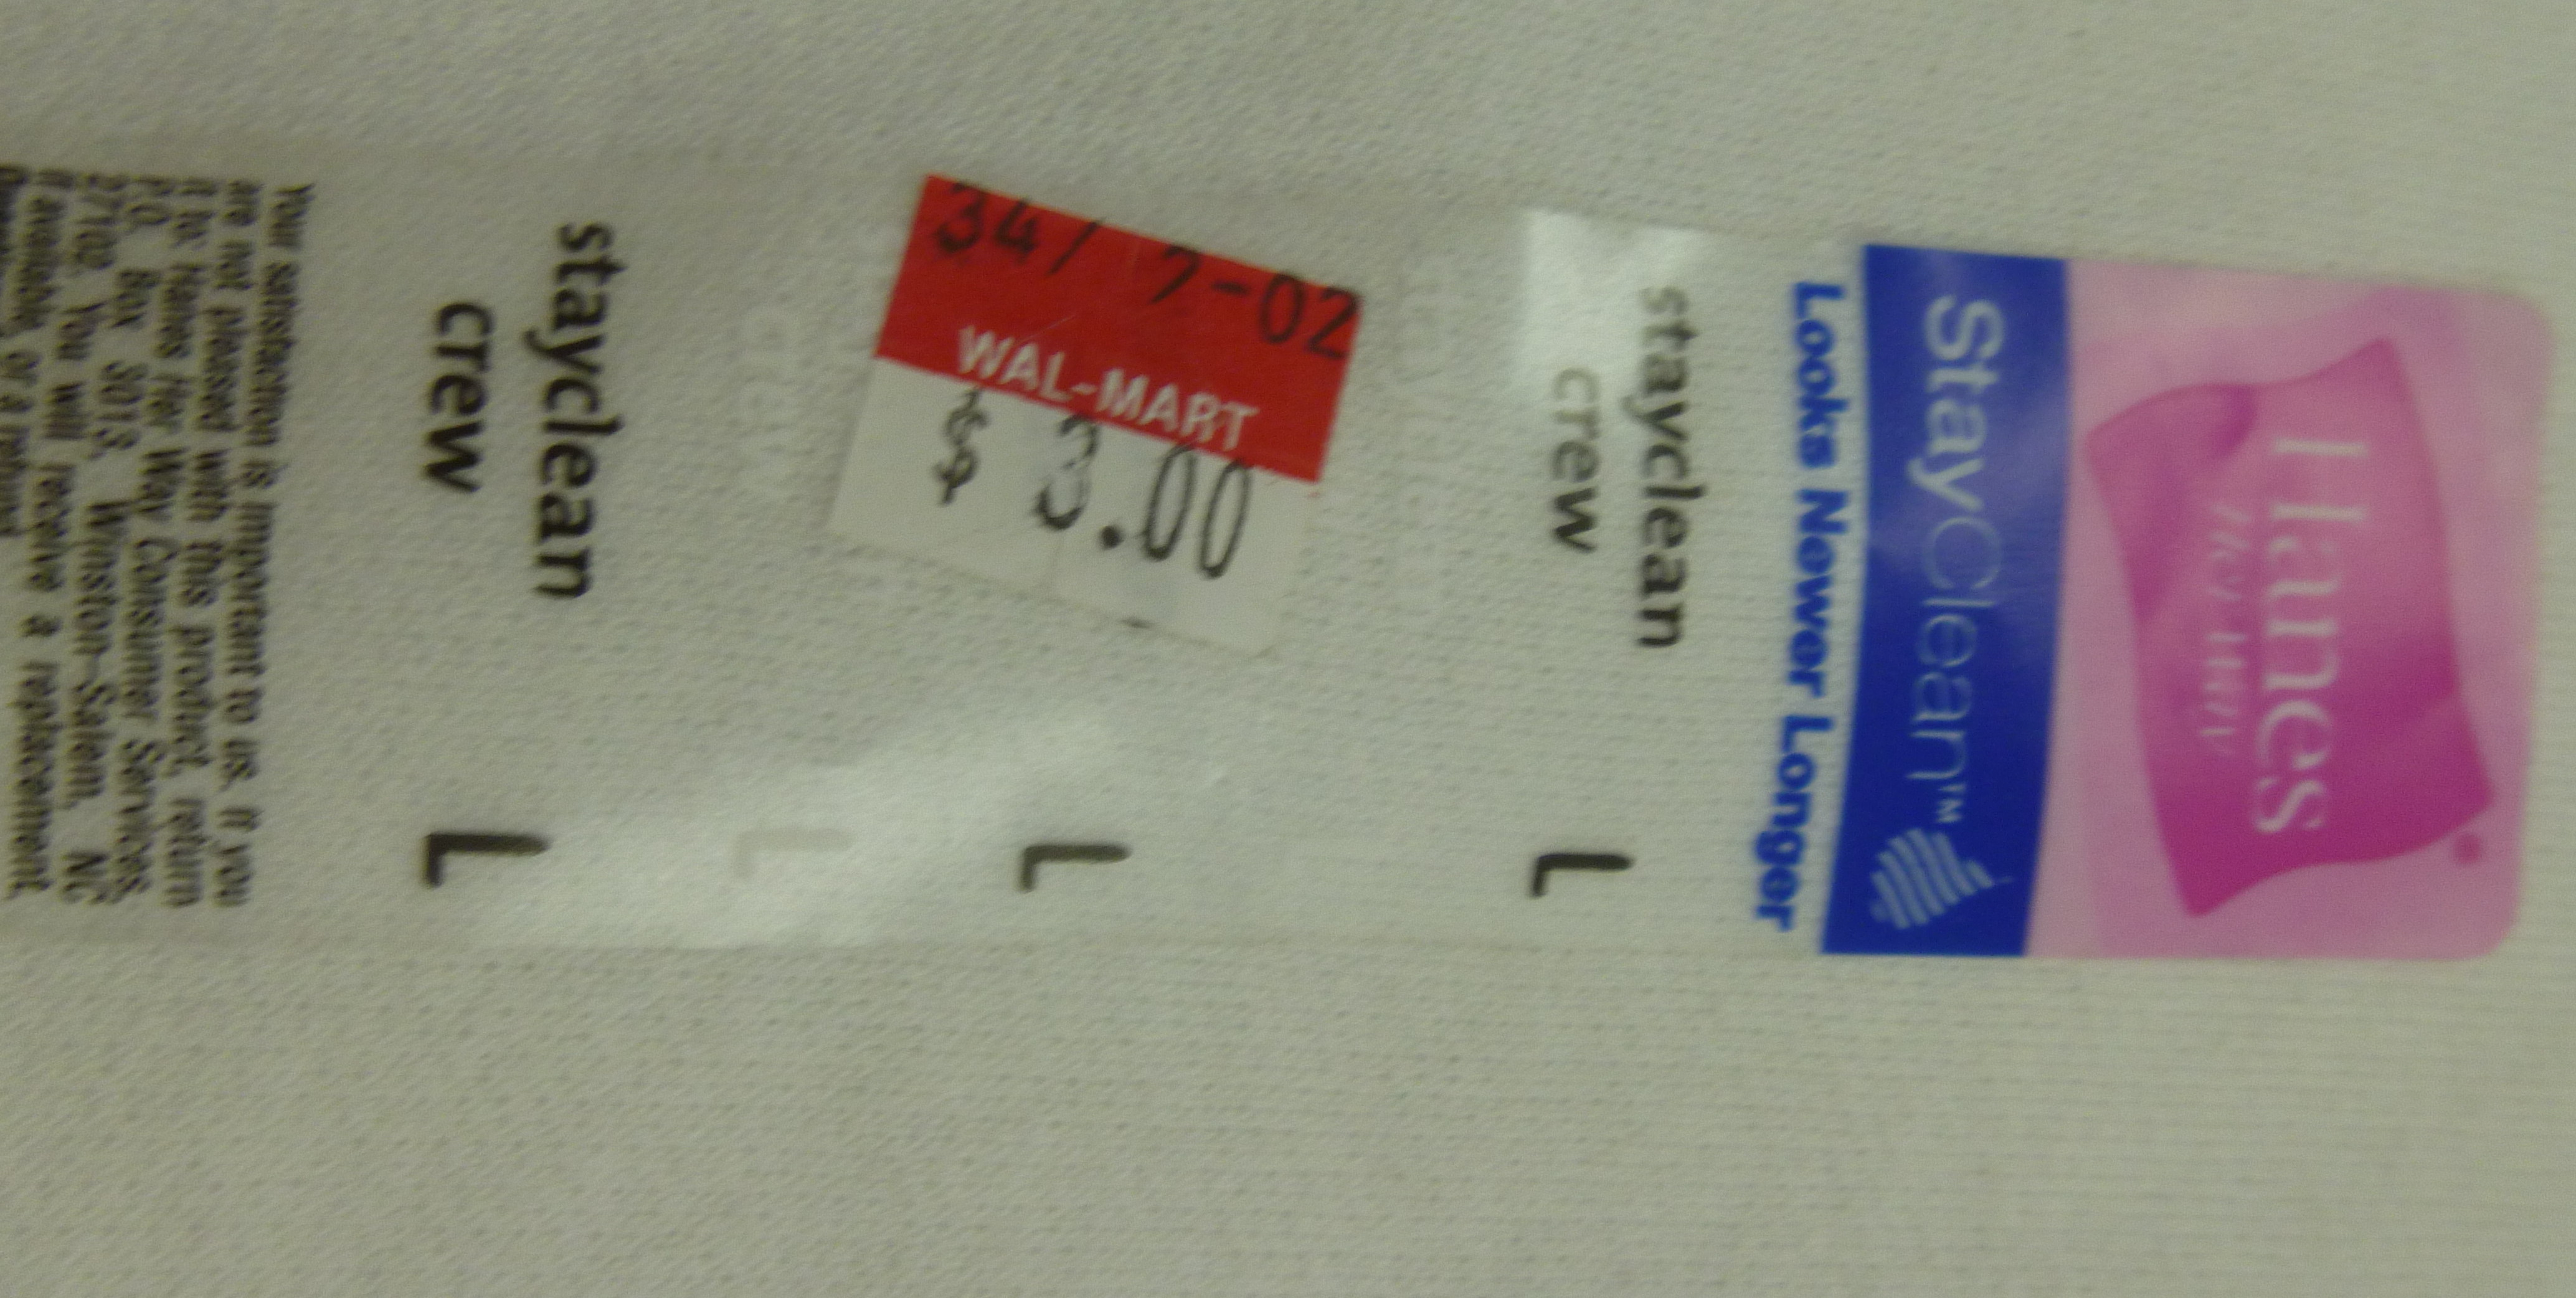
This is a very basic sweatshirt remodel. I often wear an open sweatshirt as a jacket and when I find them a pullover like this for $3.oo, I am sure to buy some.
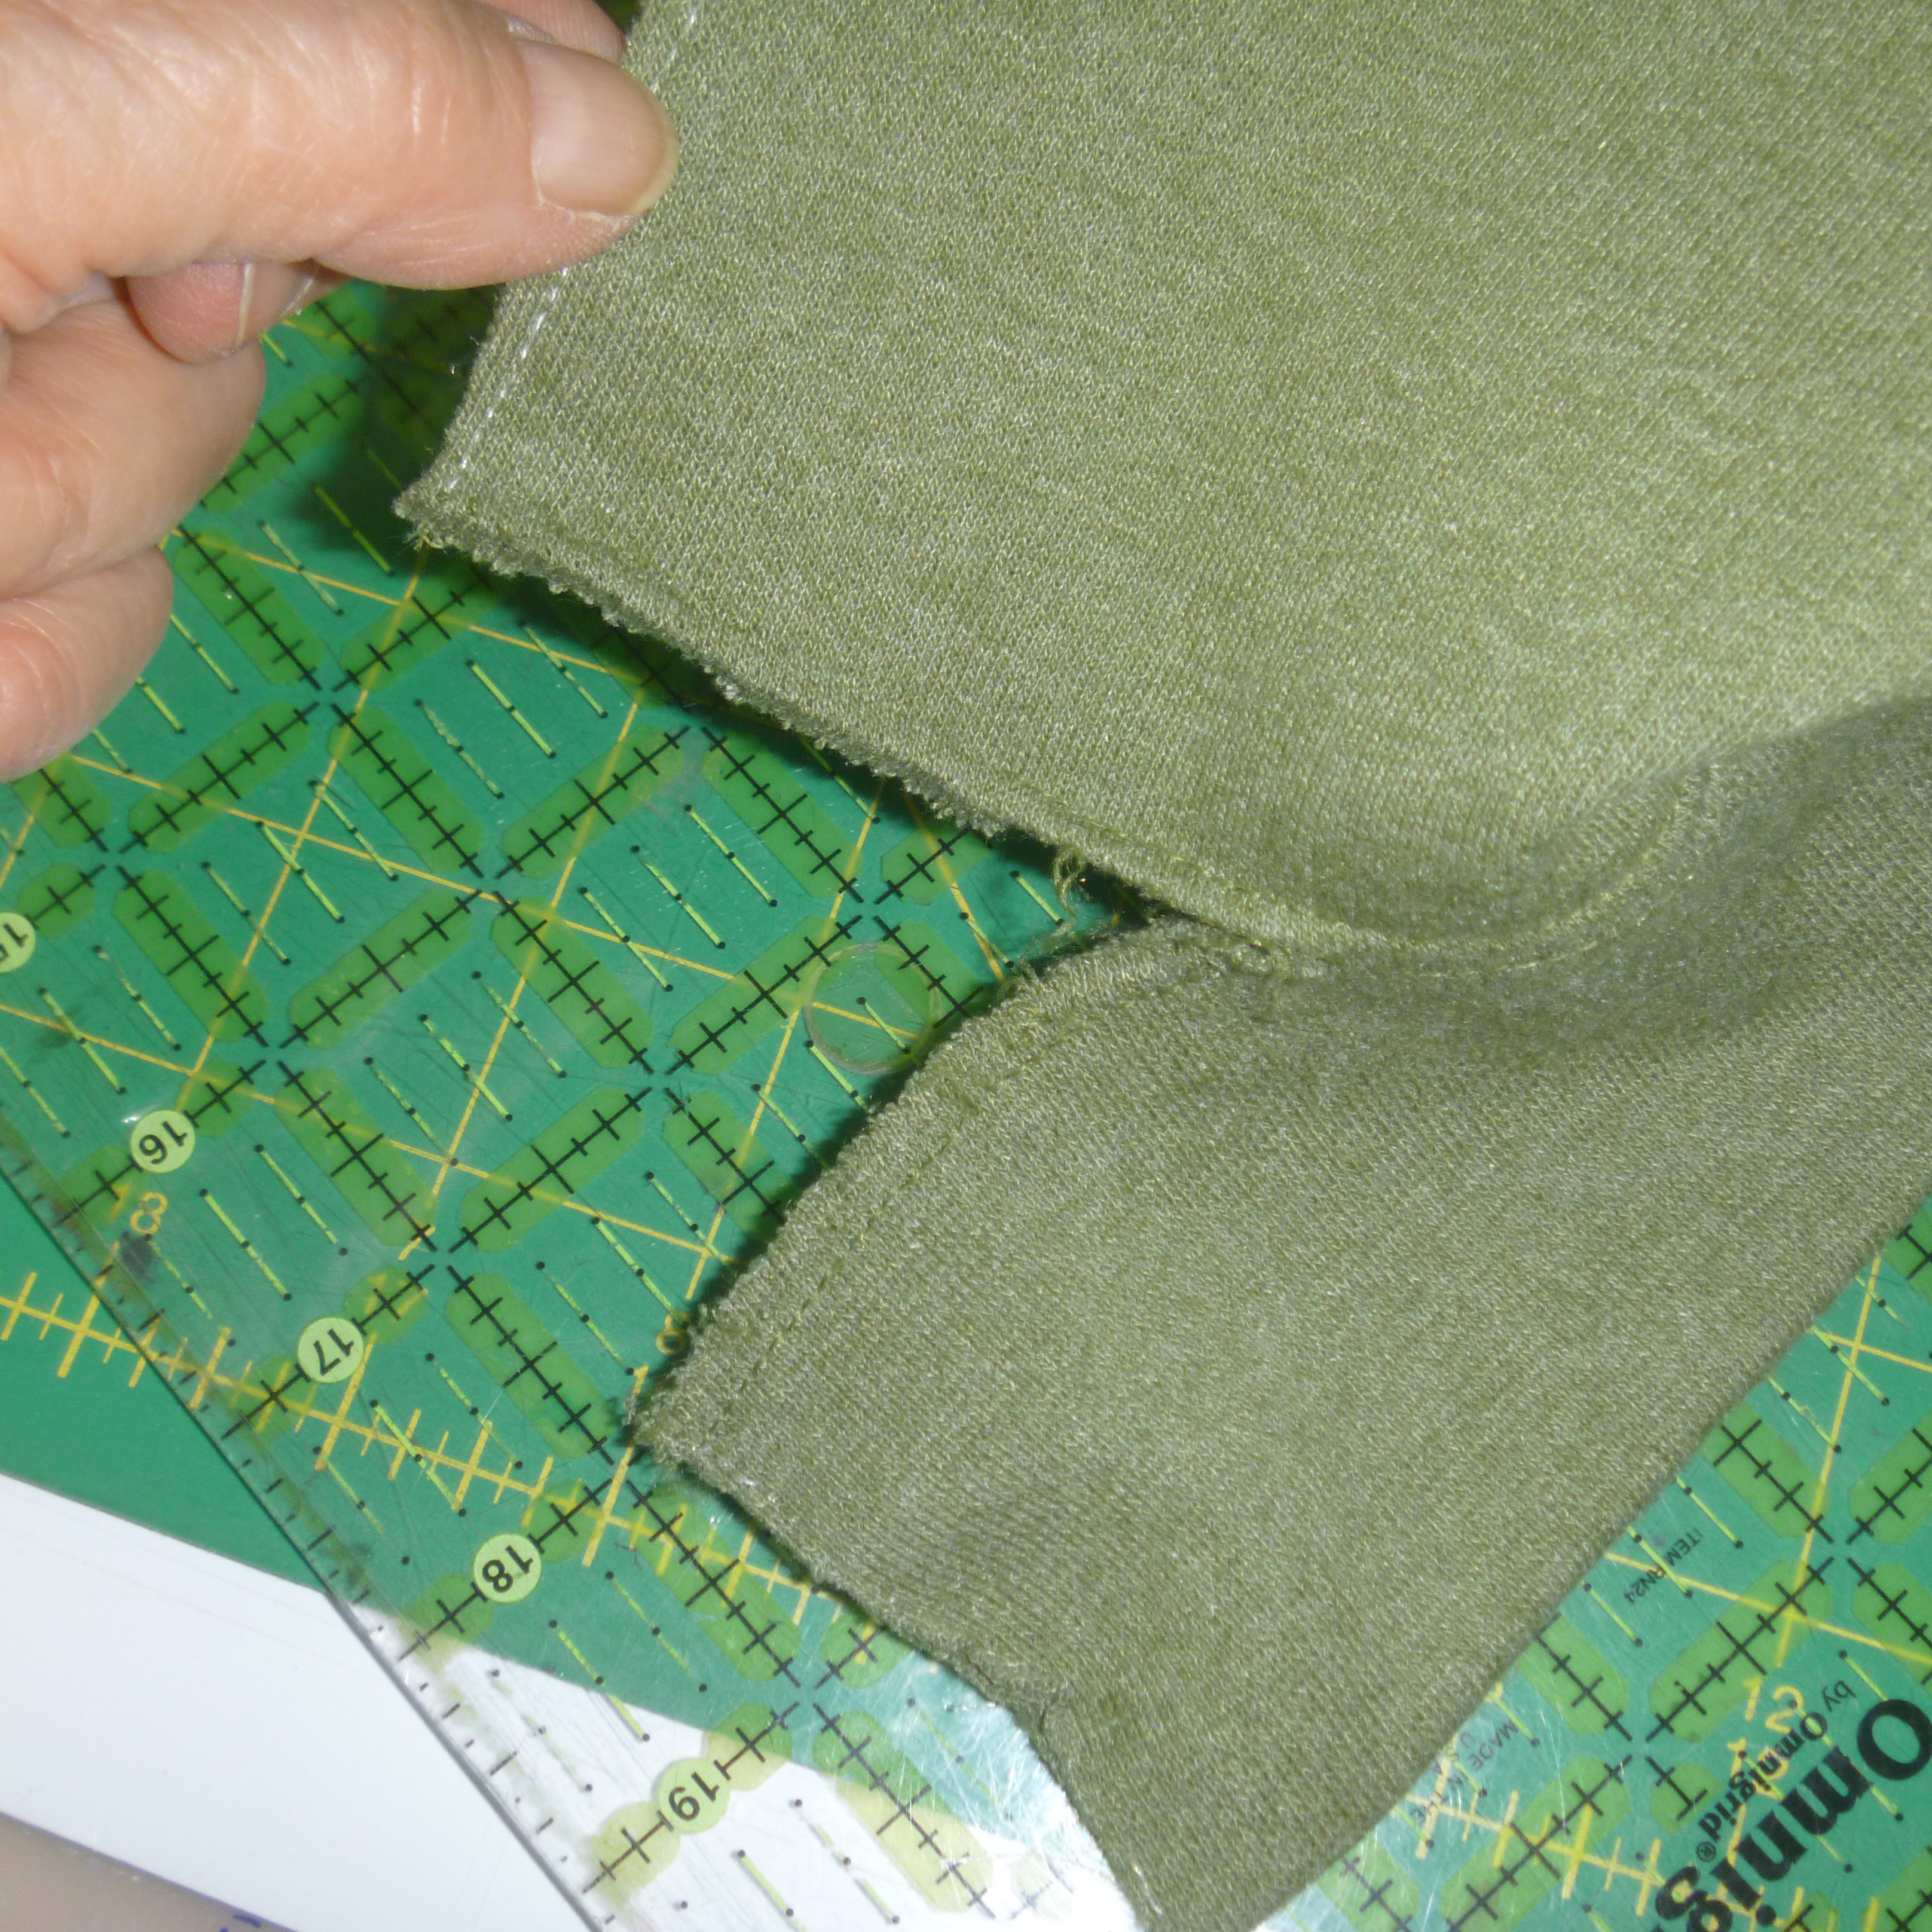
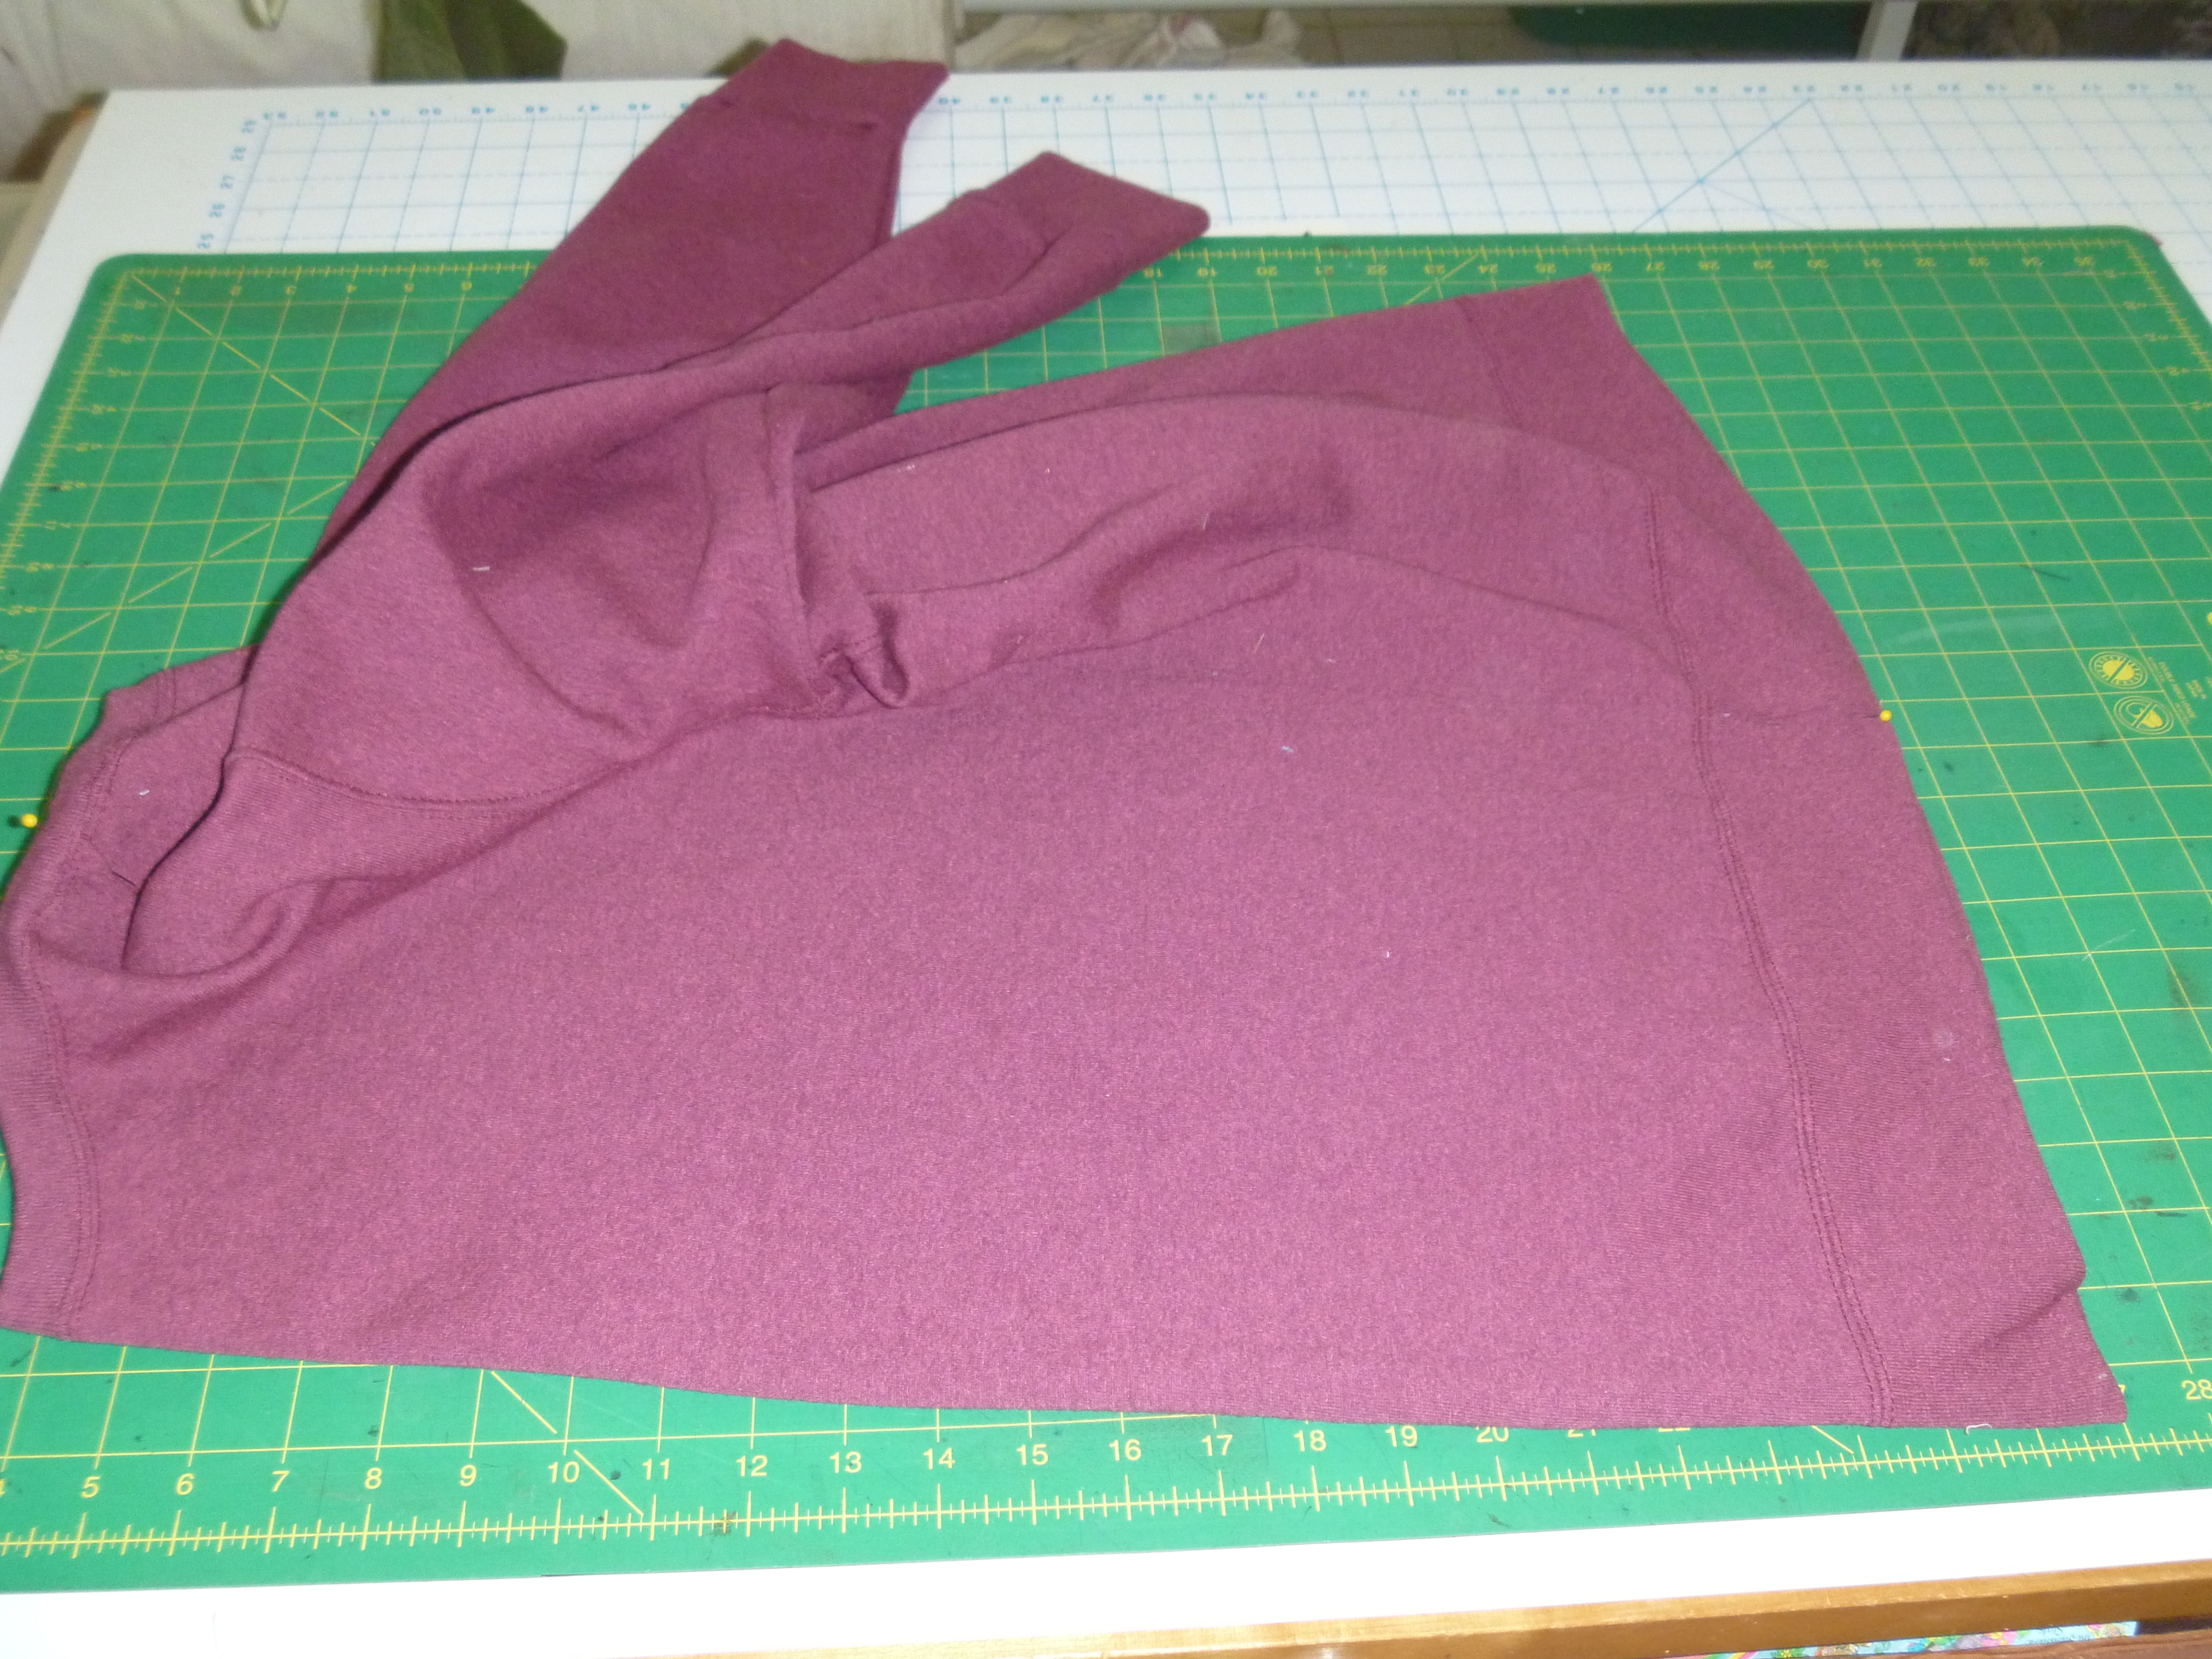
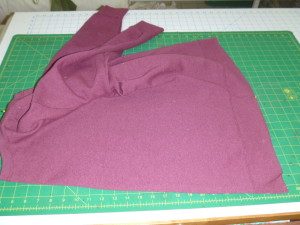 The first thing to do is find the center front. Pin the shoulders together and then the bottom side seam. Make sure the underarm seams match as well. Take and fold it so the center front is nearest you and pin up the front.
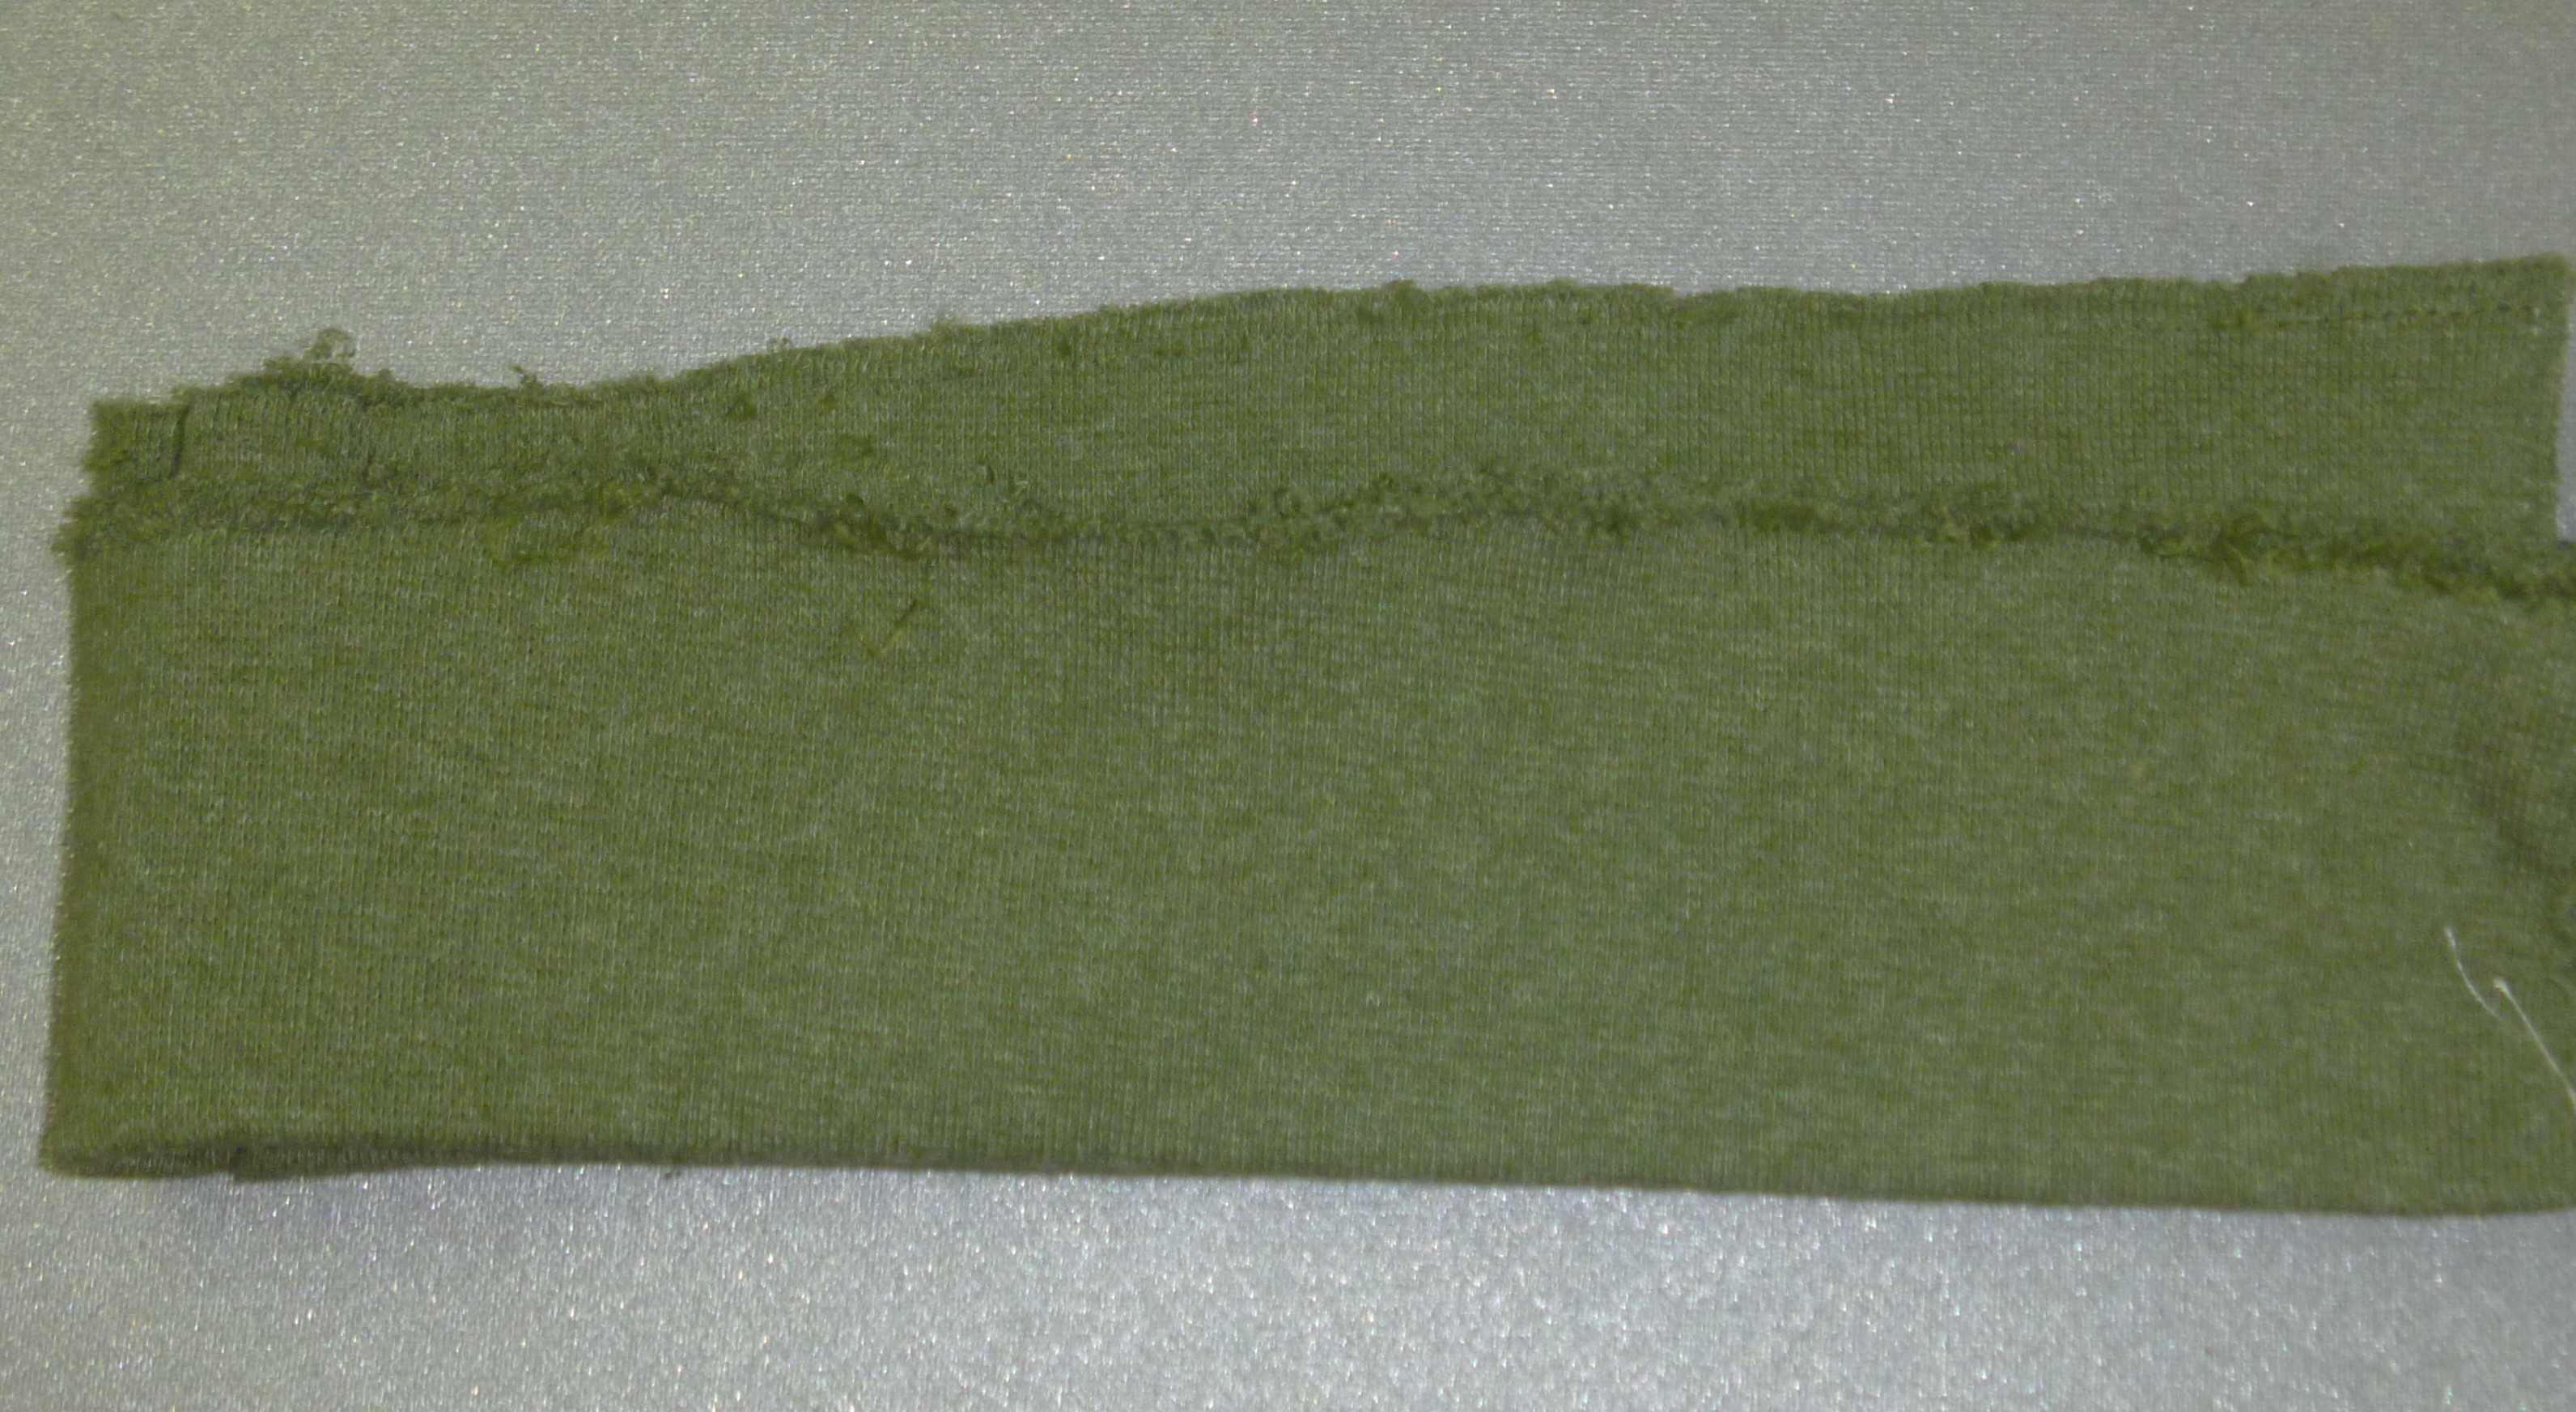
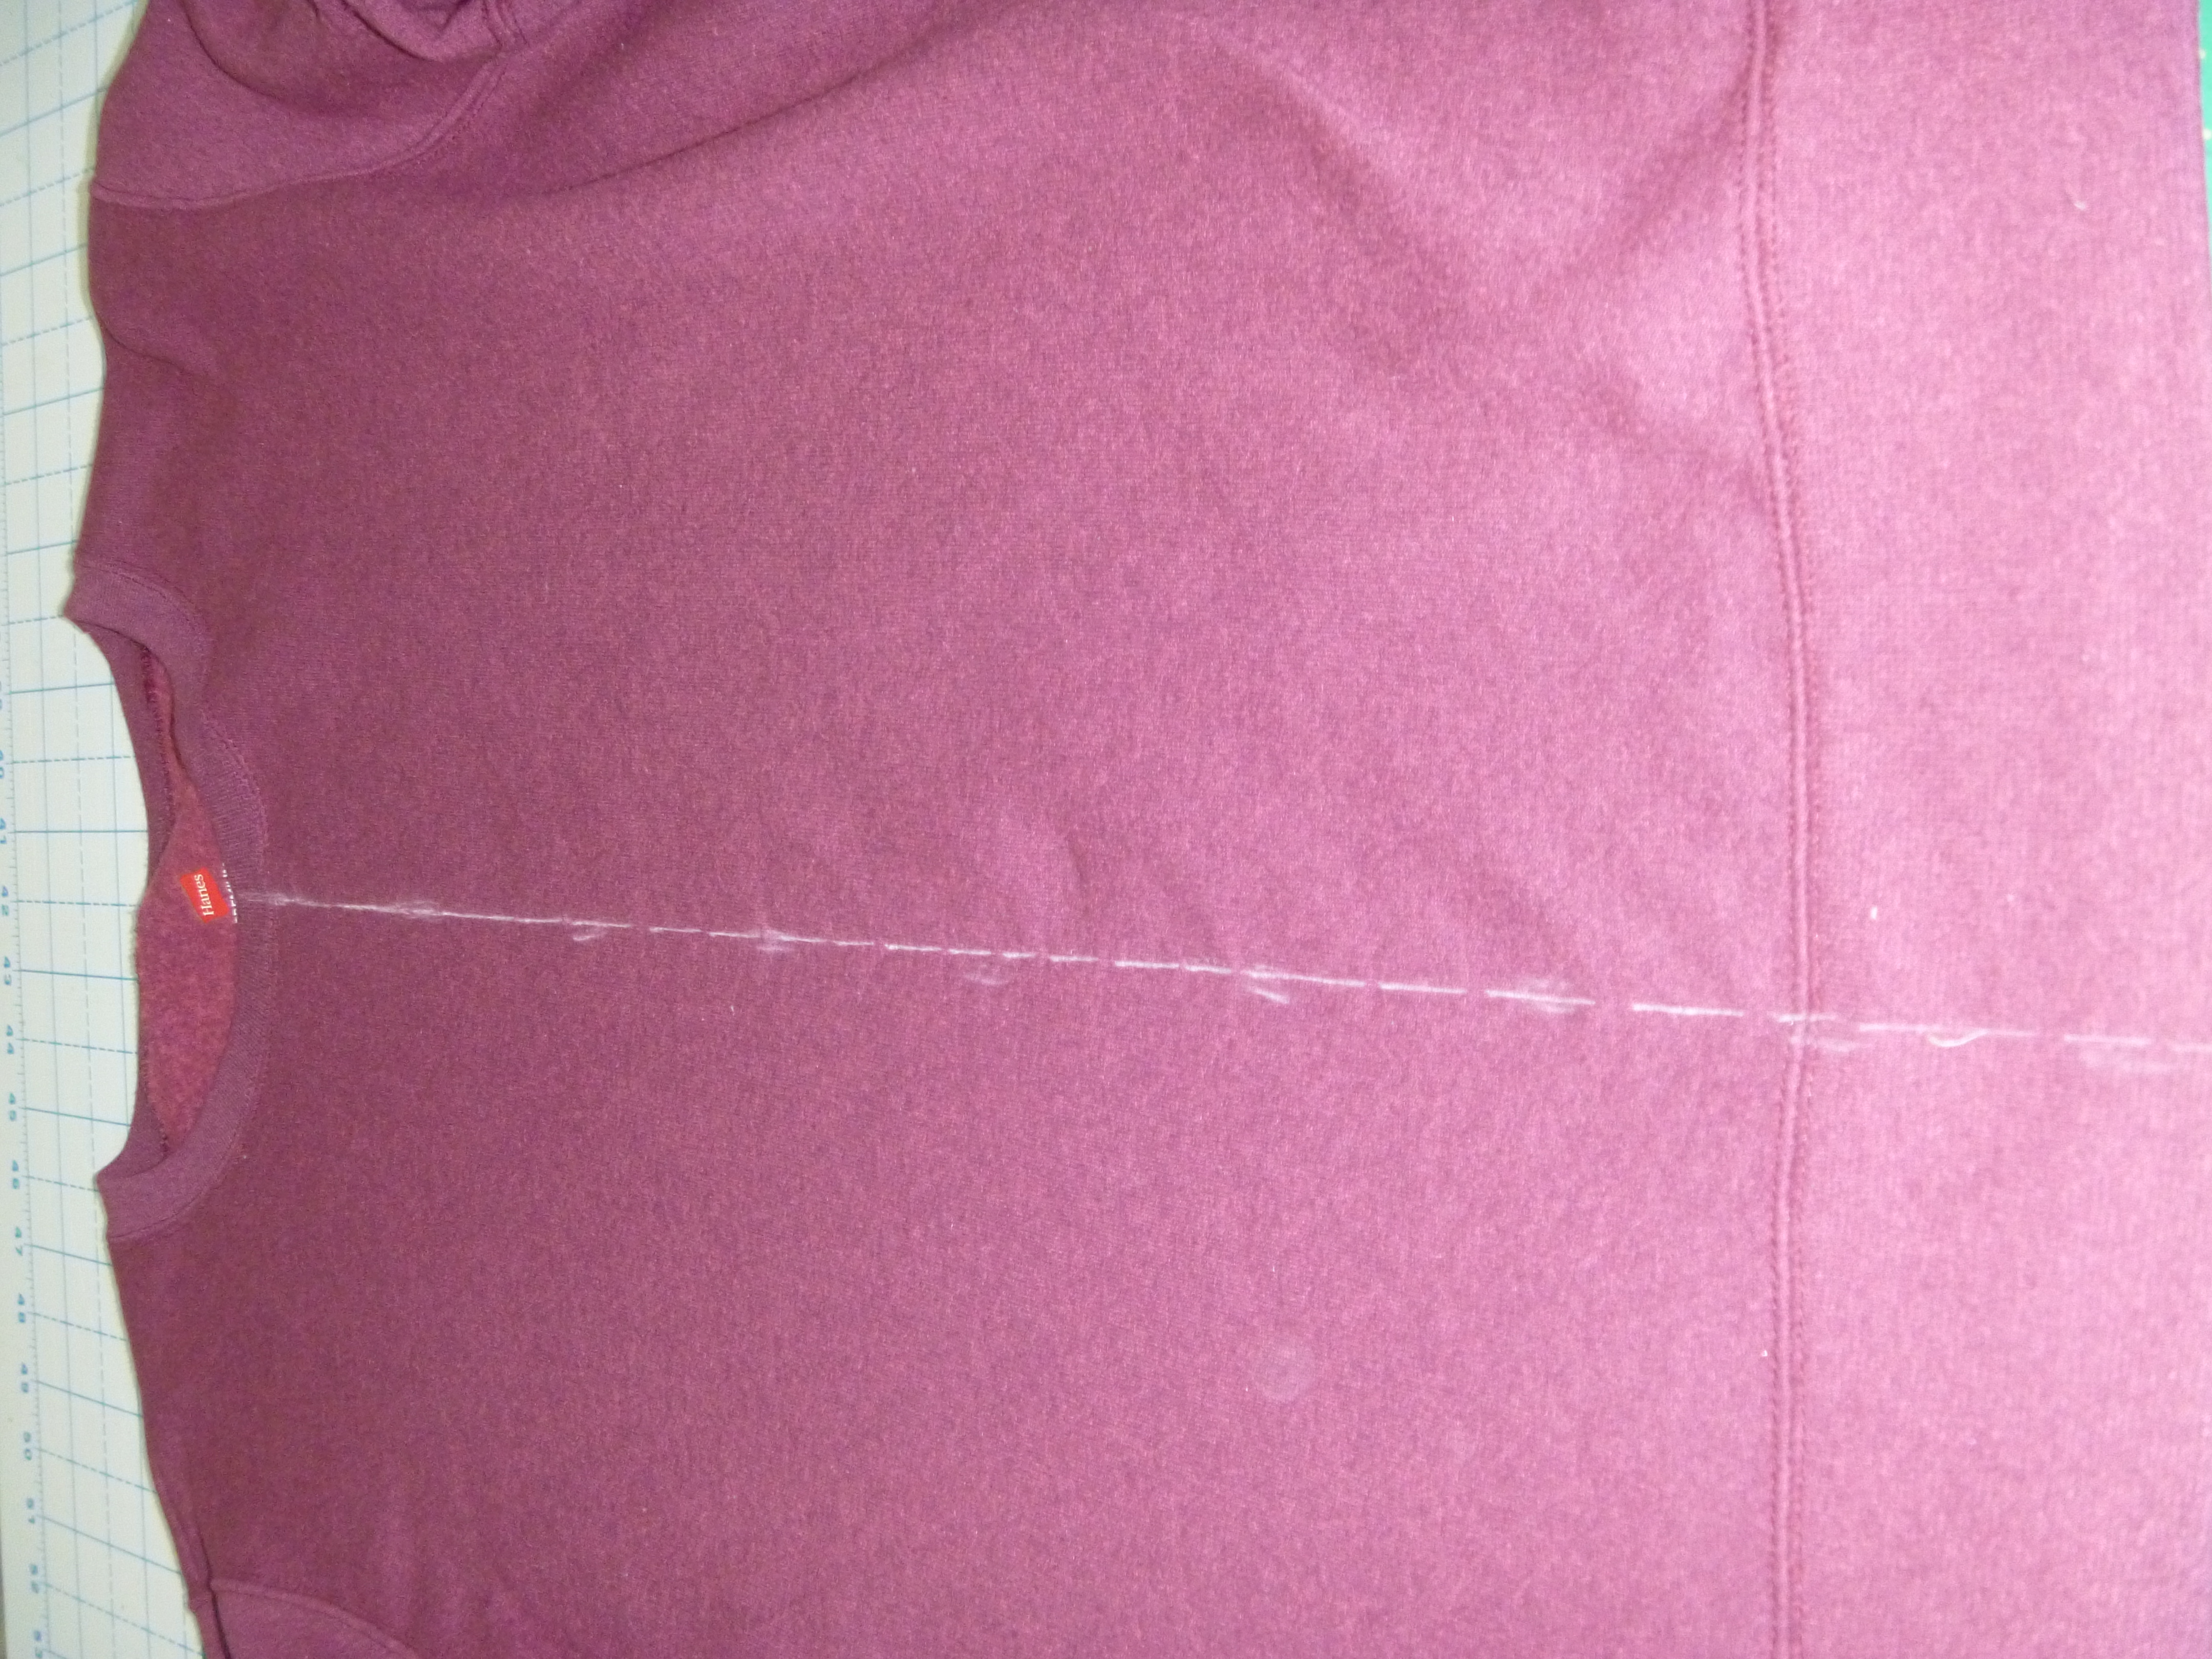
Open the shirt and draw a chalk line using a ruler between the pins, after the pins are removed, connect the line.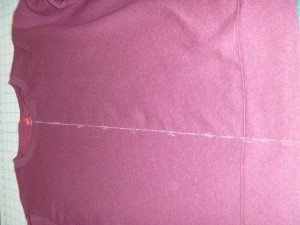
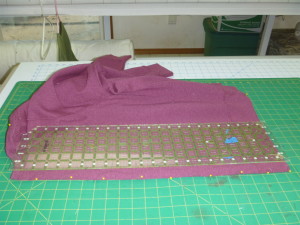
At the sewing machine, sew about 1/8th inch down each side of the line. This is your cutting line and the stitching reinforces the shirt so it doesn’t ravel.  Put something between the front and back of the shirt so it doesn’t accidentally get cut all the way through. Cut through the chalk line.
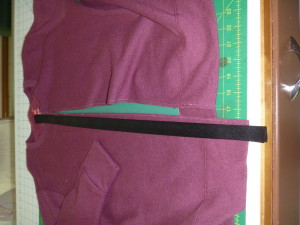 Measure the grograin ribbon leaving a half an inch both top and bottom to turn under.
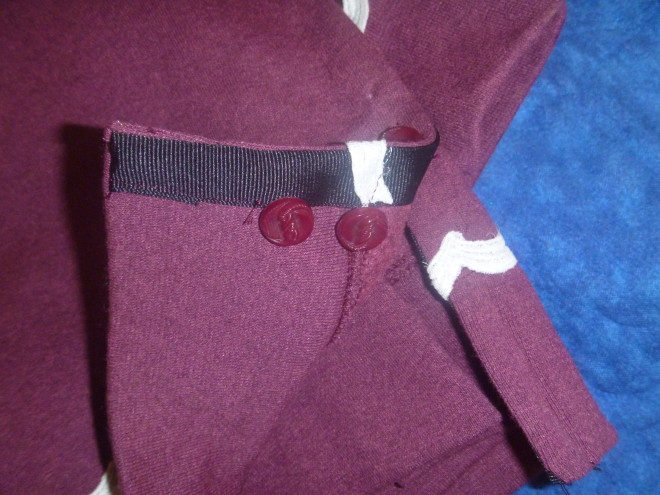
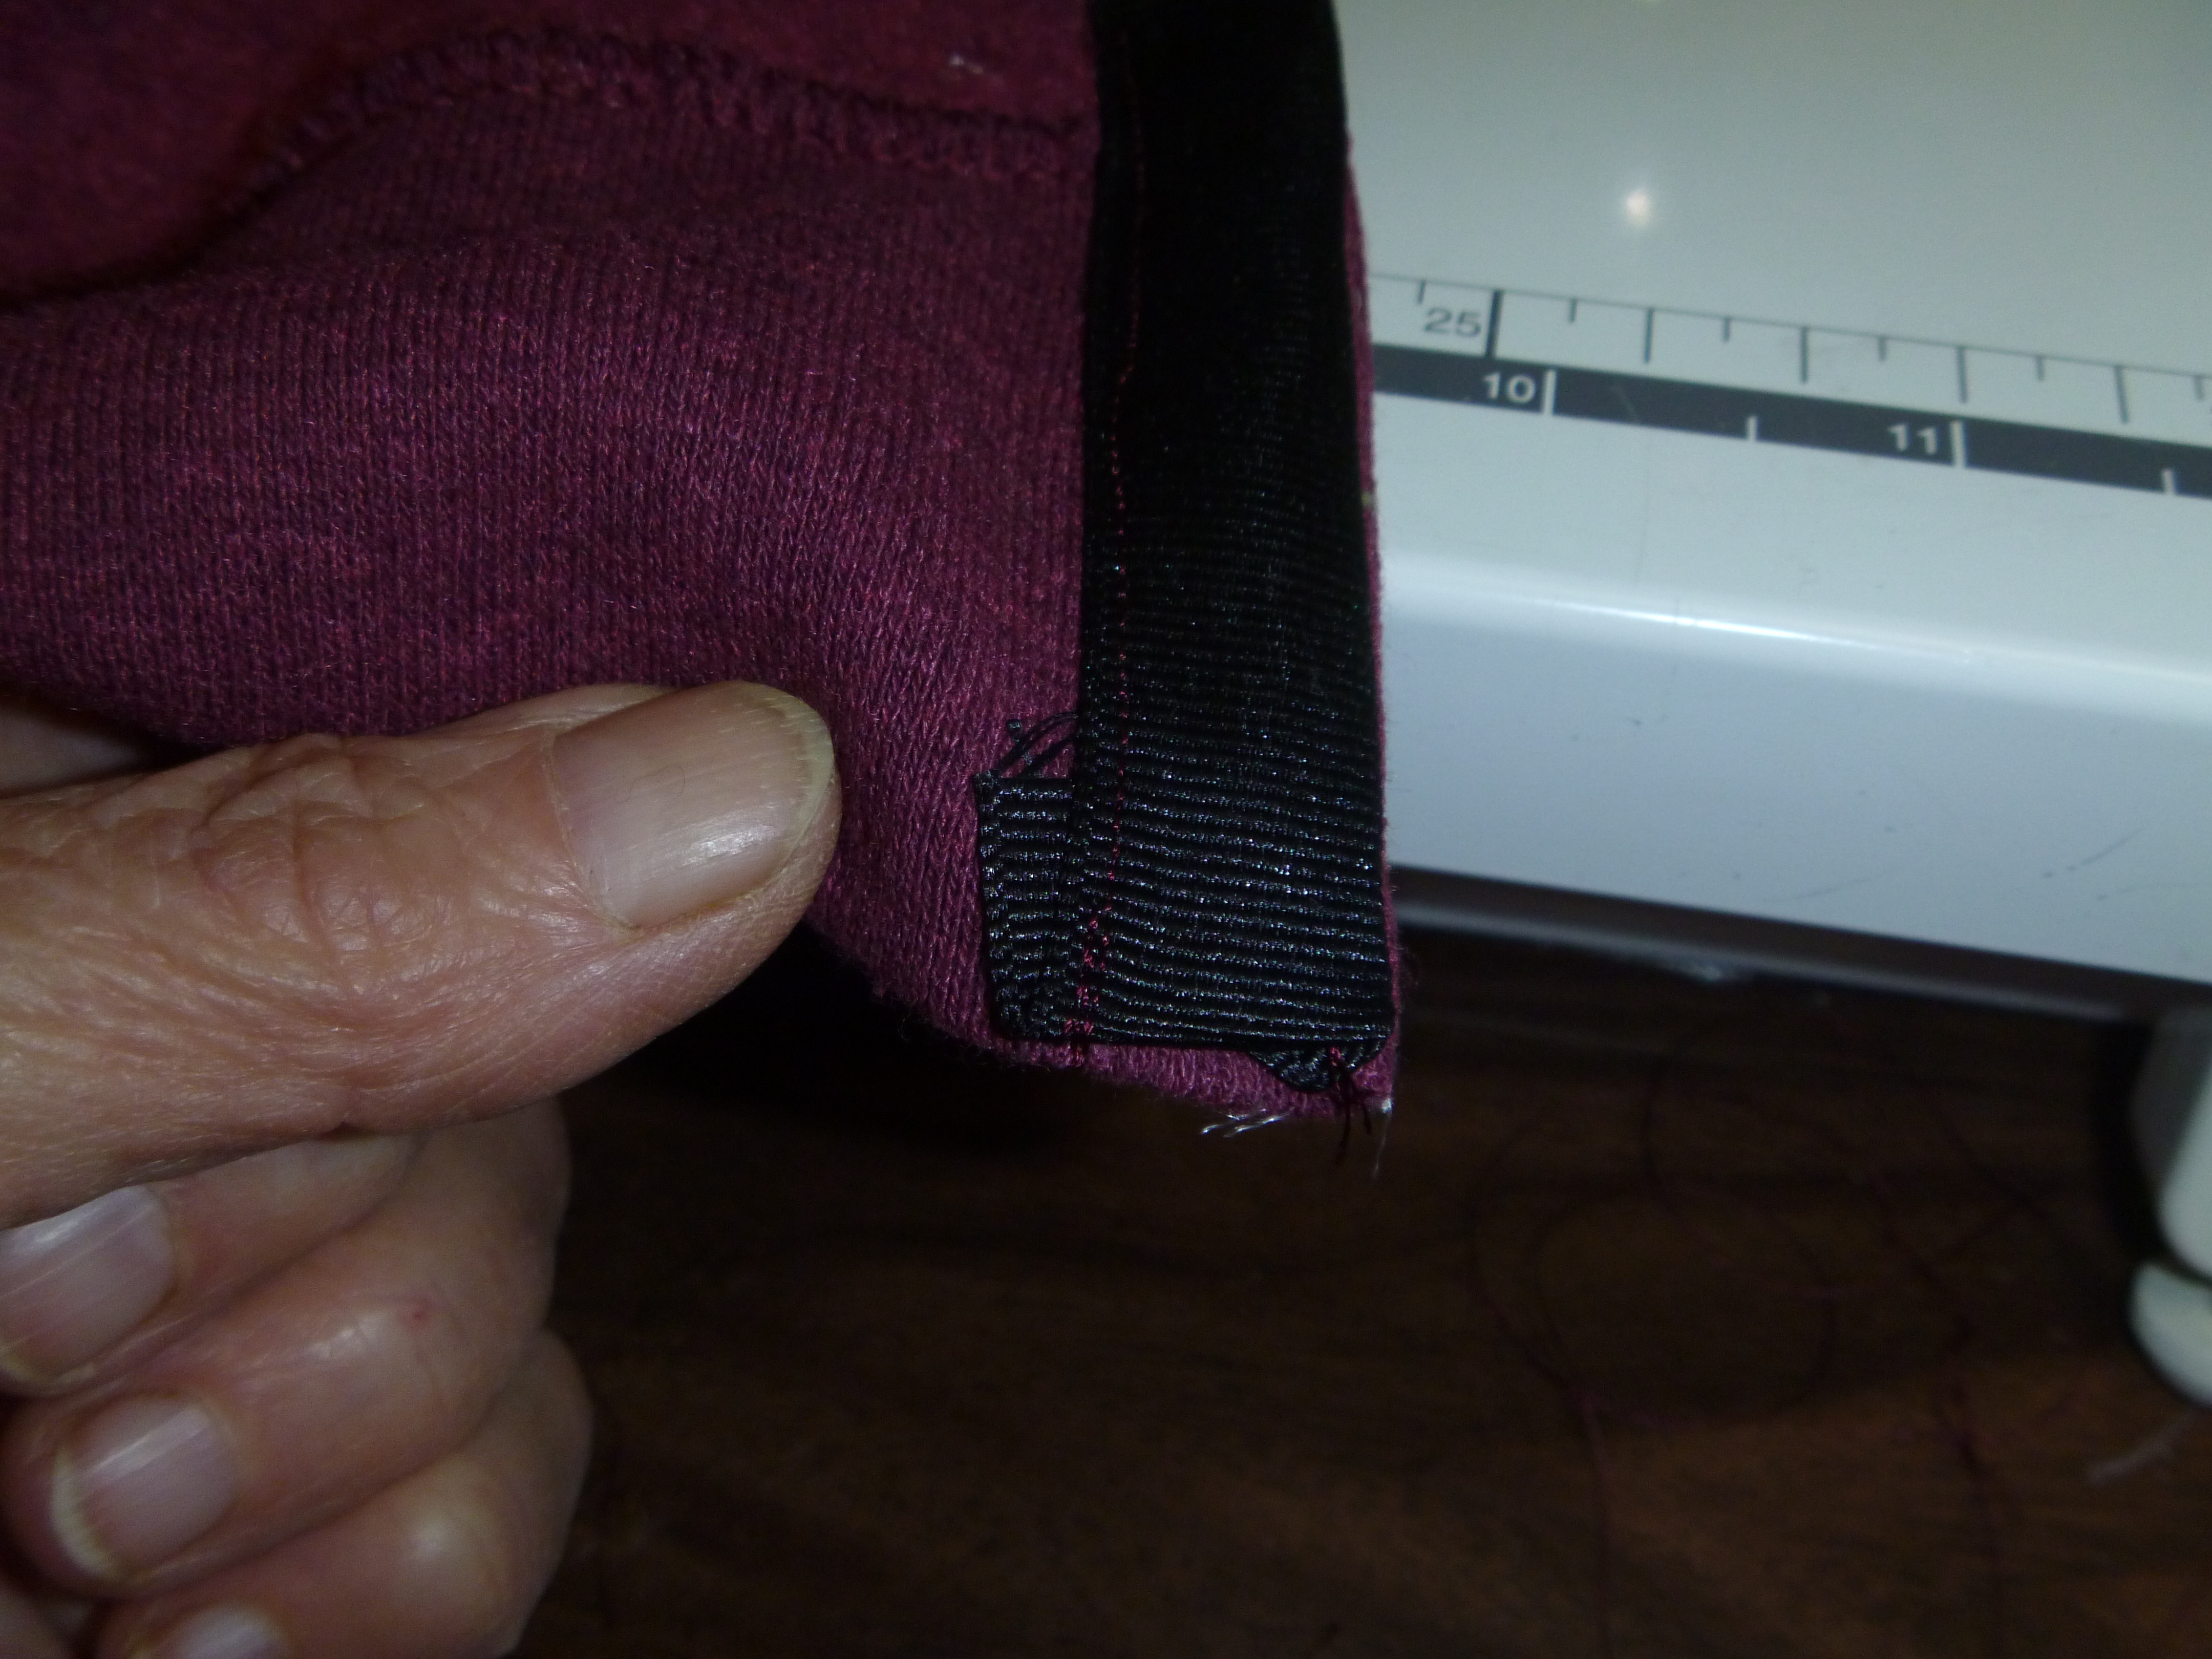
 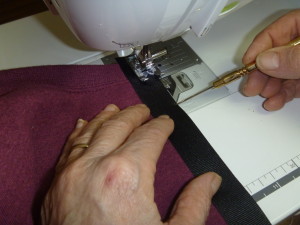 Sew the grograin ribbon to the front side of the shirt with a 1/4″ seam. Turn the top 1/2″ and the bottom 1/2″ up toward you so it will be inside when you turn the ribbon Do this to both sides. You may need stiletto or orange stick to get it started as it is rather thick.
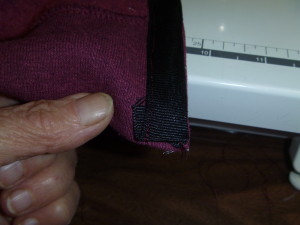

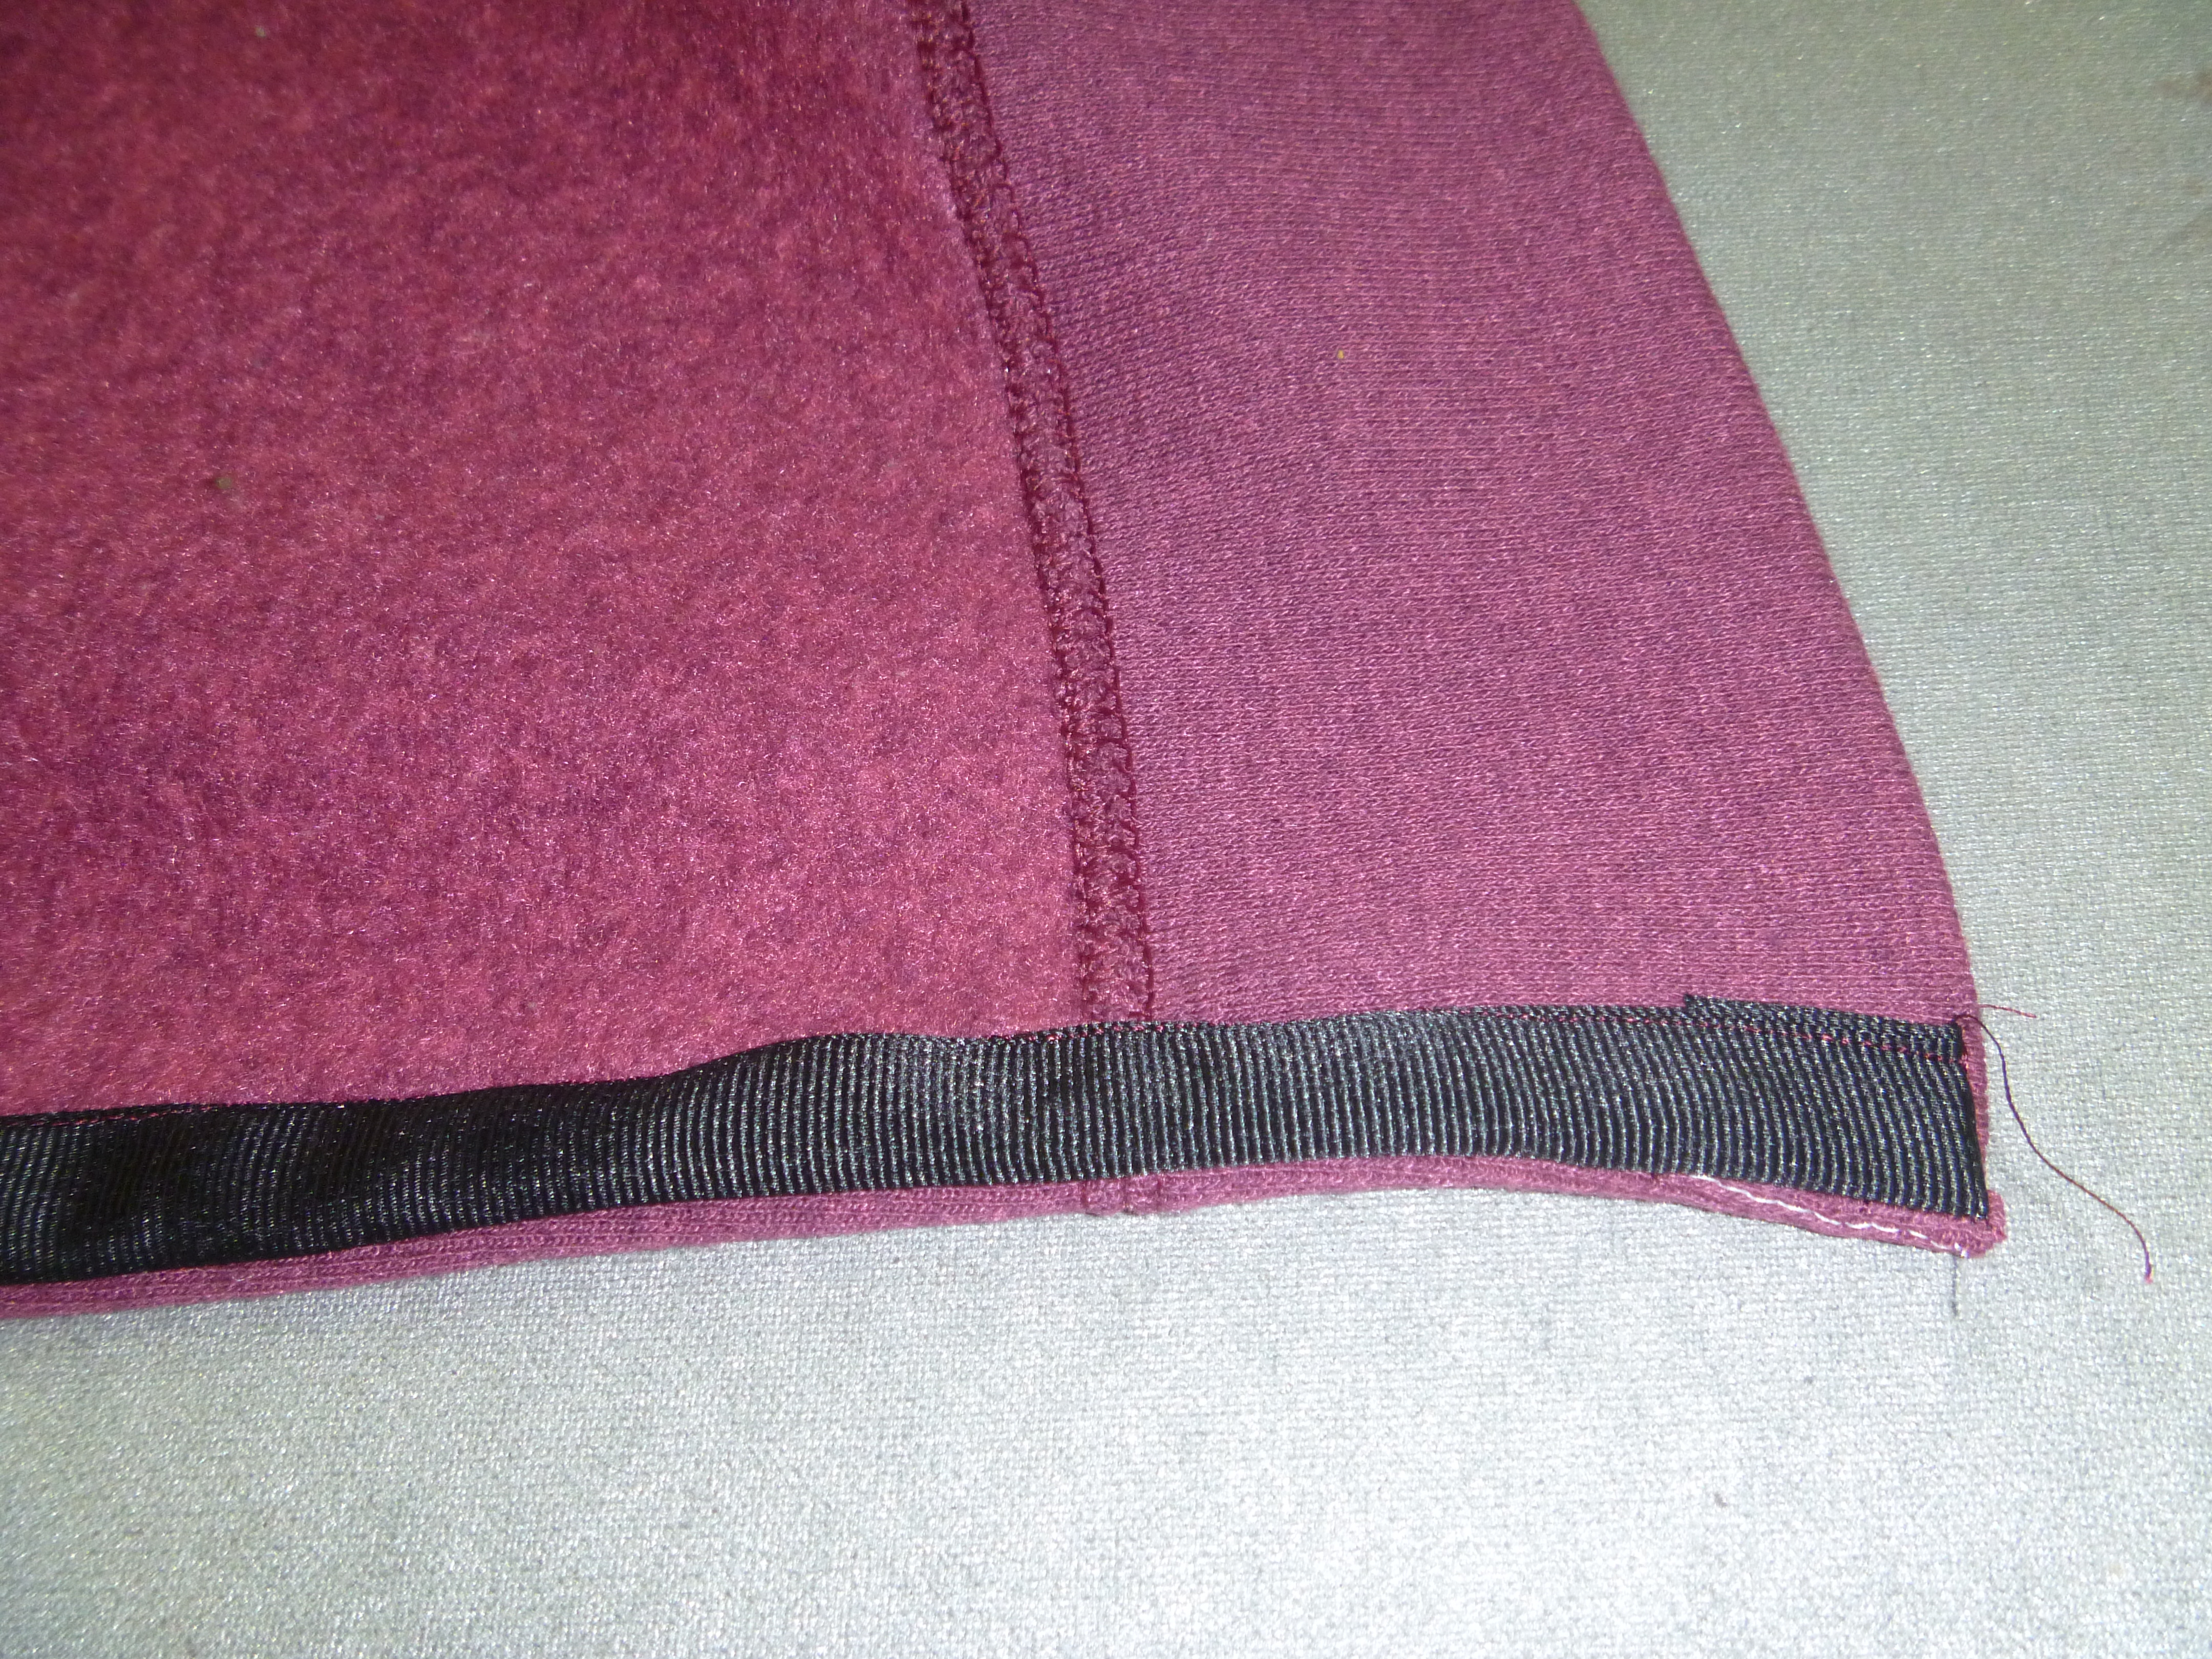
Turn this to the inside of the shirt. Roll the shirt under so the shirt fabric is on the roll. From the back side, sew 1/4″ from the open side of the ribbon, top to bottom.
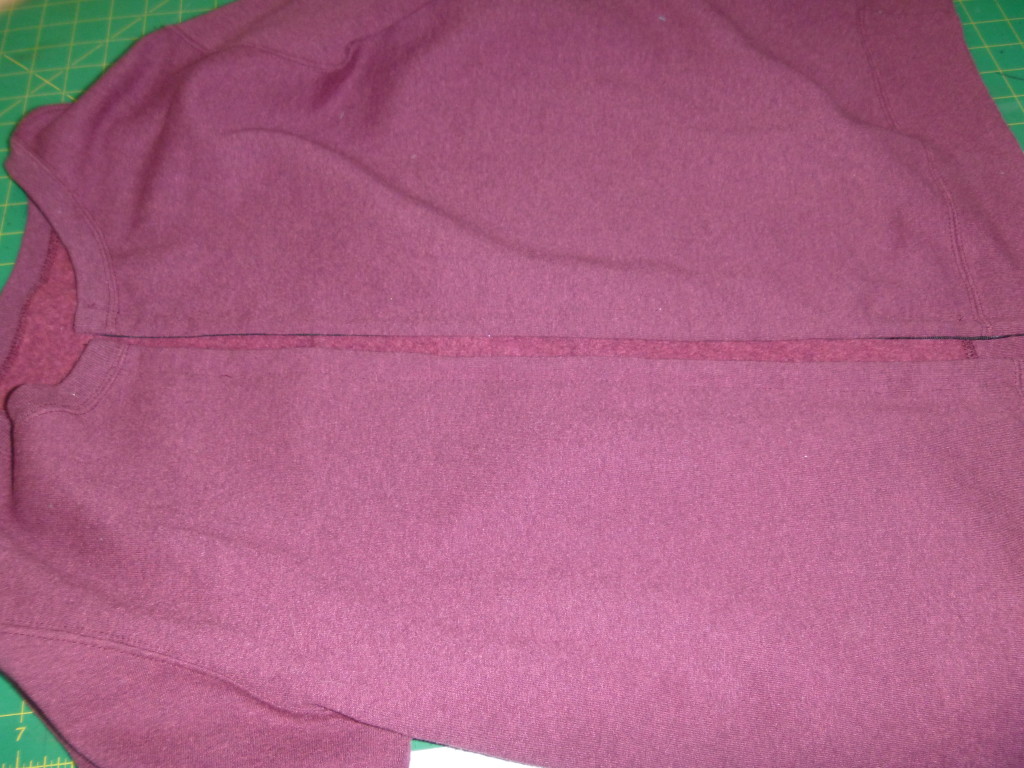
Now you have a very plain jacket and another time we will go into how you might want to decorate it with embroidery, applique, lace, ribbons, different necklines, etc. There are Just so many ways to have fun with this shirt. You can many and they will all look different.
Have fun playing with different ideas.